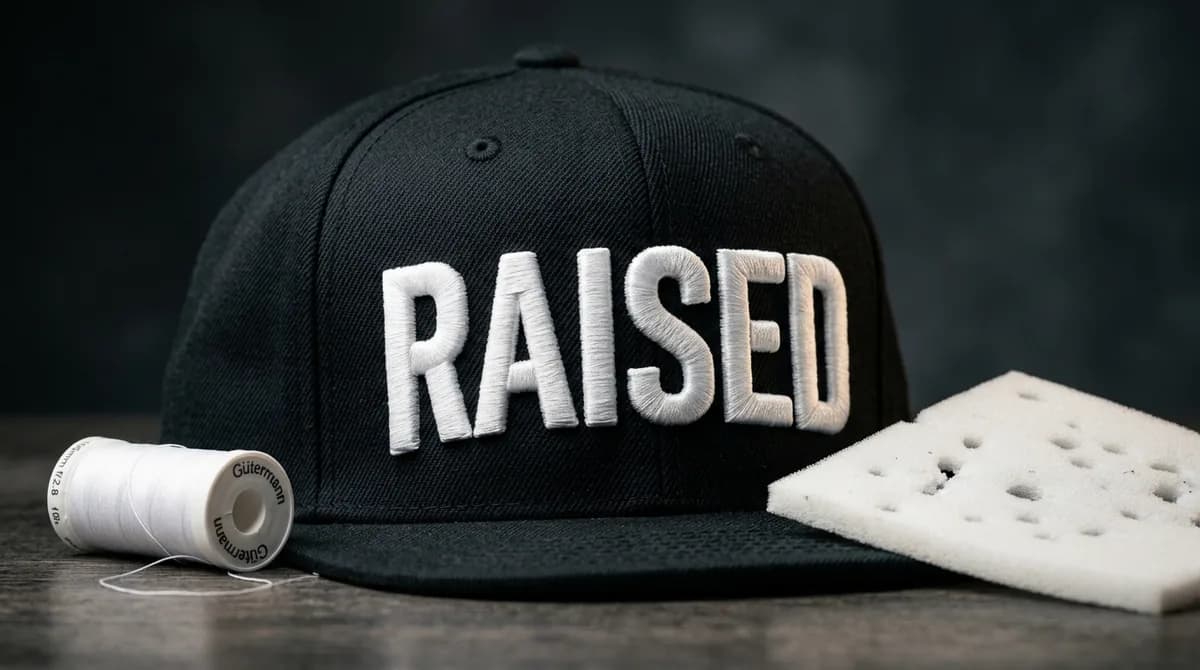
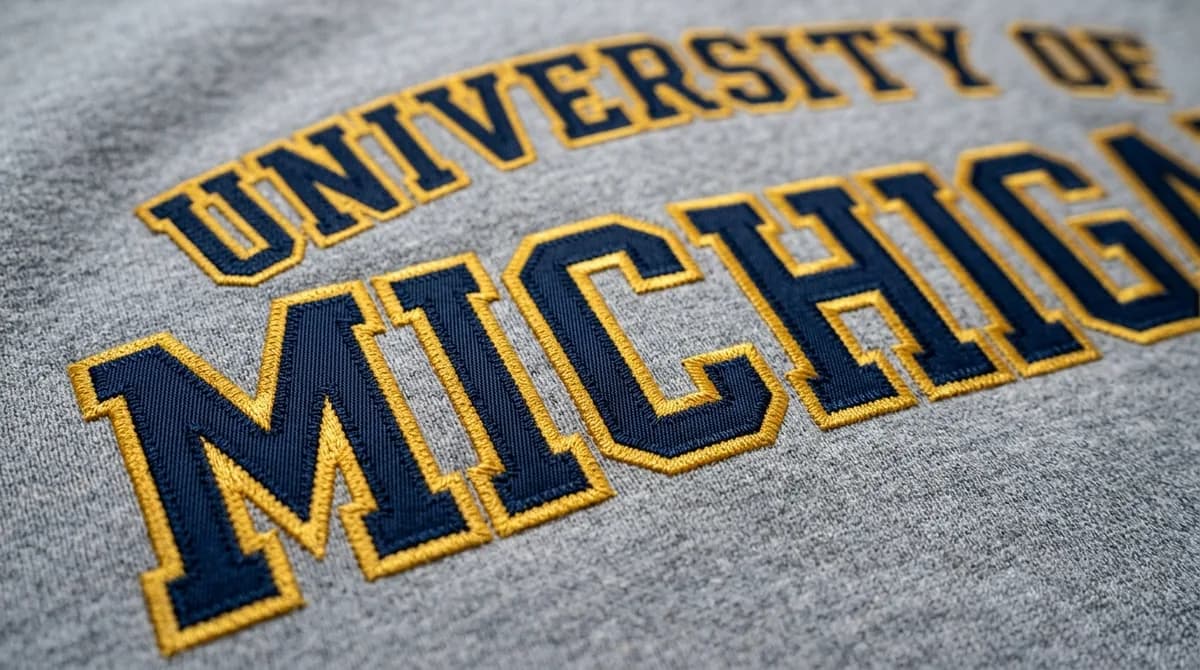
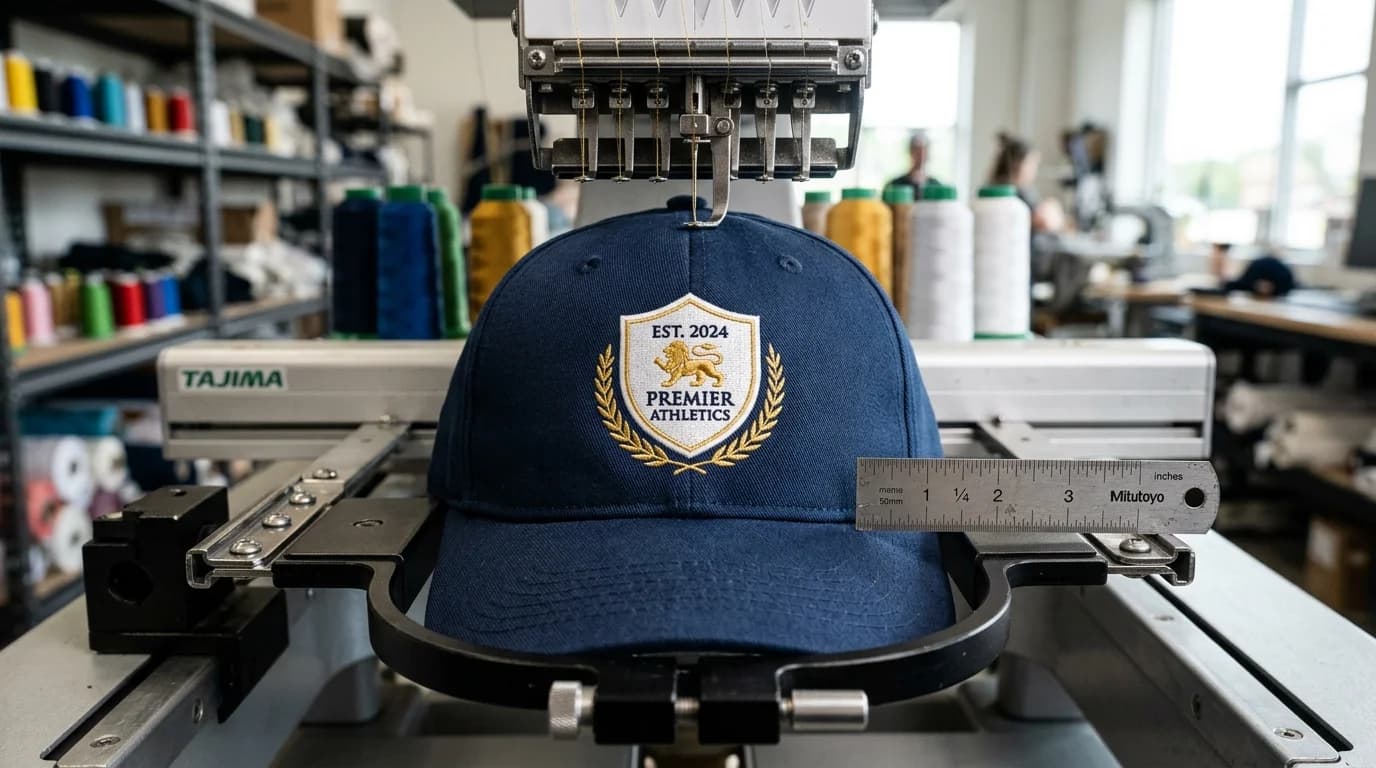
How to Digitize Small Text & Micro-Lettering for Embroidery: The Master Guide
Small lettering under 5mm is the hardest embroidery challenge. Learn how to digitize microscopic fonts, select 60wt thread, and eliminate thread breaks and blob letters.

Embroidery Digitizing Studio
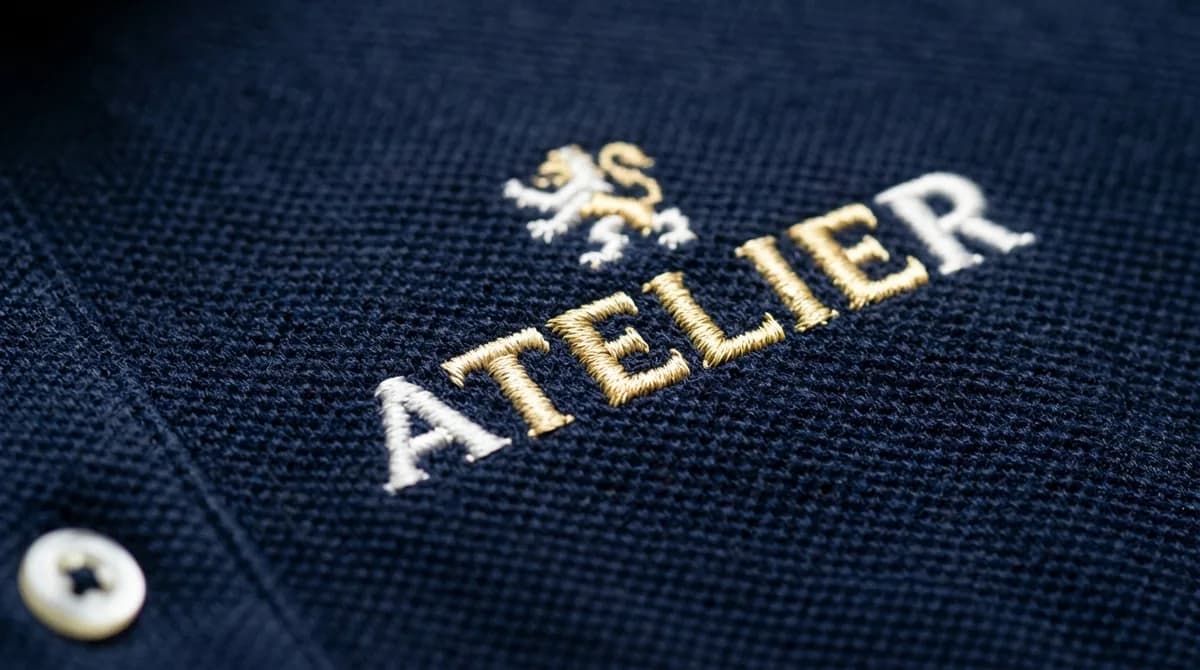
Every commercial embroidery digitizer knows that small lettering is the ultimate test of craftsmanship. Anyone can digitize a large 10-inch jacket back emblem, but reproducing a corporate tagline, URL, or license number at 3.5mm to 5mm height on piqué polo shirts or curved baseball caps separates amateurs from master punchers.
When stitched incorrectly, small letters transform into messy thread blobs, centers of letters like 'e' and 'a' clog shut, and operators suffer constant needle deflections and thread breaks. In this guide, we break down the physics, digitizing rules, and production settings required to produce razor-sharp micro-lettering every single run.
The 5mm Rule: Thread Physics vs Fabric Resistance
Before opening your software (Wilcom, Hatch, or PE-Design), understand physical needle limitations. Standard embroidery setups utilize 40-weight polyester or rayon thread paired with a 75/11 sharp needle.
A standard 75/11 needle blade measures 0.75mm in diameter. When stitching satin columns, both needle sides must penetrate fabric without tearing the yarn structure. If a letter column width is only 0.8mm, the needle hole almost touches itself across the column, creating a hole rather than clean stitching. As a result:
- Text 6mm and above: Standard 40wt thread with satin stitches and light underlay works effortlessly.
- Text 4.5mm to 5.5mm: Standard 40wt thread can work, but requires manual node cleanup, extended pull compensation (0.25mm to 0.35mm), and wider letter apertures.
- Text 3.0mm to 4.2mm: Requires switching to 60-weight thread and a 65/9 needle, or digitizing as single-line running/bean stitches.
Digitizing Rules for Microscopic Letters
To achieve flawless micro-lettering, apply these exact digitizing parameters in your digitizing suite:
- 1Enlarge Enclosed Counters: Manually open the loops of lowercase letters like 'e', 'a', 'g', and 'o' by at least 25% in vector artwork before digitizing. Natural fabric pull closes counters during sew-outs.
- 2Underlay Minimization: Disable standard edge-run and zig-zag underlay. Apply only a single light center run (stitch length 1.0mm-1.3mm) or skip underlay on firm twill substrates to prevent bullet-proof rigidity.
- 3Density Adjustment: Reduce standard satin density from 0.40mm to 0.45mm-0.48mm when using 40wt thread. Over-dense micro-letters stack stitches and chew thread.
- 4Corner Trimming & Beveling: Sharp 90-degree corners create stitch bunching. Bevel tight joints into soft radial turns so needles glide smoothly.
- 5Pull Compensation: Add +0.25mm to +0.35mm pull compensation to horizontal strokes, as columns pull inward substantially across stretchy knit fabrics.
Satin Stitch vs Running Stitch for Small Lettering
When lettering drops below 3.5mm, satin columns frequently fail. In these ultra-small instances, professional digitizers use Running Stitches or Triple Bean Stitches:
- Single Run Stitch (2.0mm to 3.0mm text): Trace letter centerlines with a clean 1.2mm stitch length. The needle traces the alphabet cleanly like a fine pen outline.
- 2-Ply or Triple Bean Stitch (3.0mm to 4.5mm text): The needle makes two forward stitches and one back. This adds bold thread presence without wide column bulk.
- Mini-Satin Stitch (4.5mm to 6.0mm text): Clean satin columns with trimmed entry/exit points and center underlay.
For proper stabilization on stretchy fabrics like polo pique or performance tees, always pair micro-lettering with heavyweight cutaway backing. Tearaway allows knit fibers to shift, ruining tiny letter alignment.
Cap & Curved Surface Micro-Lettering
Digitizing micro-lettering on structured or unstructured caps requires extra care. Because cap frames curve over rotary cylinders, always sequence letters center-out to push distortion toward cap sides rather than bunching in the seam. For in-depth cap rules, explore our Cap Logo Embroidery Digitizing Guide.
Need complex small corporate lettering or high-density cap text digitized with zero trial-and-error? The master punchers at Velora Digitizing engineer each stitch file with manual node adjustment, tested push-pull formulas, and quick 8-24 hour turnaround.
Written by the Velora Digitizing Team
Digitizing StudioThis guide is written and reviewed by the digitizers at Velora Digitizing, who prepare embroidery files for caps, jackets, patches, and left chest logos every day. The advice here comes from the same stitch-path, underlay, and fabric choices we make on client orders.
Related service
Left Chest & Cap Digitizing Services