Cap Embroidery Digitizing: Hat Logo Size, Placement & Stitch Order Guide
A cap is the hardest common garment to embroider. Learn the logo size limits for each cap type, the center-out stitch order, and the settings that keep hat embroidery sharp.

Embroidery Digitizing Studio
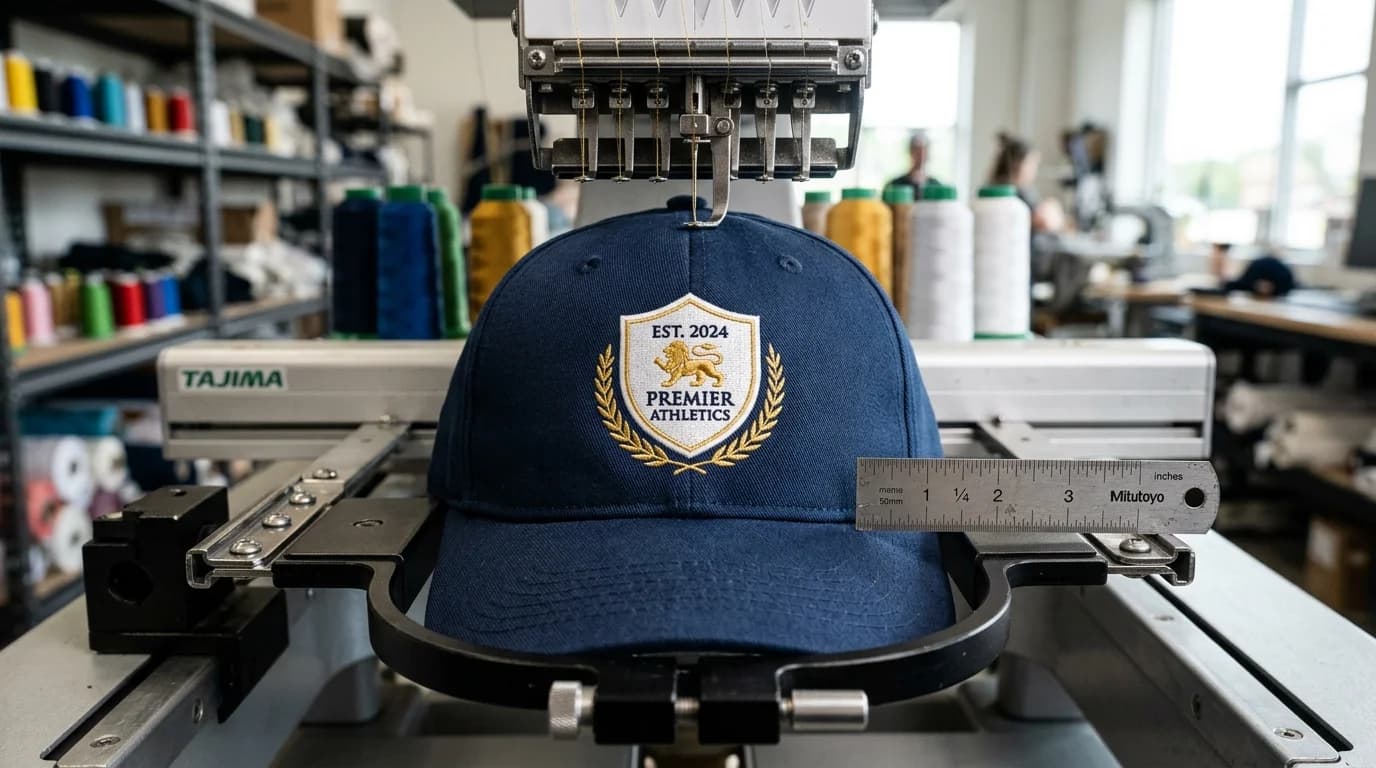
Cap embroidery digitizing is the process of turning a logo into a stitch file built for the curved front of a hat. A cap file sews from the center outward and from the bottom up, stays inside a small sewing field, and adds extra underlay over the center seam. A file made for a flat shirt usually distorts when it is sewn on a cap.
This guide covers the size limits, stitch order and settings our digitizers at Velora Digitizing apply to cap orders. If you would rather hand the work over, see our cap and hat logo digitizing service.
What Is the Maximum Logo Size for Hat Embroidery?
The maximum logo size on a hat is set by the cap frame, not by the artwork. The needle cannot sew close to the bill, and the crown curves away from the machine near the top, so the usable field is short and wide. These are the typical limits for common cap styles.
- Structured six-panel cap or snapback, front: about 2.25 inches high and 4.5 inches wide. Some high-profile crowns allow up to 2.5 inches of height.
- Low-profile or unstructured dad hat, front: about 2.0 inches high and 4.0 inches wide.
- Five-panel or foam-front trucker cap, front: about 2.25 inches high and 4.5 inches wide, with no center seam to work around.
- Side panel: about 1.0 inch high and 2.5 inches wide.
- Back, above the closure opening: about 0.75 to 1.0 inch high and 3.5 inches wide, often set as a single curved line of text.
- Beanie cuff: about 1.75 to 2.0 inches high and 4.0 inches wide.
Treat these as starting points. Cap frames differ between machine brands, and a tall design on a low-profile cap will hit the frame or sew onto the curve. When in doubt, measure the blank and ask the embroiderer which frame they use before the file is digitized.
Why Does a Cap Need Its Own Digitized File?
A cap needs its own file because it is curved, stiff and held differently from flat fabric. A flat hoop grips the fabric on all sides. A cap frame grips the cap mainly at the sweatband, so the front panel is free to flex as the needle moves away from the bill. Three problems follow from that.
- Registration drift: the fabric shifts a little with every section sewn. If the design sews from one side to the other, the error builds up and the last elements land out of place.
- The center seam: six-panel caps have a thick ridge down the middle of the front. Stitches sink into the valley beside it, and needles deflect or break on the ridge.
- Push toward the crown: stitching pushes loose fabric ahead of it. Sewing from the top down traps that fabric against the bill and creates a ripple above the logo.
This is why a logo that sews cleanly on a polo can fail on a hat. The sizing and sequencing rules in our left chest logo digitizing guide are built for a flat hoop, and they do not carry over to a cap frame.
What Stitch Order Should a Cap Design Use?
A cap design should sew center-out and bottom-up. Starting at the center spreads any fabric movement evenly to the left and right instead of pushing it all one way. Starting near the bill pushes loose fabric up toward the open crown, where it has room to go. A digitizer plans the sequence like this.
- 1Start at the bottom center of the design, the point closest to the bill and the seam.
- 2Sew the central element first, such as the middle letter of a word or the core of a crest.
- 3Work outward in alternating steps, one element to the left, then one to the right.
- 4Finish each element completely before moving on: its underlay, then its fill or satin, then its outline.
- 5Move upward through the design only after the lower sections are locked down.
- 6Keep jumps and trims to a minimum so the frame is not dragged back and forth across the cap.
Which Underlay and Density Settings Work on Caps?
Caps need more underlay and slightly more pull compensation than flat garments, but not more top-stitch density. Extra density on stiff buckram causes thread breaks and needle deflection. These are the settings a digitizer normally starts from with standard 40-weight thread.
- Seam bridge: a zigzag or light fill underlay sewn across the center seam first, so satin columns sit on top of the valley instead of sinking into it.
- Satin lettering: center-run underlay for narrow columns, plus edge-run or zigzag underlay once columns are wide enough to hold it.
- Top density: around 0.40 mm spacing for satin and fill. Avoid stacking several dense layers in the same spot.
- Pull compensation: roughly 0.2 to 0.4 mm, with the higher end on columns that run across the curve of the cap.
- Fills: angle large fills so they do not run parallel to the seam, which helps hide the ridge.
For a full explanation of each underlay type and when to use it, read embroidery underlay types explained.
How Small Can Text Be on an Embroidered Cap?
Keep capital letters at least 0.25 inch (about 6 mm) high on a cap. Below that, the curve, the buckram and the seam cause letters to close up and fill in. Text that is readable at 0.2 inch on a flat polo often needs to be larger on a hat.
- Use simple block sans-serif fonts for small lines. Thin serifs and scripts lose their fine strokes.
- Keep satin columns at least 1 mm wide so the thread has room to form a clean edge.
- Avoid placing small text directly across the center seam. Shift it, enlarge it, or move it to a second line.
- For very small lettering, a thinner 60-weight thread with a smaller needle gives cleaner results than standard 40-weight.
- Drop taglines that cannot be read at cap size. A clean logo looks better than a logo with an unreadable strip under it.
What Backing, Needle and Machine Speed Suit Caps?
The file is only half of a good cap. The embroiderer also has to support the cap correctly and slow the machine down. These are the usual production choices.
- Structured caps: one layer of firm tearaway cap backing, about 2.5 to 3.0 oz.
- Unstructured caps: a firm cutaway backing, or two layers of tearaway, to stop the soft crown from collapsing.
- Needle: a 75/11 sharp point for buckram-backed fronts, and a ballpoint for knit beanies.
- Speed: roughly 600 to 750 stitches per minute, and slower still for small lettering.
- Hooping: seat the sweatband fully, line up the center seam with the mark on the frame, and clip the back of the cap tight so the front panel sits flat.
Our embroidery stabilizer guide covers backing choices for other garments in more detail.
How Many Stitches Does a Typical Cap Logo Have?
Most front cap logos fall between roughly 4,000 and 10,000 stitches. A single line of text may need only 3,000 to 5,000. A filled crest that uses most of the 2.25 by 4.5 inch field can reach 10,000 or more. Stitch count matters because many digitizers and embroiderers price by it, and because a heavier design takes longer to run on every cap in the order.
To estimate your own design before you request a quote, use the method in how to estimate embroidery stitch count.
When Should You Choose 3D Puff Instead of Flat Cap Embroidery?
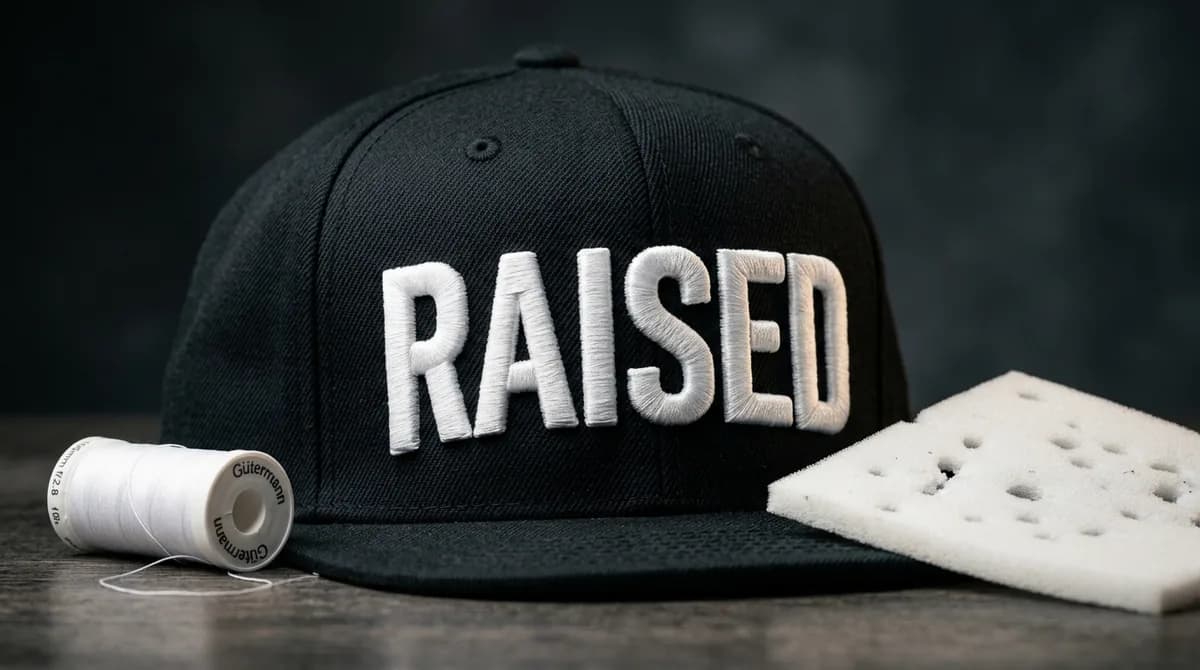
Choose 3D puff when the design is made of bold, simple shapes such as block letters or a thick monogram, and you want it raised off the cap. Choose flat embroidery when the design has small text, thin lines or fine detail, because foam cannot hold them. Many caps combine both: a puff main logo with flat text beneath it.
Puff is digitized very differently from flat embroidery, with capped ends and wider columns. See our 3D puff embroidery digitizing guide or the 3D puff digitizing service for details.
Six Common Cap Digitizing Mistakes
- Reusing a flat file. The size may fit, but the stitch order is wrong for a cap frame.
- Making the logo too tall. Anything above the safe height sews onto the curve and distorts, or strikes the frame.
- Sewing left to right. Movement builds up across the design and the last letters lean or drift.
- Leaving outlines until the end. They no longer line up with the shapes they were drawn around.
- Running small text across the seam. The letters on the ridge sink or break up.
- Adding density to fix coverage. On buckram this causes thread breaks. Better underlay solves coverage more safely.
Cap Embroidery Digitizing Checklist
- 1Identify the cap type: structured, unstructured, five-panel, or beanie.
- 2Confirm the sewing field of the cap frame that will be used.
- 3Size the logo inside that field, and no taller than about 2.25 inches on a standard structured cap.
- 4Simplify or enlarge any text below 0.25 inch.
- 5Sequence the design center-out and bottom-up.
- 6Add a seam-bridge underlay on six-panel caps.
- 7Sew each outline straight after its fill.
- 8Export the format the machine reads. Our guide to DST, PES and JEF file formats explains which one you need.
- 9Run one test cap on the same blank before starting the full order.
Get a Cap-Ready File From Velora Digitizing
Velora Digitizing prepares cap files with center-out sequencing, seam-bridge underlay and sizing matched to your cap style. Send your artwork, the cap type and the machine format you need through our cap logo digitizing service, or contact us for a free quote.
Written by the Velora Digitizing Team
Digitizing StudioThis guide is written and reviewed by the digitizers at Velora Digitizing, who prepare embroidery files for caps, jackets, patches, and left chest logos every day. The advice here comes from the same stitch-path, underlay, and fabric choices we make on client orders.
Related service
Cap & Hat Logo Digitizing