What Is Embroidery Digitizing and How Does It Work?
Embroidery machines cannot read a JPG or PNG. Digitizing converts your artwork into a stitch file that tells the machine exactly where and how to sew. Here is how the process works from start to finish.
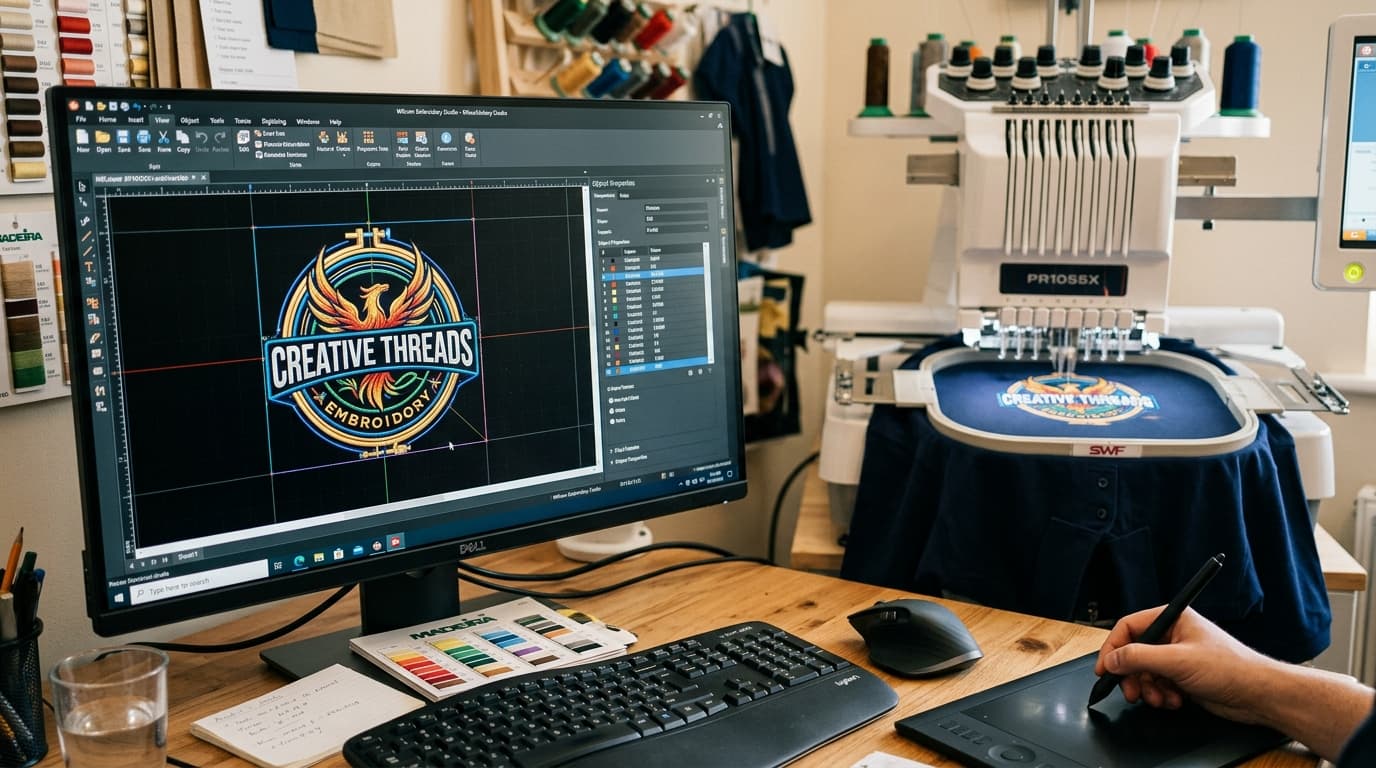
If you have ever sent a logo to an embroidery shop and been told it needs to be 'digitized first', this guide is for you. Embroidery digitizing is the step that turns flat artwork into a file an embroidery machine can actually sew. It is the single biggest factor in how your finished embroidery looks, and it is also the part most people know the least about.
Embroidery Digitizing in Plain Words
An embroidery machine does not see colors or shapes. It only understands a list of needle positions and commands: move here, drop the needle, move there, change thread, trim, stop. Digitizing is the process of creating that list from your artwork. A digitizer opens your logo in specialised software and manually draws every stitch object on top of it, deciding what type of stitch to use, in which direction it should run, how dense it should be, and in what order the machine should sew everything.
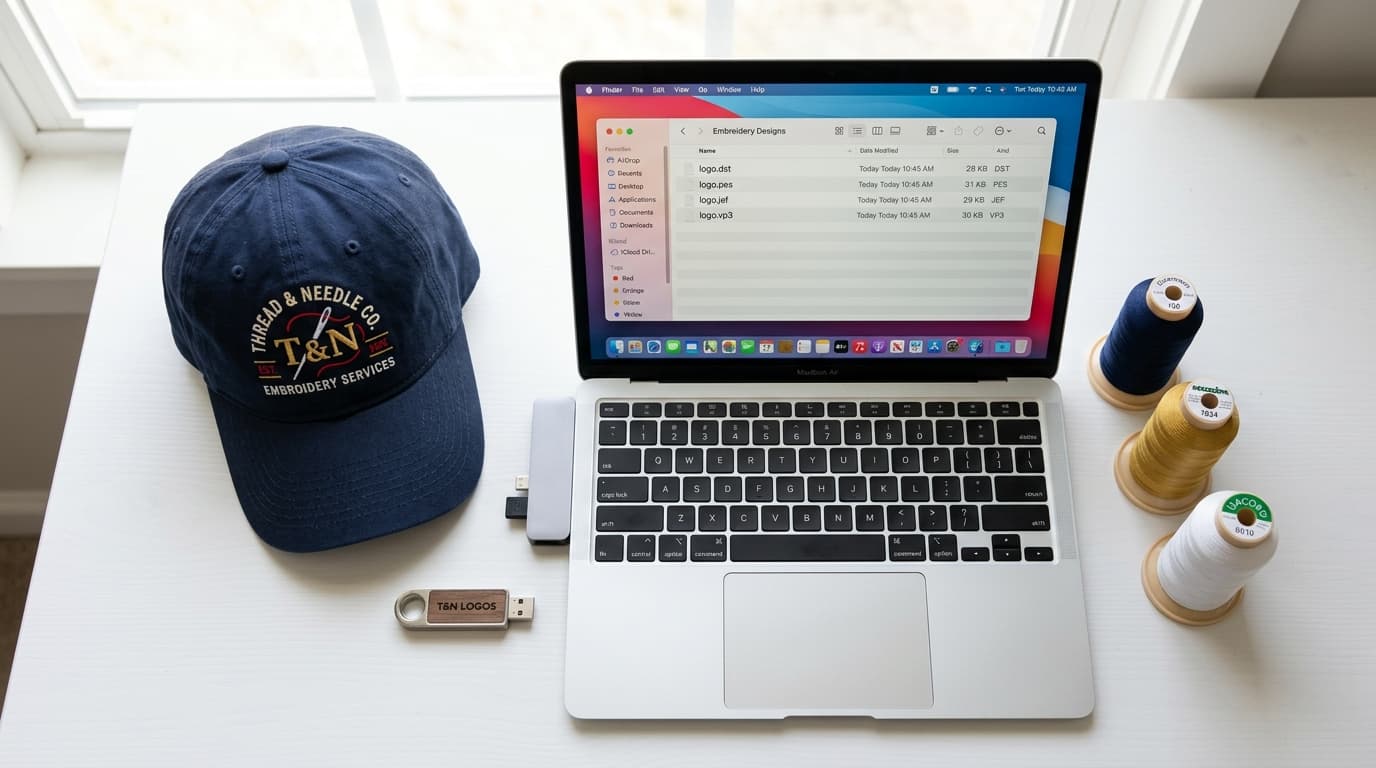
The output is a stitch file such as DST, PES or JEF. That file is what the machine reads. The artwork itself never goes into the machine. This is why a digitized file for a 3 inch left chest logo cannot simply be scaled up to a 12 inch jacket back: the stitches were planned for one specific size and fabric.
The Three Building Blocks of Every Design
Almost every embroidered design is built from three stitch types. Knowing them helps you understand why some logos embroider well and others do not.
1. Satin stitch
Long zig-zag stitches that run edge to edge across a narrow shape. Satin gives the shiny, raised look you see on lettering, outlines and borders. It works best on columns between roughly 1 mm and 10 mm wide. Anything wider needs to be split or changed to fill, otherwise the long stitches snag and loosen.
2. Fill stitch (tatami)
Rows of short, offset stitches that cover large areas like backgrounds, shields and solid shapes. The digitizer controls the stitch length, the angle of the rows and the density. Changing the fill angle in different parts of a design creates subtle texture and stops the fabric from pulling in one direction.
3. Running stitch
A single line of stitches, used for fine details, small text outlines, and as underlay beneath other stitches. Triple run or bean stitch makes the line bolder without switching to satin.
What a Professional Digitizer Actually Decides
Placing stitches on a shape is the easy part. The quality of a file comes from the decisions around those stitches. These are the ones that matter most:
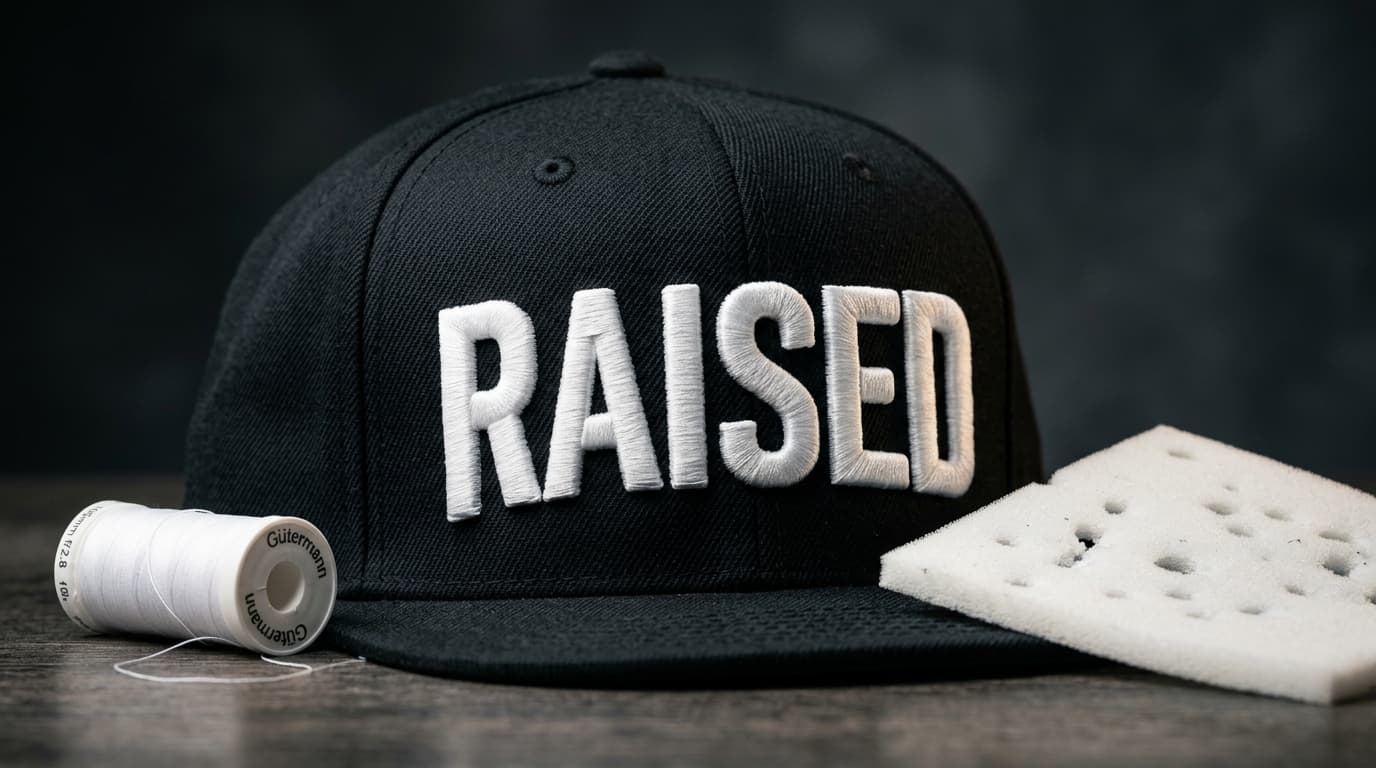
- Underlay: hidden stitches sewn first to stabilise the fabric and give the top stitches something to sit on. Wrong underlay is the number one reason logos look sunken on fleece or bumpy on caps.
- Pull compensation: fabric moves when the needle pulls thread through it, so shapes shrink slightly in the stitch direction. The digitizer widens objects by a fraction of a millimetre to counter this so circles stay round and letters stay the correct width.
- Density: how close the stitches sit together. Too dense and the fabric puckers, needles break and the design feels like cardboard. Too loose and the fabric shows through.
- Stitch direction: the angle of satin and fill stitches controls how light reflects off the thread. Good digitizers change angles between neighbouring objects so each element stands out.
- Sequencing: the order in which objects sew. Smart sequencing reduces trims and color changes, keeps registration tight, and can cut machine time by 20 to 30 percent on large designs.
- Fabric and backing: the same logo is digitized differently for a structured cap, a pique polo and a fleece hoodie. Stretch, thickness and nap all change the settings.
Manual Digitizing vs Auto-Digitizing
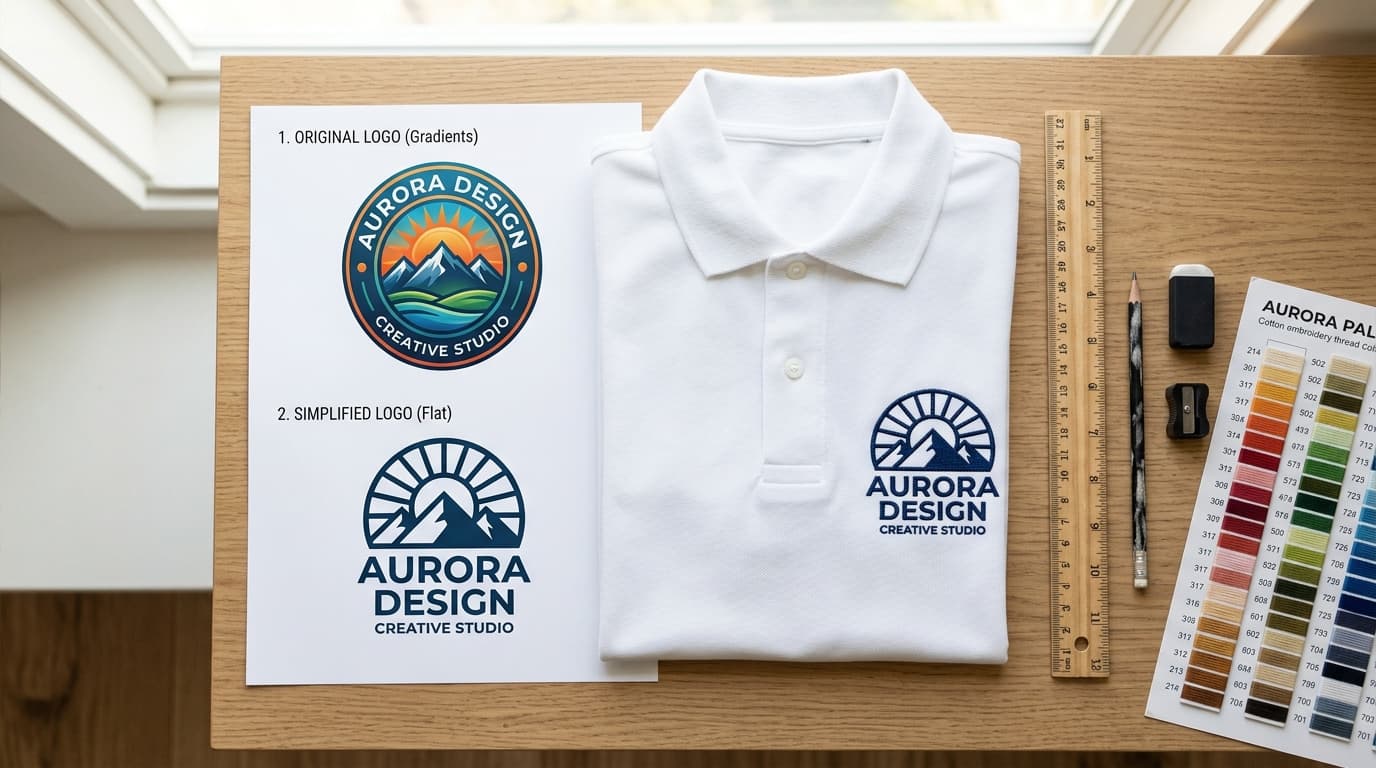
Most embroidery software includes an auto-digitize button. It traces the shapes in your image and assigns a stitch type to each one. For very simple, blocky shapes it can produce something usable. For real logos it almost always fails, because software cannot judge fabric, size, sequencing or which details need to be simplified to sew cleanly.
A manually digitized file is planned by a person who knows how thread behaves. Small text is adjusted so it stays legible, thin lines are converted to the right stitch type, and the whole design is sequenced for minimal trims. The difference is obvious the moment both files are sewn out side by side. If you would like to see examples, our embroidery digitizing portfolio shows real stitch-outs across caps, jackets, patches and polos.
The Digitizing Process Step by Step
- 1You send the artwork. Any format works: PNG, JPG, PDF, AI, EPS or even a photo of a sketch. Higher resolution helps, but a good digitizer can work from almost anything.
- 2You confirm the size, placement and fabric. A 3.5 inch left chest logo on a polo and a 2.25 inch cap front logo are two different files.
- 3The digitizer maps every element manually, choosing stitch types, underlay, density, pull compensation and sequence.
- 4The file is test-sewn on the actual fabric type and adjusted until it runs clean. At Velora Digitizing every file is sewn out before delivery, not just previewed on screen.
- 5You receive the stitch file in your machine's format, plus a PDF proof showing the stitch count, thread colors and a simulated stitch-out.
How Long Does It Take?
A standard logo takes a few hours of digitizing plus a test sew. Most professional services deliver within 12 to 24 hours, and rush delivery in 2 to 8 hours is common for simple designs. Large jacket backs and highly detailed artwork can take a day or two because they need more sequencing work and multiple test sews.
What You Should Receive From a Digitizer
- The stitch file in your machine format (DST, PES, JEF, EXP, VP3 and others) at the agreed size.
- A production sheet or PDF proof with stitch count, dimensions, thread color sequence and a stitch simulation.
- A photo of the real sew-out on fabric, so you know the file has been tested, not just previewed.
- Free revisions if anything needs adjusting after you run it on your own machine.
Ready to Digitize Your Logo?
Good digitizing is invisible: the logo simply looks right on the garment. Bad digitizing shows up as puckering, gaps, thread breaks and lettering nobody can read. If you want a file that runs clean on the first try, send us your artwork through our contact page for a free quote. Every file is manually digitized, test-sewn, and delivered in 8 to 24 hours with unlimited revisions.
Related service
Embroidery Digitizing Services