Cutaway vs Tearaway Stabilizer: Which One to Use for Each Fabric
Cutaway for anything that stretches or gets worn, tearaway for stable wovens and caps, wash-away for lace and as a topper. The fabric chart, weights and trimming rules in one place.

Embroidery Digitizing Studio
Commercial Digitizing Service
Need production-ready machine files? Explore our Embroidery Digitizing Services
Use cutaway stabilizer for knits, stretch and performance fabrics, and anything that will be worn and washed often. Use tearaway for stable woven fabric, towels (with a water-soluble topper on top) and structured caps. Use wash-away for freestanding lace, sheer fabric, and as a topper over textured fabric. The backing you choose also changes how the file should be digitized: density, underlay and pull compensation are set differently for a knit on cutaway than for twill on tearaway.
This guide is the decision version of the stabilizer question. It gives you a fabric-by-fabric chart, the weights that matter, when to hoop and when to float, how to trim cutaway, when fusible or sticky backing helps, and what to tell your digitizer so the file and the backing work together.
Cutaway vs tearaway in one minute
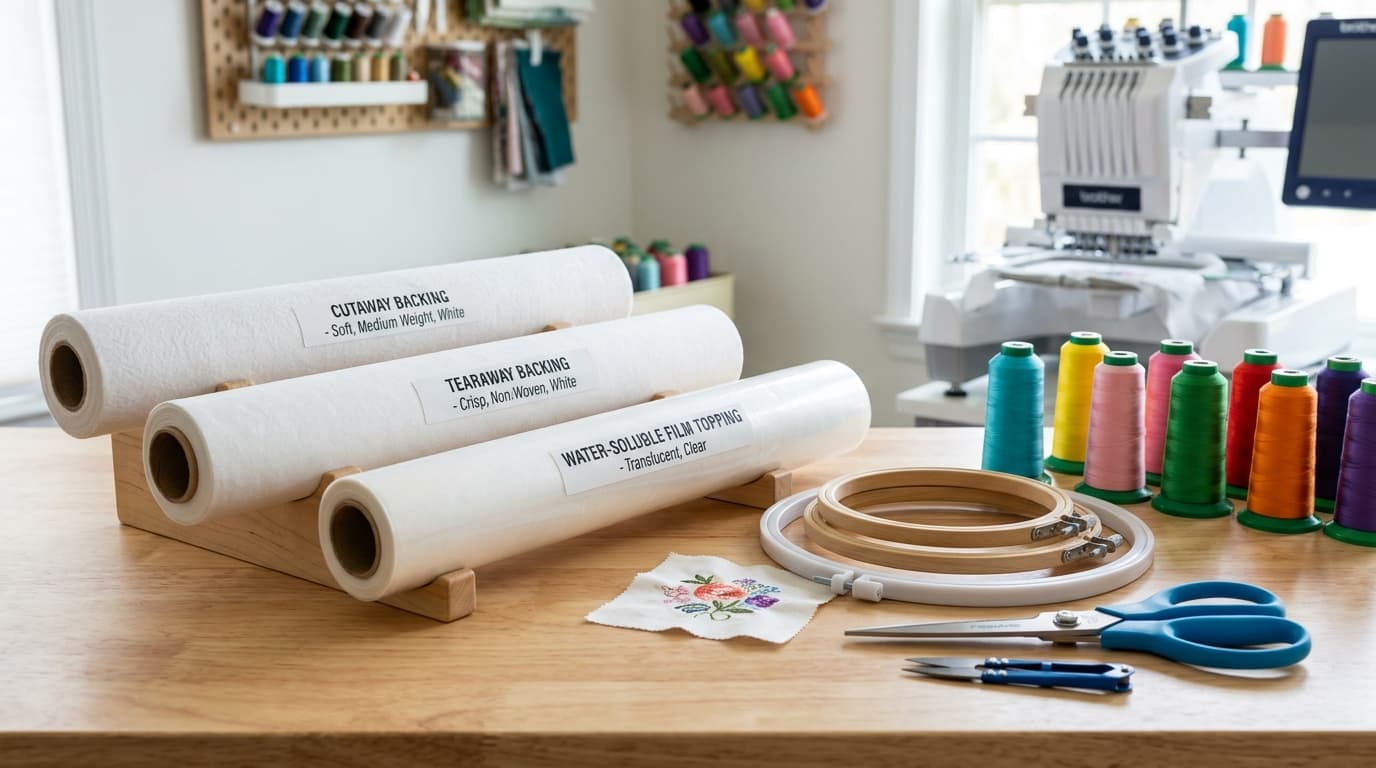
- Cutaway stays in the garment. It is non-woven polyester that does not break down under needle penetrations or washing. You trim the excess and the rest supports the stitches for the life of the garment. Right for anything that stretches.
- Tearaway comes out. It is a short-fiber backing that perforates along the stitch line so you can tear the excess away cleanly. It gives firmness during sewing only, so it is right for fabric that is already stable on its own.
- Wash-away disappears. It is a polyvinyl alcohol film or fibrous sheet that dissolves in water. Used as a topper on textured fabric and as the only backing for freestanding lace and sheer fabric.
- The one-line rule: if the fabric stretches or the item will be worn, cutaway. If the fabric is rigid, or it is a structured cap, tearaway. If the surface has pile or loops, add a wash-away topper on top of whichever backing the fabric needs.
Stabilizer by fabric: the chart
Start with the garment, not the design. The right column tells you what changes in the stitch file, which is what to pass on when you order embroidery digitizing.
| Fabric | Stabilizer | Weight or type | Topper? | Digitizing note |
|---|---|---|---|---|
| T-shirt / cotton jersey knit | Cutaway | 2.0 oz, or no-show mesh on light colors | No | Moderate density, edge-run plus zigzag underlay under satin, extra pull compensation across the stretch direction |
| Polo pique | Cutaway | 2.5 oz | Yes, on small text and fine satin | Full underlay so stitches do not sink into the pique texture; lettering at or above 4 mm |
| Performance polyester (dry-fit) | Cutaway | 1.5 oz no-show mesh, one or two layers | Optional | Lower density to avoid stiff patches, lighter underlay, sharp needle; keep stitch count down on thin shirts |
| Sweatshirt / fleece | Cutaway | 2.5 to 3.0 oz | Yes | Knockdown or heavier underlay so pile does not swallow stitches; see the towel and fleece knockdown guide |
| Woven cotton / denim | Tearaway | 1.5 to 2.0 oz | No | Standard density, light underlay; denim can take higher density than shirting |
| Canvas / twill workwear | Tearaway | 2.0 to 2.5 oz | No | Firm fabric, so minimal pull compensation; watch needle size on heavy canvas |
| Towel / terry cloth | Tearaway (back) | 2.0 oz medium | Yes, always | Knockdown stitch under the design, wider satin so letters stay readable in the loops |
| Structured cap (buckram front) | Tearaway | 2.5 oz crisp cap backing | No | Center-out, bottom-up sequencing on the curved frame; see cap logo digitizing and 3D puff digitizing |
| Unstructured cap (dad hat) | Cutaway | 2.5 oz firm | No | Soft crown collapses without permanent backing; same cap sequencing rules |
| Organza / sheer | Wash-away | Medium film or fibrous wash-away | No | Light density, open fill or running-stitch styles; no visible backing can remain |
| Leather / vinyl | Cutaway or none for light designs | 2.0 to 3.0 oz | No | Low density, no dense underlay, longer stitch length so perforations do not cut the material; see custom patch digitizing for leather patches |
How each stabilizer type behaves
Cutaway: permanent support
Cutaway is bonded synthetic fiber. The needle punches thousands of holes in it and it does not weaken, which is exactly what a knit needs: the fabric around the design would otherwise stretch during sewing and shrink back afterwards, pulling the stitches out of shape. After sewing, the excess is trimmed with scissors and the backing under the design stays put through every wash.
- Best fabrics: all knits, polos, t-shirts, performance moisture-wicking fabric, fleece, sweaters, softshell jackets, unstructured caps.
- Common weights: 1.5 oz no-show mesh (light, soft, invisible through thin shirts), 2.0 oz (light), 2.5 oz to 3.0 oz (the commercial standard for polos and fleece).
- Downside: a stiff white square can show through light or thin fabric. No-show mesh solves this on shirts.
Tearaway: temporary support
Tearaway is made from short, randomly laid fibers so it tears cleanly in any direction once the needle has perforated it. It keeps the fabric firm while the machine runs, then comes out, leaving a clean back. Because it is destroyed by the stitching, it cannot support a knit after the fact.
- Best fabrics: woven shirts, denim, canvas, twill, towels (with a topper), structured caps, heavy aprons.
- Common weights: 1.5 oz light, 2.0 oz medium, 2.5 oz heavy cap and canvas backing.
- Downside: on a knit it tears along the stitch line during sewing and the fabric puckers after the first wash. Two layers of tearaway do not fix this; the needle destroys both.
Wash-away: topper or dissolving base
Wash-away is a film or sheet that dissolves in warm water. As a topper it sits on top of textured fabric so the stitches lie on the surface instead of sinking into loops or pile. As a base it is used where nothing can remain afterwards: freestanding lace, sheer fabric, some patches and emblems.
Weights: what the ounces mean
Stabilizer weight is given in ounces per square yard (or grams per square meter). Heavier is firmer, not better. Too heavy a backing on a thin shirt makes the design feel like cardboard; too light under a dense fill lets it distort.
- 1.5 oz (about 50 gsm): light tearaway for shirting, or no-show mesh cutaway for thin and light-colored knits.
- 2.0 oz (about 70 gsm): light cutaway for t-shirts, medium tearaway for towels and denim.
- 2.5 oz (about 85 gsm): the all-round commercial cutaway for polos and fleece, and the crisp tearaway used for structured caps.
- 3.0 oz (about 100 gsm): heavy cutaway for dense jacket backs, heavy fleece and leather.
- No-show mesh: a soft, semi-sheer cutaway around 1.5 oz that supports stretch in every direction without a visible square. Use two layers under dense designs on thin performance fabric.
Hooping vs floating
Hooping means the fabric and the stabilizer are clamped together in the hoop. This is the standard for knits on cutaway: the backing takes the tension and the fabric does not stretch while you hoop it. Floating means only the stabilizer is hooped and the garment is laid on top, held with spray adhesive, pins, a sticky stabilizer or a basting box stitched first.
- Float when the item cannot be hooped: cuffs, collars, pockets, small baby garments, thick seams, leather that would mark.
- Float when the fabric marks easily: velvet, satin, some performance fabrics show hoop burn.
- Do not float a stretchy knit on tearaway and expect it to behave. If you must float a knit, float it on cutaway with adhesive and a basting stitch.
- Whichever method you use, the fabric should be taut but not stretched. Stretching a knit in the hoop guarantees puckering when it relaxes.
How to trim cutaway correctly
- 1Take the garment out of the hoop and turn it inside out.
- 2Use curved, blunt-tipped embroidery scissors, not fabric shears. The curve keeps the blade away from the garment.
- 3Lift the backing gently away from the stitches with your other hand so there is a gap between backing and fabric.
- 4Cut around the design leaving about 1/4 inch (6 mm) of backing beyond the outermost stitches. Closer than 1/8 inch risks cutting stitches; much wider leaves a visible edge through thin fabric.
- 5Round the corners rather than cutting sharp points; points poke through and show.
- 6Never tear cutaway. Pulling it distorts the stitches you just sewed.
Fusible and sticky stabilizers
- Fusible cutaway has a heat-activated adhesive on one side. Pressing it to the back of a stretchy or slippery knit before hooping stops the fabric shifting and makes hooping a thin shirt much easier. It is the only cutaway you iron.
- Fusible tearaway does the same job for wovens that fray or shift, and still tears away after sewing, though the fused area may leave a light residue.
- Sticky (adhesive-backed) tearaway or wash-away has a paper release layer you score and peel inside the hoop. It is the usual way to float small or awkward items without spray adhesive.
- Spray adhesive on standard cutaway is the cheap alternative for floating. Spray the stabilizer, not the garment, and keep it away from the needle area to avoid gumming the needle.
What to tell your digitizer
Stabilizer and digitizing are one system. A file digitized for a polo on 2.5 oz cutaway will pucker on a thin performance shirt on mesh, and a file set up for twill on tearaway will distort on fleece. When you send artwork, include:
- The exact garment and fabric: pique polo, 100% cotton jersey, performance polyester, fleece, twill, terry, structured or unstructured cap.
- The stabilizer you plan to use and its weight, or ask for a recommendation.
- Whether you will use a topper. Small lettering on pique or fleece is digitized differently when a topper is present.
- Finished size and placement, so density and the smallest text height can be set for the fabric.
- Anything unusual: stretchy ribbing, a seam running through the design, a very light shirt where backing may show.
At Velora Digitizing the underlay, density and pull compensation are set for the garment and backing you name, which is why the quote form asks for them. Explore our embroidery digitizing services, order 3D puff digitizing for caps and fleece, or upload your artwork on the contact page for a quote.
Mistakes that cause most stabilizer problems
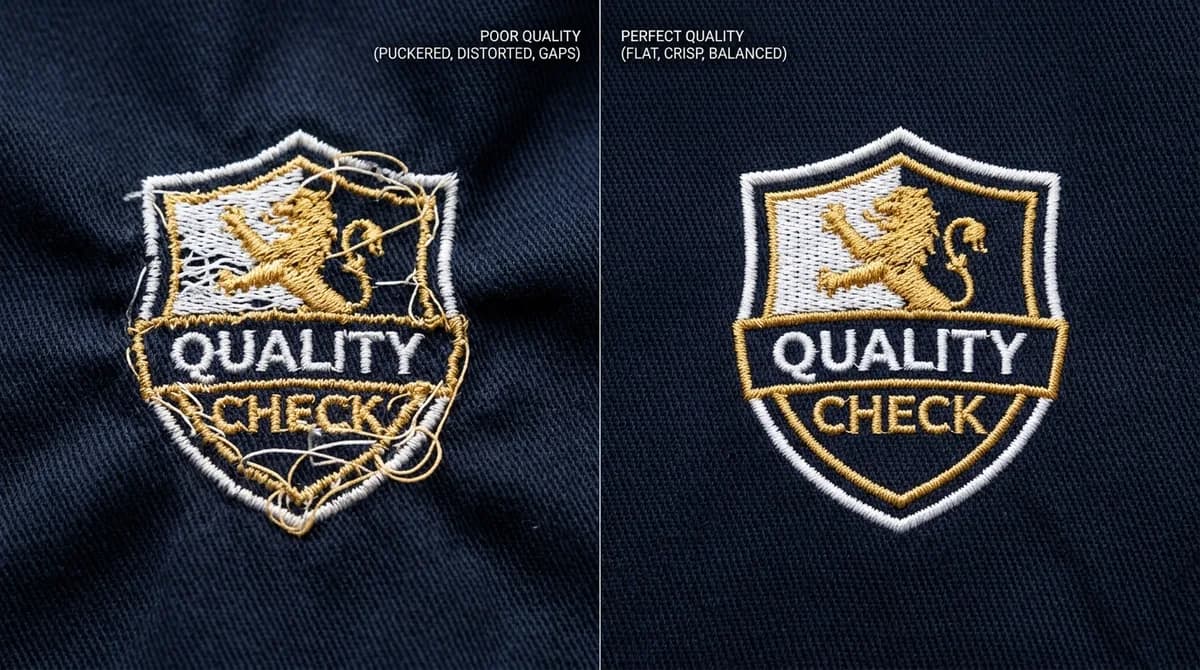
- Tearaway under a polo or t-shirt. Looks fine off the machine, puckers after the first wash. Use cutaway.
- Two layers of tearaway instead of one cutaway. The needle destroys both layers; the knit is still unsupported.
- Heavy white cutaway under a thin white shirt. The square shows through. Use no-show mesh.
- No topper on towels or fleece. Satin and small letters sink and look ragged. Add a wash-away film on top.
- Stretching the fabric in the hoop. The design is sewn on stretched fabric and distorts when it relaxes.
- Trimming cutaway too close or tearing it. Cut stitches or pulled outlines. Leave about 1/4 inch and use curved scissors.
- Wrong stabilizer for an unstructured cap. A soft crown needs cutaway, even though structured caps take tearaway.
- Ignoring the file. The best backing cannot rescue a file digitized for a different fabric. Tell your digitizer what you are sewing on.
Stabilizer works together with the right needle and hoop. Match them using the machine embroidery needle size guide and the embroidery hoop sizes chart. For knit garments, see the polo shirt and beanie guides, and for puckering that is already happening, the fabric puckering and thread break fixes.
Written by the Velora Digitizing Team
Digitizing StudioThis guide is written and reviewed by the digitizers at Velora Digitizing, who prepare embroidery files for caps, jackets, patches, and left chest logos every day. The advice here comes from the same stitch-path, underlay, and fabric choices we make on client orders.
Related service
Embroidery Digitizing Services