What Is a Jump Stitch in Embroidery? How to Reduce and Remove Jump Stitches
Jump stitches explained from the digitizing side: jumps vs trims, why home machines leave them, how good pathing removes most of them, and how to trim the rest cleanly.

Embroidery Digitizing Studio
Commercial Digitizing Service
Need production-ready machine files? Explore our Custom Embroidery Digitizing
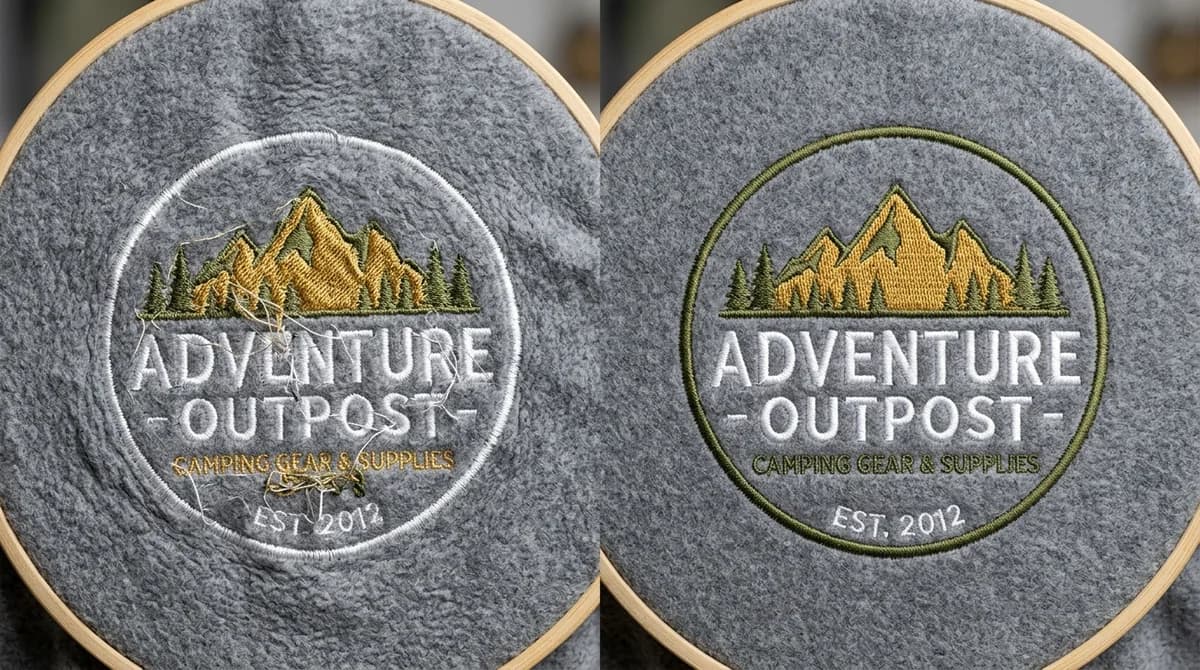
A jump stitch is the loose thread left on the surface when the embroidery machine moves from one part of the design to another without sewing. The needle stops going into the fabric, the hoop moves, and the thread stays attached, so a strand runs across the gap. Jumps are normal between separate letters or shapes, but a design full of them usually means the sewing path was not planned well.
This guide covers jumps vs trims, why some machines leave jumps and others cut them, how a digitizer reduces them before the file reaches you, and how to trim the ones that remain without damaging the stitching.
Jump stitches vs trims vs travel runs
| Command | What the machine does | What you see | When digitizers use it |
|---|---|---|---|
| Jump | Moves the hoop without sewing | A loose strand across the gap | Short moves the machine can convert, or that will be covered later |
| Trim | Ties off, cuts the thread, moves, ties in | Clean gap, small tie-off stitches | Gaps that stay visible, such as between words |
| Travel run | Sews a short run stitch to the next start point | Nothing, if hidden under a later fill | Moving inside an area that will be covered |
| Color change | Stops for the next thread (single needle) or switches needles | A pause; thread may be left hanging | New color |
Machines differ in how they handle jumps. Many commercial and multi-needle machines have a setting that turns jumps longer than a set length into trims; some Brother models, for example, let you skip trimming for jumps of 1 inch (25 mm) or less. Several popular entry-level single-needle models do not cut jump stitches at all, so on those machines every jump becomes a thread you cut by hand. Check your machine manual for a jump-trim setting before blaming the file.
Why designs have too many jump stitches
- Auto-digitizing. Automatic tools convert each color shape separately and often order them by area, not by position, so the machine jumps back and forth across the design. See manual vs AI embroidery digitizing for the difference this makes.
- Letters digitized one by one. Each letter starts and ends in the wrong place, so the machine jumps from the end of the last stroke of one letter to the start of the next.
- Colors not grouped. If small red details are scattered across the design and sewn in a random order, the machine jumps between every one of them.
- Separate objects instead of connected ones. A border built from four separate pieces instead of one continuous path creates four starts and four stops.
- Converted file formats. Converting between formats can turn trims into plain jumps when the target format or machine handles trim codes differently.
How digitizers reduce jump stitches
Most jumps are best fixed before the file is ever sewn. These are the techniques a manual digitizer uses to plan the sewing path:
- 1Plan entry and exit points. Each object should end close to where the next object starts, so the move is short or disappears entirely.
- 2Hide travel runs under fills. A short run stitch inside an area that will be covered later moves the needle without leaving a strand. The fill sews over it.
- 3Connect lettering. Letters in a word are linked with travel runs placed under the next letter's satin, or the word is set as a connected script so it sews in one pass. The small lettering guide covers how this works for tiny text.
- 4Sort by color and position. Objects of one color are sewn in a path that moves steadily across the design rather than zig-zagging.
- 5Use trims where a gap stays visible. Between words, between separate motifs and across open fabric, a trim with tie-offs is cleaner than a long jump.
- 6Respect the machine. For a single-needle home machine that cannot trim, the digitizer keeps jumps short and places them where they are easy to cut.
| How the file was made | Jumps or trims (approx.) | Result |
|---|---|---|
| Auto-digitized, no path editing | 30-60 | Many strands to cut; risk of threads sewn into the design |
| Manually digitized, planned path | 5-12 | Mostly between words or separate elements |
| Manually digitized for a single-needle home machine | Kept short and easy to reach | Little cleanup after sewing |
These counts are illustrative ranges, not measured averages; a design with many separate letters will always carry more. The point is the gap between a planned path and an unplanned one.
How to remove jump stitches by hand
- 1Use curved embroidery scissors or double-curved snips. The curve lets you cut close to the fabric without stabbing the stitches.
- 2Cut long jumps during sewing. Pause the machine before the next color covers the area. A loose strand that gets stitched over cannot be removed cleanly.
- 3Cut both ends, close but not flush. Leave about 1 mm of thread at each end so the tie-off does not pull out.
- 4Check the back. Some jumps leave loops on the underside. Trim those too, especially on garments worn next to skin.
- 5Do not pull the thread. Pulling a jump instead of cutting it can pucker the fabric or drag satin stitches out of line.
Jump stitches and other quality problems
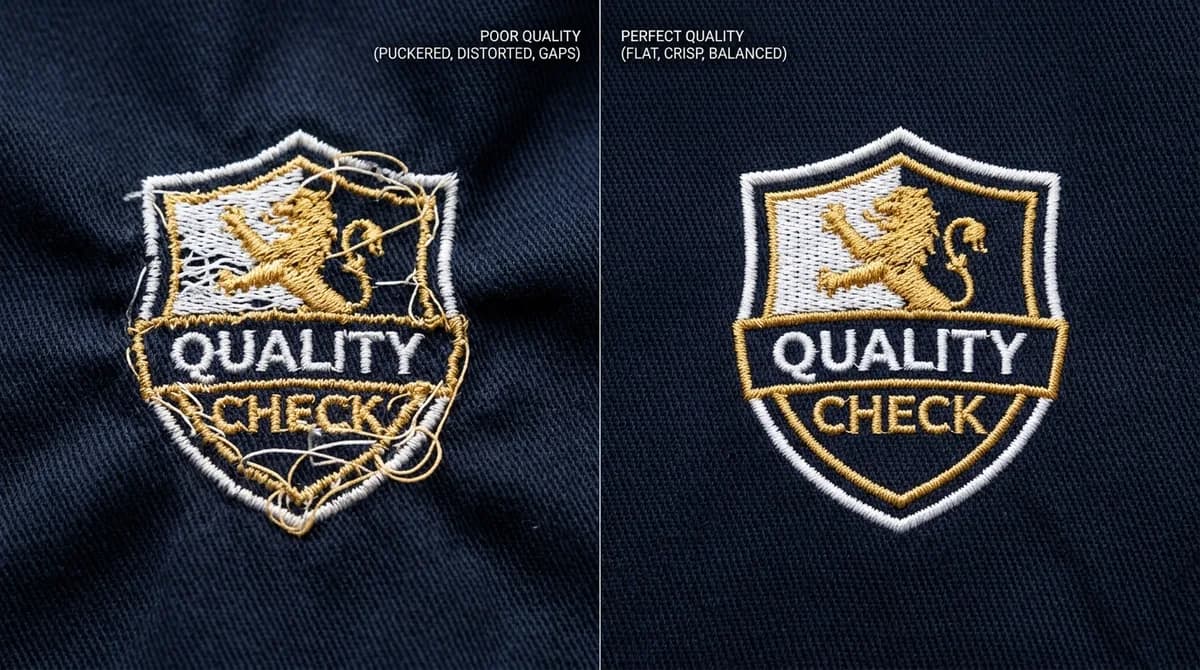
Jumps often appear together with other file problems: excessive stitch count, outlines that do not line up, and puckering around dense fills. If you see all of these in one design, the file probably needs rework rather than more trimming. The common embroidery digitizing mistakes list covers the full set, and the puckering and thread breaks guide covers the machine side.
Get a file built with a clean sewing path
Every Velora file is digitized by hand with a planned sewing path, connected lettering and trims placed for your machine. Tell us your machine model when you order, and we will keep jumps short and easy to cut if it is a single-needle home machine. Small logos up to 5,000 stitches are $6.99 on the Basic plan and most logos up to 15,000 stitches are $12.99 on the Standard plan. See embroidery digitizing services or check pricing.
Written by the Velora Digitizing Team
Digitizing StudioThis guide is written and reviewed by the digitizers at Velora Digitizing, who prepare embroidery files for caps, jackets, patches, and left chest logos every day. The advice here comes from the same stitch-path, underlay, and fabric choices we make on client orders.
Related service
Custom Embroidery Digitizing