Manual Digitizing vs AI Auto-Digitizing Software: Which Is Best for Embroidery?
Can AI software replace professional manual digitizers? We compare stitch quality, push-pull compensation, production speed, and real-world costs.

Lead Digitizer · 12+ Yrs Exp
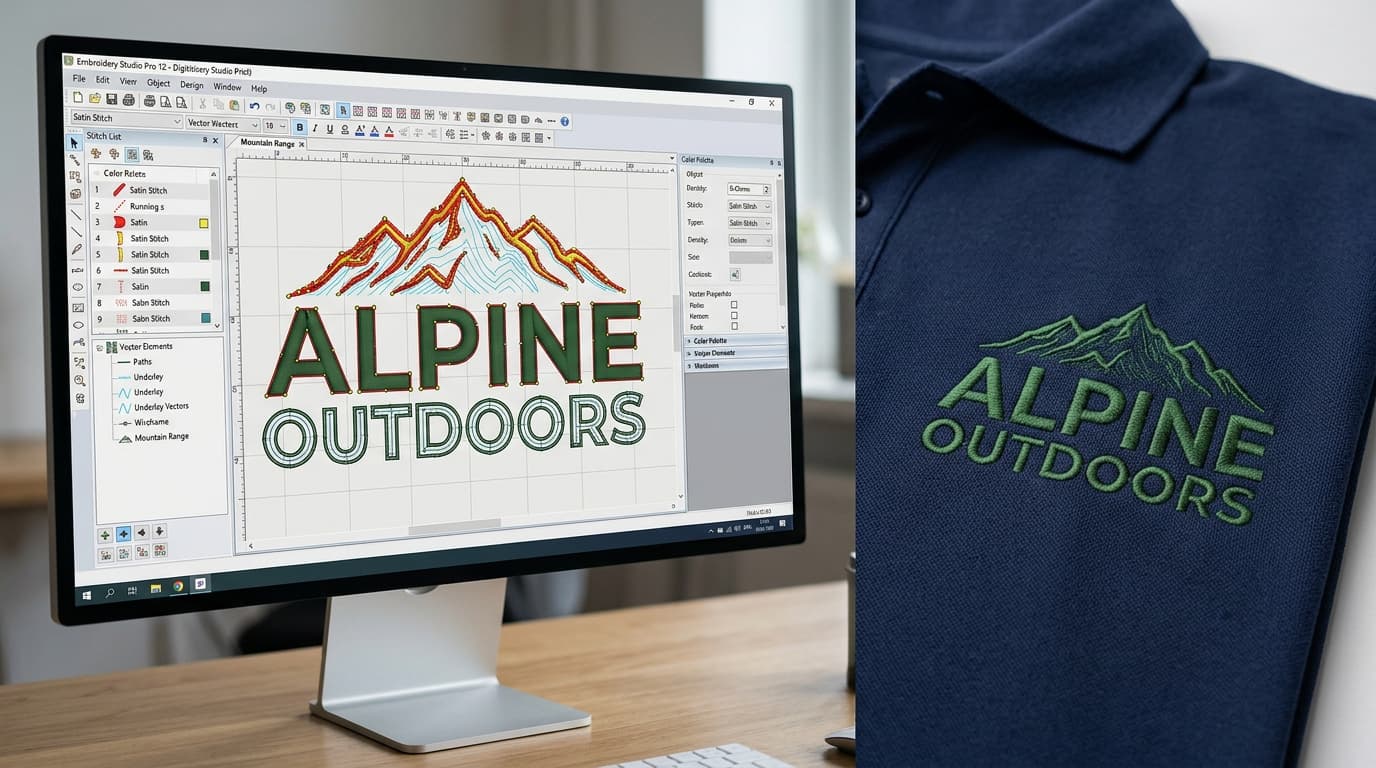
With the explosion of artificial intelligence across design software, a central debate has emerged in the apparel decorating industry: Can AI auto-digitizing software replace experienced manual digitizers?
At first glance, "one-click auto-digitizing" sounds revolutionary. You upload a PNG or vector logo, click a button, and immediately download a DST or PES stitch file. But when that file runs on a commercial 12-needle embroidery machine at 850 stitches per minute, the reality quickly becomes apparent.
In this guide, we break down the fundamental differences between manual punching and AI automated digitizing, analyzing stitch quality, machine runtime, error rates, and total cost of ownership.
How Manual Digitizing Works vs. Auto-Digitizing
1. Manual Digitizing (Artisan Punching)
A professional digitizer examines your artwork, identifies the specific garment fabric (fleece, twill, pique, nylon), and hand-draws every single stitch path using software like Wilcom EmbroideryStudio or Tajima Pulse. They manually program:
- Custom Underlays: Edge walks, tatami grids, and zig-zag underlays that secure the fabric to the stabilizer.
- Push-Pull Compensation: Expanding columns by 0.2mm to 0.4mm along stitch angles so circles sew out round instead of oval.
- Logical Path Sequencing: Traveling from the center-out or bottom-up to minimize jump trims and prevent fabric bunching.
- Variable Density Control: Calibrating stitch densities (0.38mm to 0.45mm) to match thread weights.
2. AI Auto-Digitizing (Algorithmic Conversion)
Auto-digitizing uses edge-detection algorithms to scan pixel boundaries or vector shapes, converting colored areas into generic stitch blocks. The algorithm has no understanding of fabric physics, thread tension, or machine speed.
Head-to-Head Comparison: Manual vs Auto-Digitizing
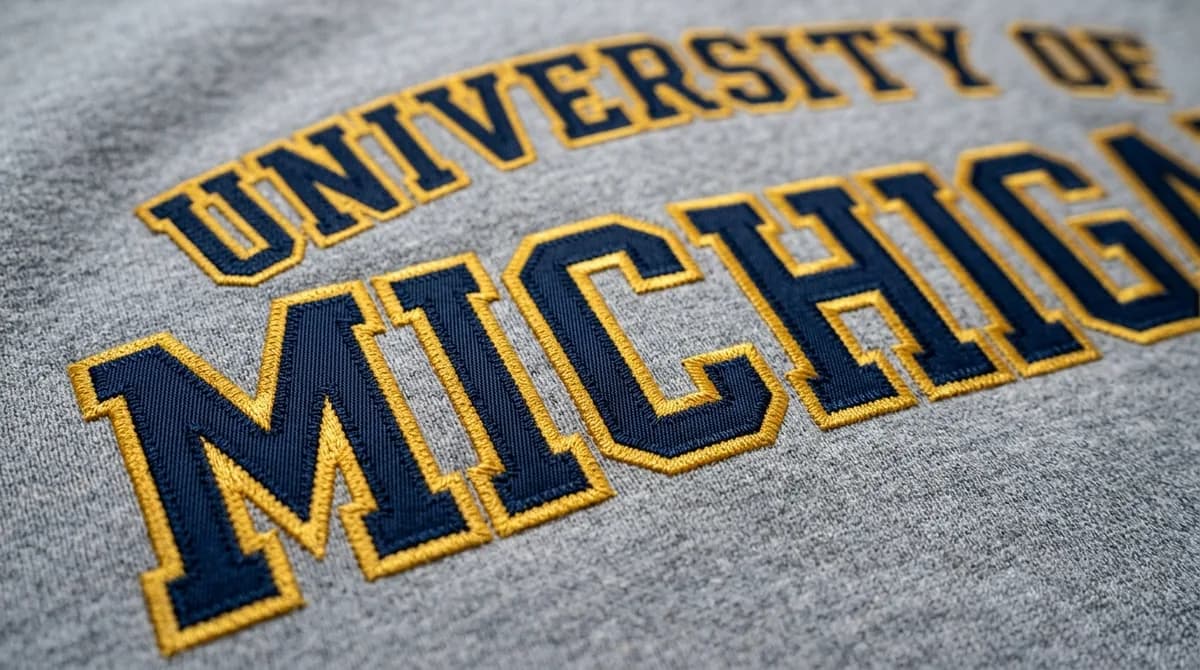
- Stitchout Cleanliness: Manual digitizing produces crisp, sharp lettering and glossy satin borders. Auto-digitizing results in jagged edges, uneven densities, and loose stitch loops.
- Machine Run Time: Manual digitizing eliminates unnecessary trims and travel jumps, cutting production time by 20% to 40% per garment.
- Thread Breaks: Auto-digitized files average 3-8 thread breaks per sewout due to micro-stitches. Professional manual files run uninterrupted from start to finish.
- Garment Safety: Auto-digitizing often stacks heavy needle penetrations in tiny areas, literally cutting holes in delicate polo shirts and performance tees.
When (If Ever) Should You Use Auto-Digitizing?
Auto-digitizing is acceptable only for:
- Hobbyists experimenting on scrap fabric with basic geometric shapes.
- Quick mockup approximations for non-wearable visual craft tests.
- High-contrast single-color silhouettes sewn on heavy canvas where detail is not critical.
For commercial brands, contract embroiderers, uniform suppliers, and corporate merch, hand-digitized files are non-negotiable. Explore our custom embroidery digitizing services to experience master-crafted stitch precision.
Written by David Thompson
Lead DigitizerDavid has over 12 years of specialized craftsmanship in commercial embroidery punching, stitch-path optimization, and fabric-tension calibration. He oversees quality control for thousands of embroidery files weekly at Velora Digitizing.
Related service
Custom Embroidery Digitizing Service