Embroidery Stitch Count Calculator (Free) + Size Chart by Placement
Estimate stitch count in seconds with our free calculator, check the placement chart, then see what the count means for digitizing and production pricing.

Embroidery Digitizing Studio
Commercial Digitizing Service
Need production-ready machine files? Explore our Custom Embroidery Digitizing Services
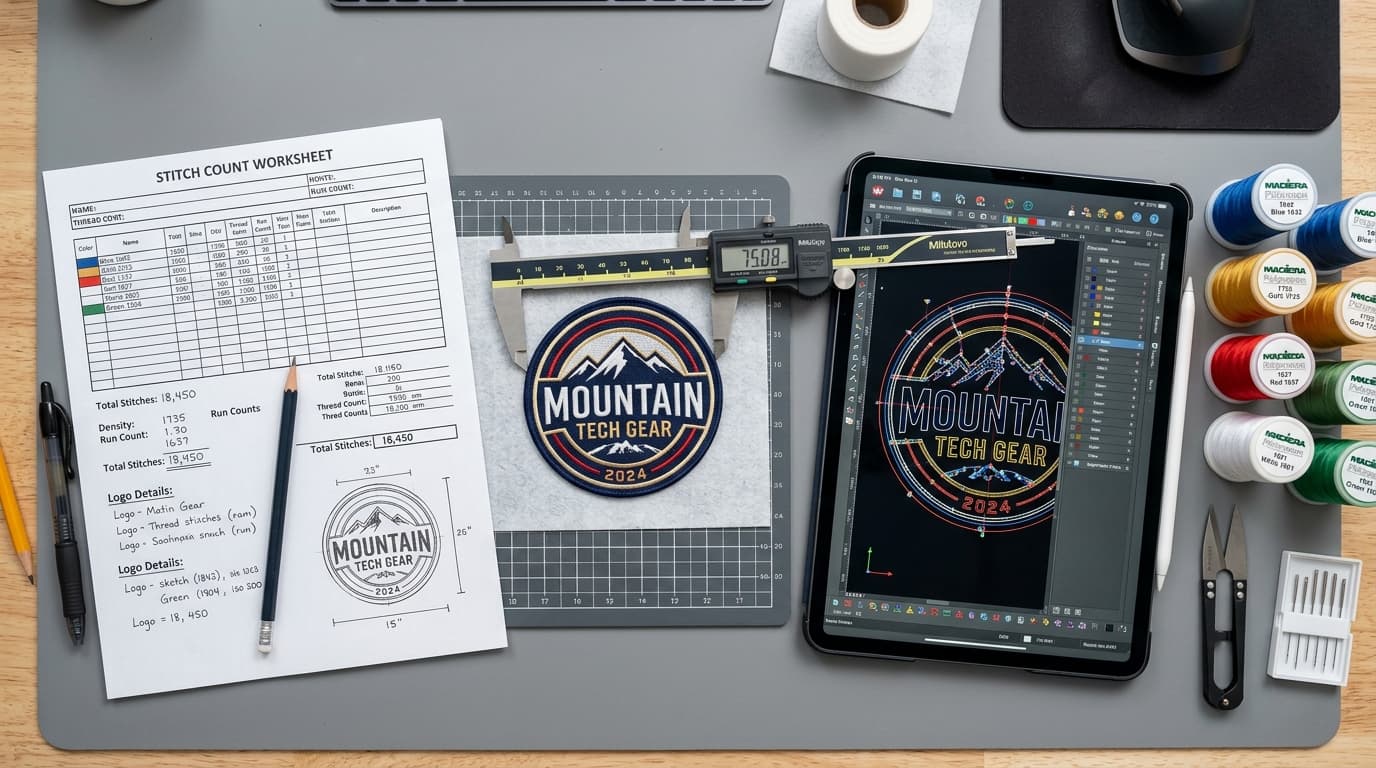
Embroidery stitch count is estimated from the design's area. A solid square inch of standard tatami fill holds roughly 1,000 to 1,200 stitches; mixed logos run about 700 to 900 per square inch, and text or outlines only 400 to 600. Enter your finished size below to get a range, then use the chart and pricing sections to see what that number means for your file and your production cost.
Free tool
Embroidery Stitch Count Calculator
Enter the finished embroidery size and the kind of design. The estimate uses a rough allowance per square inch, not an analysis of your artwork or a confirmed production stitch count.
Fill areas plus text or outlines. Assumes about 700 to 900 stitches per square inch at standard 0.40 mm fill density.
Estimated stitches
3,700 to 4,700
Area
5.3 sq in
Suggested plan
Basic, $6.99
Small lettering, heavy satin borders and 3D puff push counts above this range. For an exact count, send us the artwork and we return the stitch count with a free quote.
Read the result as a planning range, not a quote. The low end assumes open artwork, the high end assumes dense fills, and the suggested plan is the Velora tier whose stitch limit covers the high end. Heavy underlay, satin borders around every letter, small taglines and 3D puff all push a design above the range, which is why the exact count always comes from the digitized file.
Stitch Count Chart by Placement
These are the ranges we see most often in commercial work. Sizes are finished embroidery sizes, not garment sizes. The plan column shows which Velora digitizing plan covers the range at its flat price.
| Placement | Typical finished size | Typical stitch count | Velora plan that covers it |
|---|---|---|---|
| Left chest logo | 3 to 4 in wide | 3,000 to 5,000 (simple text under 3,000; dense crests 6,000 to 9,000) | Basic, $6.99 (up to 5,000); dense crests move to Standard |
| Cap front, flat | Up to 2.25 in tall, 4 to 4.5 in wide | 4,000 to 8,000 | Basic up to 5,000; Standard, $12.99, above that |
| Medium front or chest | 4 to 6 in wide | 6,000 to 9,000 | Standard, $12.99 (up to 15,000) |
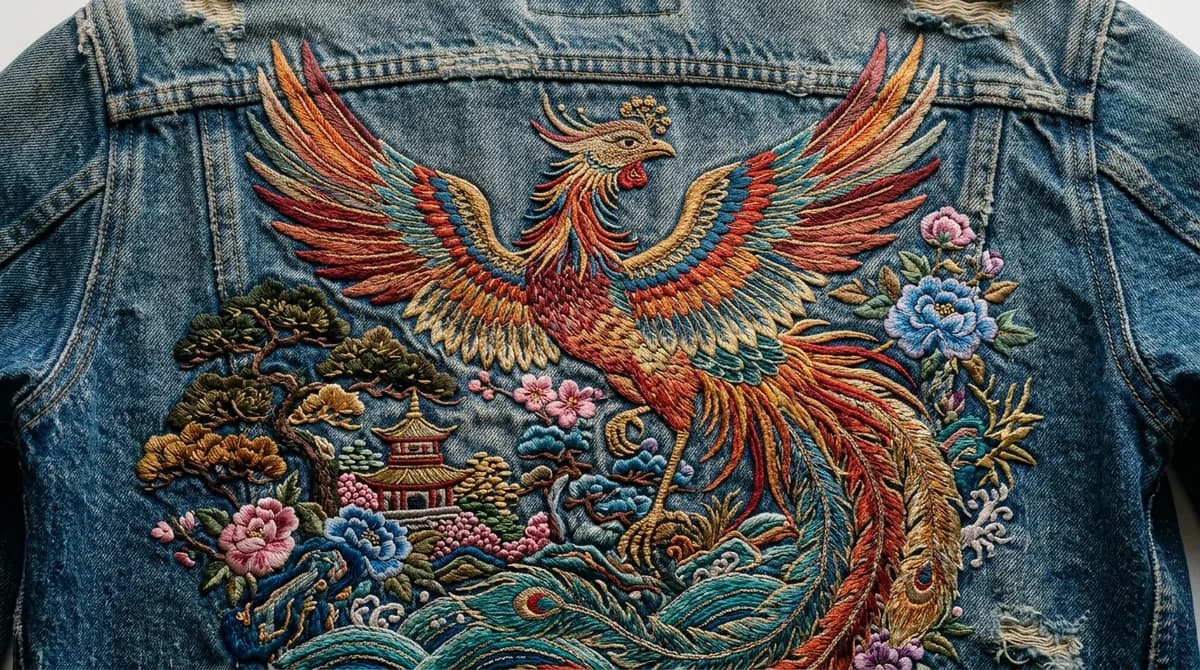
| Jacket back | 10 to 12 in wide | 15,000 to 40,000 for outlined or partial-fill designs; 40,000 to 80,000+ for full-coverage backs | Rush, $19.99 (unlimited stitches) |
| Patch, 3 in | 3 in across | 5,000 to 9,000 including the border | Standard, $12.99 |
| Sleeve or shoulder emblem | 2.5 to 3.25 in wide | 3,000 to 5,500 | Basic or Standard |
| Cap side or back arch | 0.75 to 1 in tall, 3 in wide | 1,800 to 3,500 | Basic, $6.99 |
| 3D puff version of any of the above | Same size | Add 30 to 50 percent | Usually Standard or Rush |
The Square-Inch Method, With a Worked Example
The calculator above uses the same method you can do by hand. Measure the finished width and height of the embroidery, multiply them for the area in square inches, then multiply by a stitches-per-square-inch allowance that matches the artwork style.
- 1Measure the finished size. A left chest logo at 3.5 inches wide by 1.5 inches tall has an area of 5.25 square inches.
- 2Pick the allowance. Text and outlines: 400 to 600 per square inch. Mixed logo with some fill: 700 to 900. Solid fill with little open space: 1,000 to 1,200.
- 3Multiply. 5.25 × 700 = 3,675 and 5.25 × 900 = 4,725. Round to the nearest hundred: 3,700 to 4,700 stitches for a mixed left chest logo.
- 4Check the plan. Both ends sit under 5,000, so the Basic plan at $6.99 covers it. If the logo has a solid background, rerun with the fill allowance: 5,250 to 6,300, which is Standard territory.
Some guides quote 1,500 to 2,000 stitches per square inch. That figure describes a dense fill with its underlay and border counted together, so it is a ceiling rather than a starting point. The allowances here are for 40-weight thread at a standard 0.40 mm fill density, and the whole design rarely consists of fill alone.
Why Fills Cost More Than Satin and Run Stitches
Stitch type decides how many stitches a shape needs more than its size does. The same 1-inch square can be a few hundred stitches as an outline or more than a thousand as a solid fill.
- Run stitch (outlines, fine detail): a single line of stitches, typically 2 to 3 mm long. A 4-inch outline uses only 40 to 50 stitches per pass, so line art is cheap in stitches.
- Satin stitch (lettering, borders, narrow shapes): the needle zigzags across the column, so count rises with column width and length. A 3-inch word in 0.3-inch letters usually lands between 1,200 and 2,500 stitches.
- Tatami fill (large solid areas): rows of stitches cover the whole area, plus an underlay beneath. This is where counts climb fastest: every extra square inch of fill adds roughly 1,000 stitches at standard density.
- Combinations: a filled shape with a satin border and lettering on top is three layers in the same area, which is how a small crest reaches 9,000 stitches.
How Density and Underlay Change the Count
Two logos with the same artwork and size can differ by 20 to 40 percent in stitch count because of settings the digitizer chooses for the fabric.
- Density (stitch spacing): standard fill is about 0.40 mm between rows. Tightening to 0.35 mm for better coverage on a dark garment adds roughly 14 percent more stitches; 3D puff satin at 0.18 to 0.22 mm roughly doubles the satin count.
- Underlay: the hidden foundation stitches that stabilize the fabric before the top layer. A single edge-run underlay adds a few percent; a double tatami underlay for pique polos, fleece or towels adds 10 to 15 percent.
- Pull compensation: widening shapes slightly to counter fabric pull adds a small amount to every satin column.
- Trims and jumps: these do not add stitches, but they add machine time, which matters for production pricing (see the run time formula in the FAQ).
What the Count Means for Price: Per 1,000 Stitches vs Flat Rate
Stitch count feeds two separate prices. Keep them apart when you quote a customer or compare digitizers. The embroidery digitizing cost guide covers the digitizing side in detail.
Digitizing: the one-time fee to create the file
Per-stitch digitizers charge about $1 to $3 per 1,000 stitches, often with a minimum of $10 to $25 per design. A 4,500-stitch left chest logo at $2 per 1,000 costs $9; a 25,000-stitch jacket back at the same rate costs $50. Flat-rate digitizers charge a set price per design instead. At Velora the count only decides the tier: Basic $6.99 up to 5,000 stitches, Standard $12.99 up to 15,000, Rush $19.99 with no stitch limit. Inside a tier the price does not move, so a 4,000-stitch logo and a 4,900-stitch logo cost the same.
Production: the per-garment sewing charge
Contract embroiderers bill sewing per 1,000 stitches per piece: price = (stitches ÷ 1,000) × rate. Market rates move with run size.
- 1 to 24 pieces: about $1.75 to $2.50 per 1,000 stitches.
- 25 to 143 pieces: about $1.25 to $1.60 per 1,000.
- 144 pieces and up: about $0.85 to $1.15 per 1,000.
- Example: a 4,500-stitch logo on 50 polos at $1.40 per 1,000 = 4.5 × $1.40 = $6.30 per garment for embroidery labor, before the blank.
Because production is billed on every piece, a digitizer who removes 1,000 unnecessary stitches from a logo saves the shop money on every garment for the life of that design. That is the practical reason to care about count beyond the digitizing fee.
How to Reduce Stitch Count Without Losing the Logo
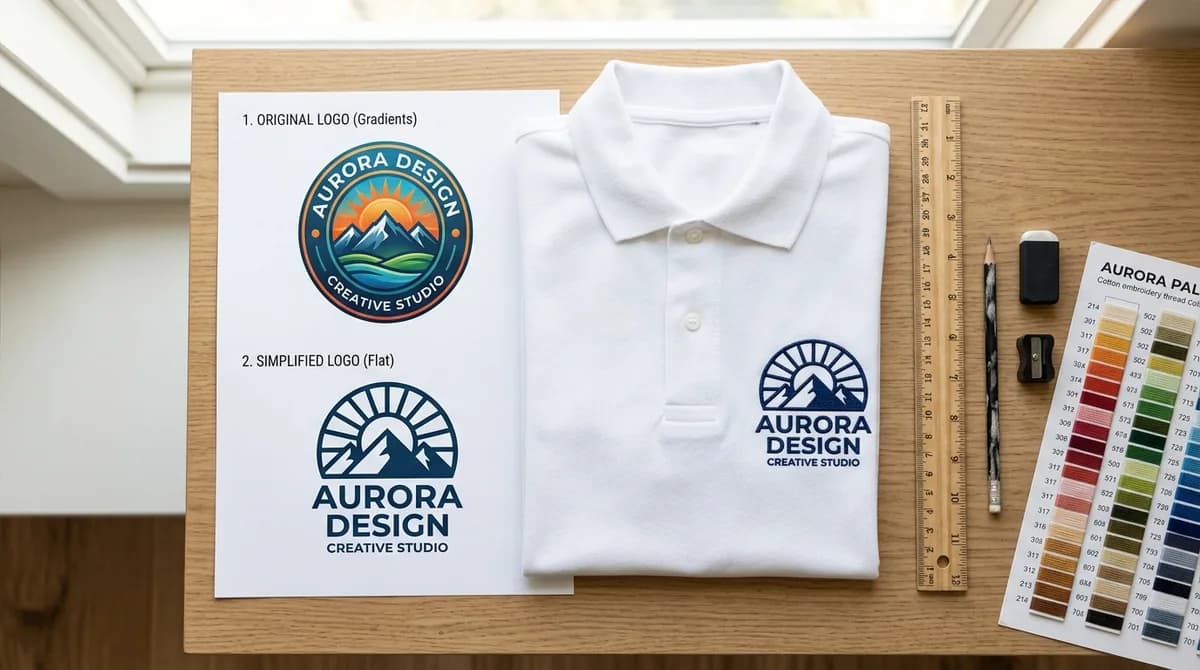
- 1Drop fills that can be fabric. If a background shape matches the garment color, leave it out and let the fabric show through. On large designs, consider applique, which replaces the biggest fill with a fabric piece and can cut a jacket back's count by half.
- 2Remove borders that outline every letter. A satin outline around text roughly doubles the text's count. Keep outlines where contrast actually needs them.
- 3Simplify taglines under 4 mm. Tiny lettering adds stitches and still sews poorly. Enlarge it, shorten it or move it to a second placement.
- 4Use the lightest underlay the fabric allows. Stable twill and canvas rarely need the double underlay that knits and pique require.
- 5Avoid simulated gradients. Blending two colors with overlapping fills doubles the density in the blend zone. Use a clean color break instead.
- 6Keep the design at its intended size. Shrinking a jacket-back file to a left chest does not reduce the count proportionally and usually breaks small detail. Each placement should be digitized at its own size.
Get an Exact Stitch Count and a Free Quote
The calculator gives you a range to plan with. For the exact number, send your artwork, finished width and height, garment or fabric type and machine format through our contact page. We return the stitch count with a free quote, and you can compare it to the digitizing services and pricing plans before you order.
Written by the Velora Digitizing Team
Digitizing StudioThis guide is written and reviewed by the digitizers at Velora Digitizing, who prepare embroidery files for caps, jackets, patches, and left chest logos every day. The advice here comes from the same stitch-path, underlay, and fabric choices we make on client orders.
Related service
Custom Embroidery Digitizing Services