How to Digitize a Logo for Embroidery in Adobe Illustrator: Step-by-Step Guide
Can Adobe Illustrator create embroidery files? Discover how to prepare vector artwork in Illustrator and convert it into flawless machine-ready DST and PES stitch files.

Lead Digitizer · 12+ Yrs Exp
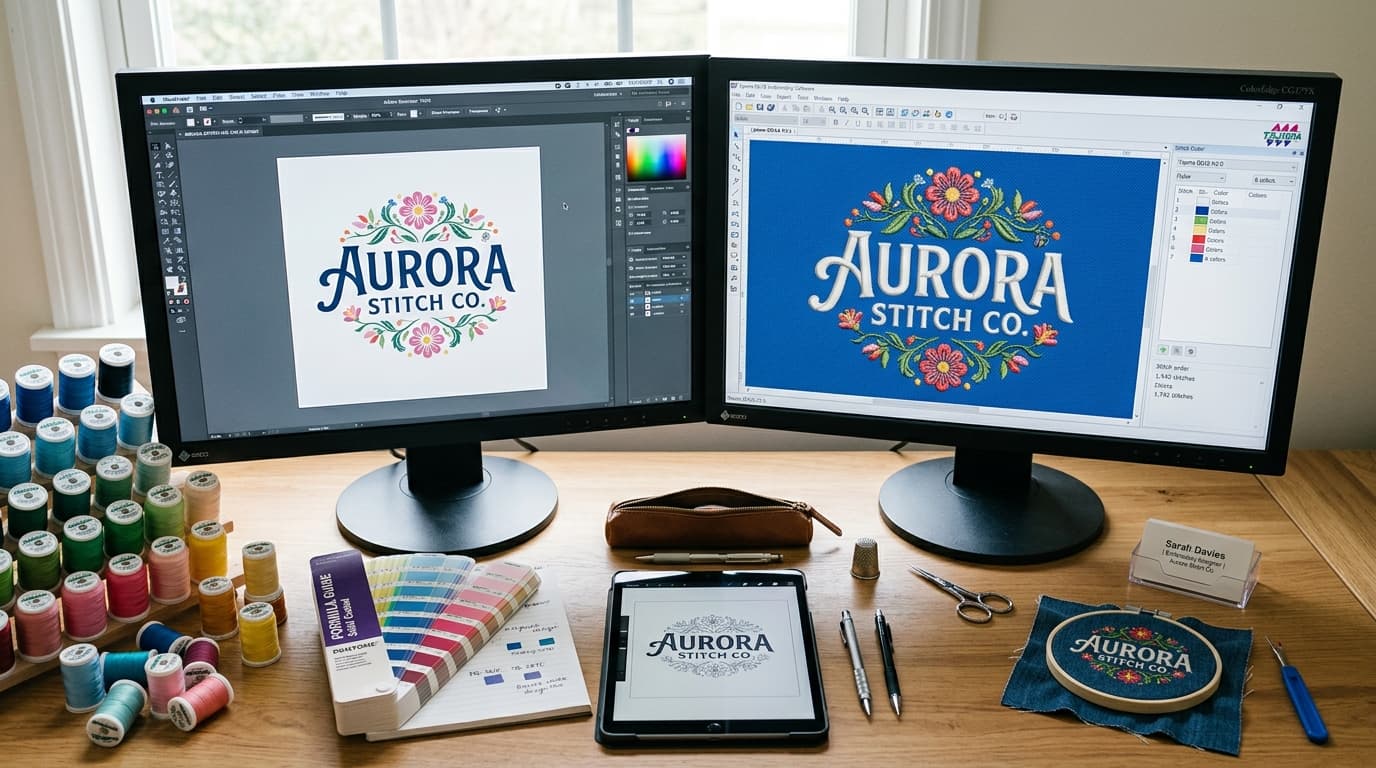
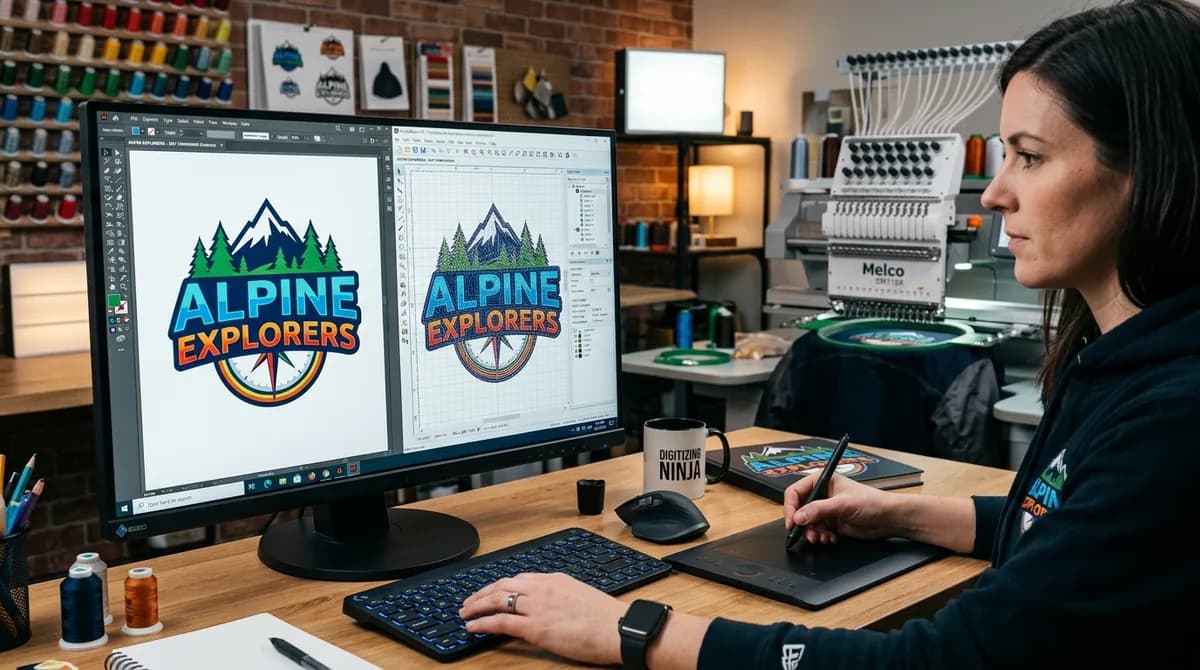
Every graphic designer and apparel decorator encounters this question: "Can I digitize a logo for an embroidery machine directly in Adobe Illustrator?"
The straightforward answer is that while Adobe Illustrator is the gold standard tool for creating and prepping vector artwork, an embroidery machine does not understand bezier curves, strokes, or CMYK fills. An embroidery machine requires a stitch coordinate file (such as Tajima .DST, Brother .PES, or Wilcom .EMB) containing exact needle penetrations, densities, underlays, and trim commands.
In this master guide, we break down the exact professional workflow to prepare your logo in Adobe Illustrator, bridge vector paths into stitch geometry, and produce flawless embroidery files without thread breaks or puckering.
Vector Artwork vs. Embroidery Stitch Files: The Core Difference
Before opening Illustrator, understanding how embroidery mechanics differ from graphic design is essential:
- Adobe Illustrator Files (.AI, .EPS, .SVG): Vector paths define shapes mathematically using anchor points and bezier handles. They have infinite resolution and no physical thickness or tension.
- Embroidery Files (.DST, .PES, .EXP): Machine files contain sequential needle coordinates (X/Y locations in tenths of a millimeter), speed commands, thread trims, and color change stops.
- Physical Fabric Dynamics: Thread exerts mechanical pulling tension on fabric. A perfect circle in Illustrator will stitch out as an oval on stretchy fabric unless push-pull compensation is calculated during digitizing.
Step 1: Clean and Prepare Vector Artwork in Adobe Illustrator
The secret to high-speed, high-density embroidery digitizing is starting with an ultra-clean vector in Adobe Illustrator. Follow these non-negotiable prep steps:
- 1Convert All Fonts to Outlines: Select all text elements and press Ctrl+Shift+O (Cmd+Shift+O on Mac). This locks typography into raw vector shapes and prevents missing font errors.
- 2Expand Strokes & Outlines: Select all strokes and navigate to Object > Expand or Object > Expand Appearance. Embroidery software cannot interpret variable stroke weights without closed vector boundaries.
- 3Merge Overlapping Shapes with Pathfinder: Open the Pathfinder panel (Window > Pathfinder) and use the Unite tool on shapes sharing the same color. Eliminate hidden underlying vector paths that would cause unnecessary double-stitching and birdnesting.
- 4Simplify Anchor Points: Excessive vector anchor points create jagged stitch angles. Use Object > Path > Simplify to reduce point density while maintaining pristine geometry.
- 5Reduce Color Palette: Embroidery runs on physical thread spools (typically 1 to 6 colors for commercial logos). Eliminate soft gradients, drop shadows, and subtle transparency overlays by flattening artwork into solid spot colors.
Step 2: Check Critical Sizing and Stitch Tolerances
Embroidery needles (standard #75/11) and 40-weight polyester thread have physical dimension limits. When auditing your artwork in Illustrator:
- Minimum Letter Height: Letters must be at least 4.5mm (0.18 in) tall. Any text smaller than 4mm will clog with thread and become illegible.
- Minimum Line Thickness (Satin Stitch): Column widths must be at least 0.8mm to 1.0mm wide. Thinner lines fail to trigger satin stitches and must be converted to running walk stitches.
- Maximum Column Width: Satin columns should not exceed 7.0mm to 8.0mm. Wider areas must be converted to Tatami (fill) patterns to prevent snagging.
- Negative Space Gaps: Maintain at least 1.0mm clearance between adjacent shapes to prevent thread bleeding.
Step 3: Export the Vector for Digitizing
Once your logo passes inspection in Illustrator, export the file using one of the following recommended formats:
- Adobe Illustrator Legacy (.AI): Save as Illustrator CS6 or CC legacy format with PDF compatibility checked.
- Vector SVG (.SVG): Standard SVG 1.1 format with presentation attributes.
- Encapsulated PostScript (.EPS): EPS vector with all fonts outlined.
- High-Res Transparent PNG (300 DPI): Useful as an underlay visual alignment backdrop in embroidery software.
Step 4: Convert Vector Artwork into Machine Stitches
With the vector prepped, you have three primary methods to generate embroidery machine stitch files:
Option A: Use Dedicated Digitizing Software (Wilcom, Hatch, Pulse)
Import your AI/EPS file into specialized embroidery digitizing suites like Wilcom EmbroideryStudio, Hatch Embroidery 3, or Tajima Pulse. In this software, you manually assign stitch types to vector boundaries:
- Assign Tatami (Fill) Stitches to large solid background sections (density: 0.40mm).
- Assign Satin Column Stitches to lettering, borders, and bold accent lines (density: 0.38mm to 0.42mm).
- Assign Edge Walk & Zig-zag Underlays beneath all fill areas to secure the fabric to the stabilizer.
- Add Pull Compensation (0.2mm to 0.4mm) to account for fabric tension distortion.
Option B: Use Illustrator Digitizing Plugins (Drawings, StitchWare)
Third-party plugins allow direct conversion inside the Adobe ecosystem. While convenient for simple monogramming, complex commercial logos usually require manual density control and underlay sequencing that standalone suites provide.
Option C: Outsource to Master Digitizing Punchers (Recommended for Production)
For commercial apparel brands, print shops, and contract embroiderers, hand-digitizing by experienced punchers guarantees zero thread breaks, clean stitchouts, and fast turnaround. Learn more about our custom embroidery digitizing services or get a fast vector-to-stitch quote on our contact page.
Common Mistakes When Moving from Illustrator to Embroidery
- Relying on Auto-Digitize Wizards: Automated vector-to-stitch buttons produce random needle paths, uneven stitch directions, and excessive jump trims.
- Ignoring Fabric Properties: Digitizing for a structured twill cap requires different underlays and sequencing (center-out) compared to stretchy performance pique polo shirts.
- Forgetting Tie-In and Tie-Out Locks: Every color section and trim point must have micro lock stitches to prevent threads from unraveling after garment washing.
- Overlapping Heavy Fills: Stacking heavy Tatami fills directly on top of each other creates hard bullet-proof spots that break needles during high-speed sewing.
Summary & Next Steps
Adobe Illustrator is the essential starting point for top-tier embroidery. By cleaning vector paths, expanding strokes, sizing at 1:1 scale, and adhering to stitch tolerance guidelines, you pave the way for a smooth, high-precision sewout.
Need professional assistance converting your Illustrator files into ready-to-sew DST or PES files? Explore our vector art recreation services and custom patches options today!
Written by David Thompson
Lead DigitizerDavid has over 12 years of specialized craftsmanship in commercial embroidery punching, stitch-path optimization, and fabric-tension calibration. He oversees quality control for thousands of embroidery files weekly at Velora Digitizing.
Related service
Vector Art Conversion Service