How to Embroider a Hat With a Single-Needle Embroidery Machine
Step by step: which hats work on a flatbed home machine, three hooping methods (sticky stabilizer, flat hoop with pins, cap frame insert), design size limits, settings and the mistakes that ruin caps.

Embroidery Digitizing Studio
Commercial Digitizing Service
Need production-ready machine files? Explore our Cap Logo Digitizing
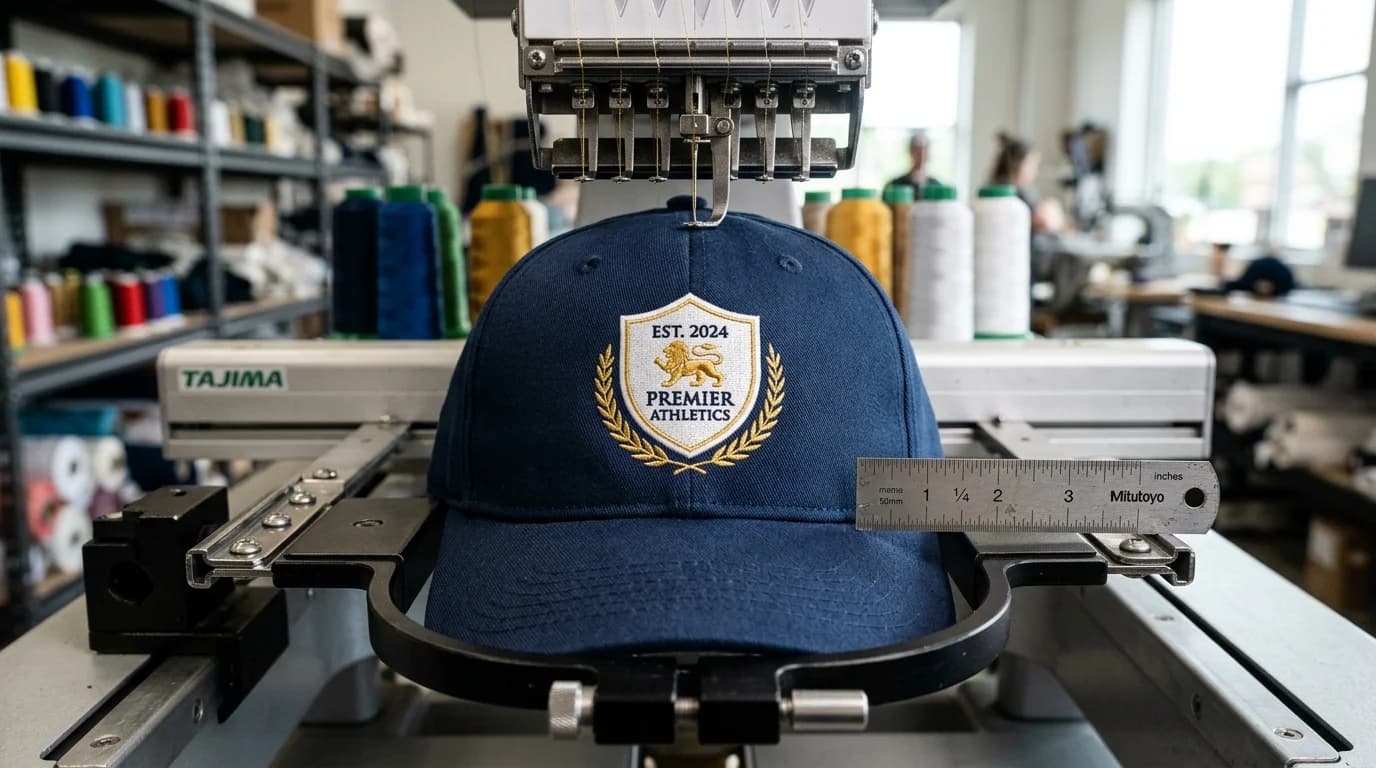
To embroider a hat with a single-needle machine, choose a soft unstructured hat, open the back strap, flatten the front panel onto hooped sticky tear-away stabilizer (or into a flatbed cap frame insert), pin the sides, keep the design within about 2 inches high and 0.5 inch above the brim, then sew a cap-specific file that stitches from the center out and from the bottom up. Structured caps are possible but much harder on a home machine.
This tutorial covers which hats work on a flatbed machine, three hooping methods, size limits, the sewing steps and the mistakes that most often ruin a cap. For the digitizing side, including placement and sizes on commercial cap frames, see the cap digitizing guide.
Which hats work on a home embroidery machine
| Hat type | Difficulty | Why |
|---|---|---|
| Unstructured dad hat (cotton twill) | Easy | Soft front panel lies flat; no stiff buckram |
| Bucket hat | Easy to medium | Soft fabric; the crown is short so designs must be small |
| Beanie (cuffed) | Medium | Stretchy knit; embroider the cuff unfolded; see the beanie guide |
| Low-profile structured cap | Medium to hard | Stiff buckram resists flattening |
| Structured six-panel cap | Hard | Tall stiff front and a center seam that pushes the needle |
| Foam-front trucker cap | Hard | Thick foam and mesh back are hard to flatten and hold |
If you are starting out, practice on an inexpensive unstructured cotton hat. For knit hats, the beanie embroidery guide covers cuff sizes and hooping.
Three ways to hold a hat on a flatbed machine
Method 1: Float the hat on sticky stabilizer
Hoop a sticky tear-away stabilizer tightly, paper side up, then score and peel the paper inside the hoop. Open the back strap of the hat, push the front panel flat onto the sticky surface with the brim hanging off the front edge of the hoop, and add pins at the sides outside the sewing area. This is the most common method on home machines and works on standard 4x4 or 5x7 hoops.
Method 2: Hoop the hat flat with pins
On soft hats, some sewists hoop the front panel directly in a regular hoop with a layer of tear-away behind it, then pin around the edge. It holds well but can leave hoop marks on cotton twill, and it only works on hats soft enough to fold flat.
Method 3: Use a cap frame insert for flatbed machines
Cap frame inserts made for single-needle machines clamp the brim and hold the front panel flatter than floating. They let the design sit a little closer to the brim and give more repeatable placement for small batches. They do not curve the cap like a commercial cap driver, which only works on multi-needle machines.
Design size limits on a home machine
| Hat | Max height | Max width | Gap above brim |
|---|---|---|---|
| Unstructured dad hat | About 2 in (50 mm) | 3.5-4 in (90-100 mm) | At least 0.5 in (12 mm) |
| Bucket hat front | About 1.5 in (38 mm) | 3-3.5 in (75-90 mm) | At least 0.5 in |
| Low-profile structured cap | About 1.75 in (45 mm) | About 3.5 in (90 mm) | At least 0.75 in (19 mm) |
| Cap side panel | About 1 in (25 mm) | About 2 in (50 mm) | Not applicable |
These limits are tighter than on a commercial cap frame, because the presser foot needs room around the brim and the flattened panel distorts toward the edges. Keep text at least 0.25 inch (6 mm) tall and avoid satin columns wider than about 5 mm, which bend and gap over the curve.
How to embroider a hat step by step
- 1Prepare the file. Use a design digitized for caps: center-out, bottom-up, with a lighter density than a shirt logo and an underlay that bridges the center seam. Load it in your machine's format.
- 2Mark the hat. Find the center seam and mark a vertical center line, then mark where the bottom of the design should sit, at least 0.5 inch above the brim.
- 3Hoop the stabilizer. Hoop sticky tear-away tightly; it should sound like a drum when tapped. Peel the paper inside the hoop.
- 4Place the hat. Open the strap, flatten the front panel onto the stabilizer, line up your marks with the hoop's center marks, and press firmly. Pin the sides outside the design area.
- 5Add backing on soft hats. Slide a piece of medium tear-away inside the hat behind the design area for extra support.
- 6Trace the design. Use the machine's trace or outline function to check that the needle will not hit the brim, pins or hoop.
- 7Sew slowly. Reduce the speed to about 400-600 stitches per minute if your machine allows. Keep the brim and the back of the hat clear of the hoop arm as it moves.
- 8Finish. Tear the stabilizer away carefully, trim jump stitches, and steam the front panel lightly to remove any hoop marks.
Common hat embroidery mistakes
- Using a shirt logo shrunk to fit. It is too dense and sews top-down, so fabric bunches under the brim. See how to resize embroidery designs for why scaling fails.
- Design too close to the brim. The presser foot hits the brim and the needle breaks or the design is cut off.
- Weak stabilizer. A loose or non-adhesive backing lets the panel shift, giving crooked or outlined-but-gapped designs. See the stabilizer guide.
- Wide satin lettering. Wide columns sink and gap on the curve of the crown; cap text works better a little bolder and narrower.
- Starting with a structured cap. Practice on unstructured hats first; structured caps are where a multi-needle machine and cap driver really help.
Get a file digitized for caps
Most failed hat projects come from the file, not the machine. Velora digitizes cap versions of logos by hand, sewn center-out and bottom-up with seam-bridging underlay, and sized for your hoop or cap frame. Tell us your machine and hat type when you order. Small cap logos usually fit the $6.99 Basic plan (up to 5,000 stitches). See cap logo digitizing or, for raised lettering, 3D puff digitizing.
Written by the Velora Digitizing Team
Digitizing StudioThis guide is written and reviewed by the digitizers at Velora Digitizing, who prepare embroidery files for caps, jackets, patches, and left chest logos every day. The advice here comes from the same stitch-path, underlay, and fabric choices we make on client orders.
Related service
Cap Logo Digitizing