How to Digitize a Logo for Embroidery: Step-by-Step Guide for Beginners
Digitizing a logo for embroidery means redrawing it as stitches a machine can sew. Here is the full seven-step workflow with starting settings, plus the mistakes that ruin first designs.

Embroidery Digitizing Studio
Commercial Digitizing Service
Need production-ready machine files? Explore our Embroidery Digitizing Services
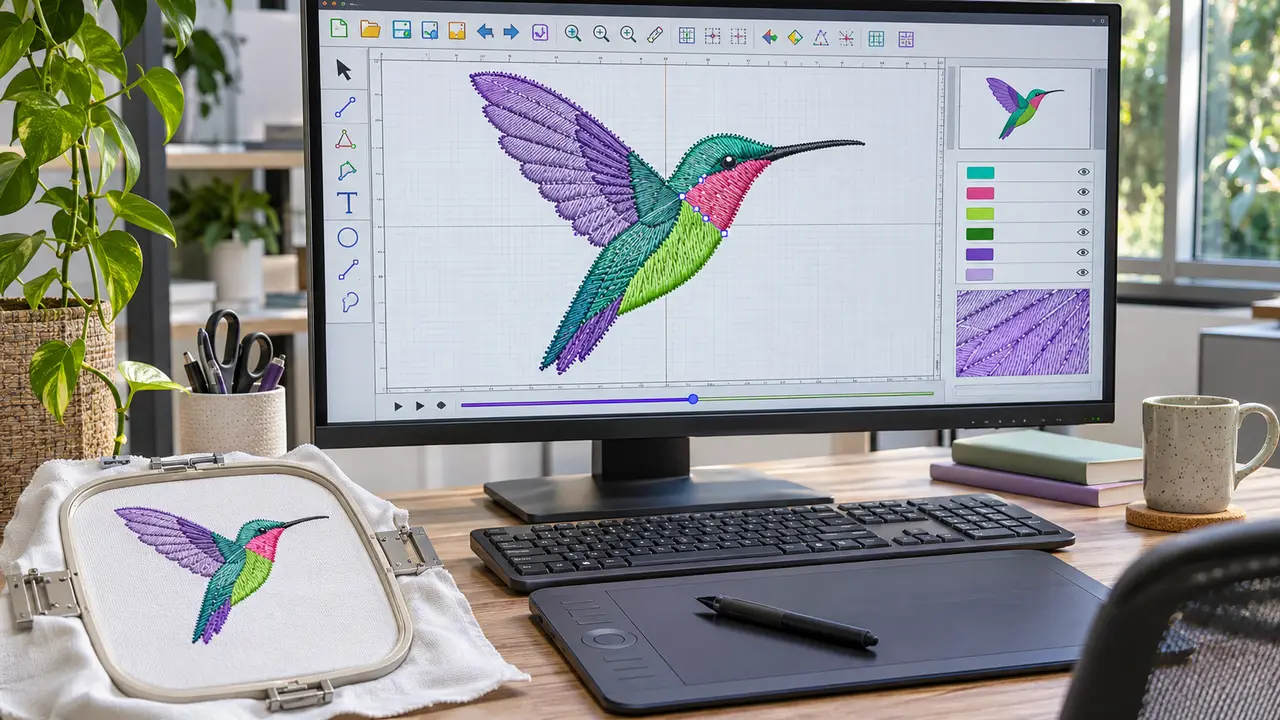
To digitize a logo for embroidery, you rebuild the artwork as stitch objects in embroidery software. Start with clean artwork at the final sewn size, redraw each area with the right stitch type (satin, fill or running), add underlay, set stitch angles, density and pull compensation, plan the order so the machine trims as little as possible, then export to your machine format and test on the real fabric. The software is only a tool; the skill is knowing how thread behaves on fabric.
This seven-step workflow applies to any digitizing program and to any design, not only logos. The settings below are common starting points for 40 wt thread; every fabric shifts them, which is why step 7 is a test sew-out. If you would rather skip the learning curve, our embroidery digitizing services deliver production-ready files.
What Digitizing a Logo Actually Means
An image file stores pixels or vector shapes. An embroidery file such as DST or PES stores needle positions: where each stitch lands, when the thread is trimmed and when the color changes. Nothing converts one into the other automatically with good results, because the machine also needs decisions the image does not contain: which direction the stitches run, how dense they are, what sews first and how much the fabric will pull. Making those decisions is digitizing. Our what is embroidery digitizing guide covers the background in more depth.
Step 1: Prepare the Artwork
- Use the cleanest version of the logo, ideally vector artwork (AI, EPS, SVG or PDF).
- Remove gradients, shadows, tiny details and hairlines. Thread cannot blend like ink, and a line thinner than about 1 mm will not hold a satin stitch.
- Check the text. Lettering under about 4 to 5 mm tall usually needs to be enlarged or simplified; see small text embroidery.
- Reduce the color count where you can. Each thread color is a machine stop.
- For more on this stage, see how to prepare a logo for embroidery digitizing, or have the logo redrawn by our vector art conversion service.
Step 2: Set the Final Size and Placement
A design is digitized for one size and one type of fabric. Stitch counts, densities and compensation are all calculated for that size, so scaling a finished file by more than roughly 10 to 15 percent degrades it. Decide the placement first, then build the file for it.
| Placement | Typical size | What it changes in the file |
|---|---|---|
| Left chest | About 3.5 to 4 inches wide | Small text and thin outlines must be simplified; light underlay on knits. See the left chest placement guide. |
| Cap front | About 2 to 2.25 inches tall | Sewn centre out and bottom up on a curved frame; needs its own file. See the cap digitizing guide. |
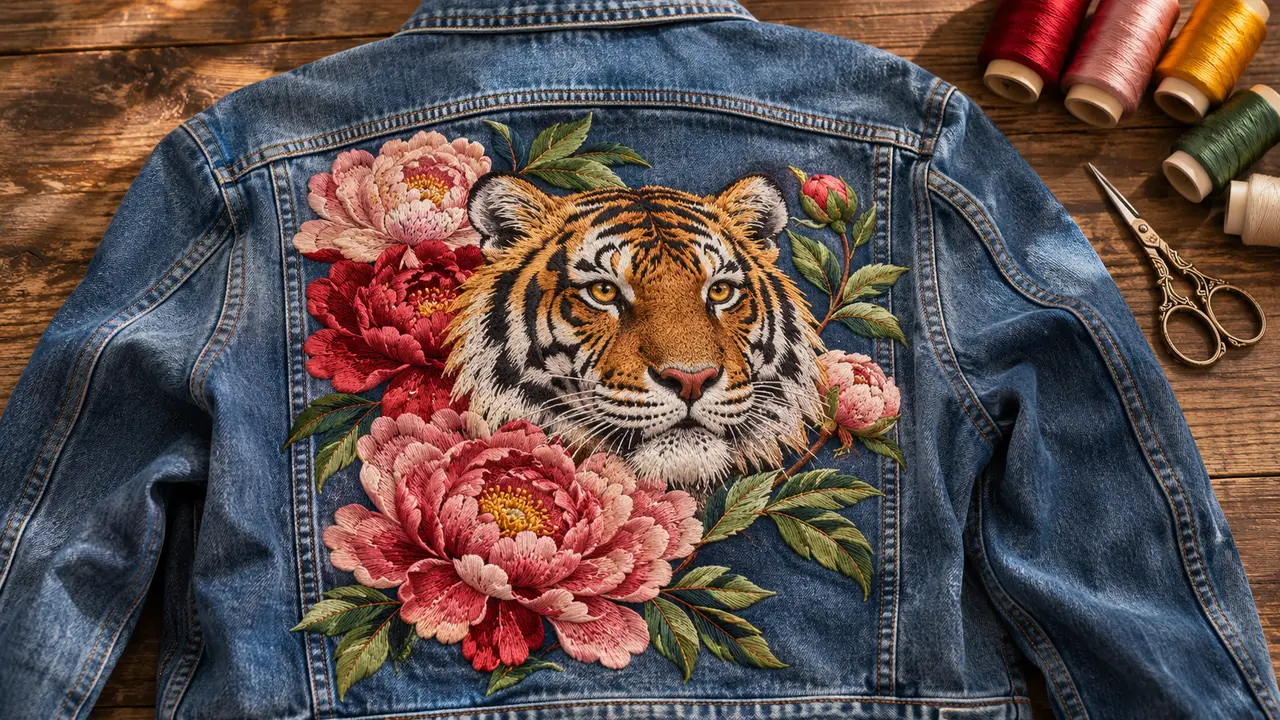
| Jacket back | About 10 to 12 inches wide | Large fills need lighter density and strong underlay to avoid puckering. See the jacket back guide. |
| Sleeve or pocket | About 3 to 4 inches wide | Narrow hooping area; keep the design compact. |
Step 3: Choose a Stitch Type for Each Area
Trace the logo one shape at a time and assign each shape a stitch type. Three types cover almost every logo:
| Stitch type | Use it for | Starting settings |
|---|---|---|
| Running stitch | Outlines, fine details, travel paths under later stitches | Stitch length about 2 to 2.5 mm |
| Satin stitch | Lettering, borders and shapes about 1 to 7 mm wide | Spacing about 0.38 to 0.42 mm. See the satin stitch guide. |
| Fill (tatami) stitch | Areas wider than a satin column can cover | Row spacing about 0.4 mm, stitch length about 3.5 to 4 mm. See the fill stitches guide. |
Very large solid areas, such as a varsity letter or a jersey number, are often better as fabric than as stitches; see applique digitizing and tackle twill.
Step 4: Set Angles, Density and Underlay
- Angles: vary the stitch angle between neighboring shapes so they catch the light differently and read as separate areas. Avoid running long fills in the direction the fabric stretches.
- Density: start from the standard values above and loosen them on thin or stretchy fabric. Thread weight matters too; see the thread weight guide.
- Underlay: the foundation stitches that sew first. An edge run supports satin columns, a zigzag adds loft to wide satin, and a light tatami underlay stabilizes fills. See embroidery underlay types.
Step 5: Add Pull Compensation
Stitches pull fabric inward along their direction, so shapes sew out narrower than they are drawn. Pull compensation widens columns and fills slightly so the finished design matches the artwork. A common starting point is about 0.2 mm on stable woven fabric and about 0.4 mm on knits such as pique polos; caps and fleece often need more. Without it, gaps open between fills and their outlines.
Step 6: Plan the Sewing Sequence
- 1Stitch from the center outward and from the background to the foreground.
- 2Group objects of the same color to reduce color changes.
- 3Connect nearby objects with travel runs hidden under later stitches, so the machine trims less.
- 4Stitch details and outlines last so they sit on top.
- 5For caps, stitch center out and bottom up; see cap logo digitizing.
Step 7: Export and Test
Export to the format your machine reads, such as DST for most commercial machines or PES for Brother; see DST vs PES vs JEF. Then stitch a test on the same fabric and stabilizer as the real job. Check for gaps, puckering, thread breaks and readability, adjust the file and test again. Professional digitizers treat the first sew-out as part of the job, not as an extra.
Common Beginner Digitizing Mistakes
- Converting an image directly instead of redrawing objects; see how to convert PNG or JPG to DST.
- Text that is too small for thread to form.
- Satin columns that are too wide, which loop and snag.
- Stacking layers until the design is stiff.
- No pull compensation, causing gaps between fills and outlines.
- Resizing a finished file instead of digitizing again for the new size.
- See the full list in common embroidery digitizing mistakes.
Can Auto-Digitizing or AI Do It for You?
Auto-digitizing tools trace color areas and assign stitches by rule. They can give a usable starting point for a very simple one-color shape, but they do not know your fabric, they rarely add correct underlay or compensation, and they sequence the design inefficiently. Chat assistants cannot produce a stitch file at all. For a logo that will be sewn on products you sell, expect to correct an automatic result by hand. We compare the two approaches in manual digitizing vs AI auto-digitizing.
Learn It or Outsource It?
Learning digitizing is worthwhile if you enjoy design and have time to practice; free software such as Ink/Stitch is enough to start, as shown in our free digitizing guide. If you run a shop, outsourcing complex logos keeps production moving while you learn. See why US shops outsource digitizing, embroidery digitizing cost and how to start an embroidery business.
If you want the file made for you, a logo up to 5,000 stitches falls under our Basic plan at $6.99, and designs up to 15,000 stitches under the Standard plan at $12.99. See digitizing prices or send your artwork with the size, placement and fabric.
Written by the Velora Digitizing Team
Digitizing StudioThis guide is written and reviewed by the digitizers at Velora Digitizing, who prepare embroidery files for caps, jackets, patches, and left chest logos every day. The advice here comes from the same stitch-path, underlay, and fabric choices we make on client orders.
Related service
Embroidery Digitizing Services