Embroidery vs Applique: Differences, Cost, Stitch Count and When to Use Each
Thread or fabric? Compare embroidery and applique on stitch count, machine time, cost, detail, durability and digitizing, with a worked 6-inch example and a 30-second decision checklist.

Embroidery Digitizing Studio
Commercial Digitizing Service
Need production-ready machine files? Explore our Applique Digitizing Service
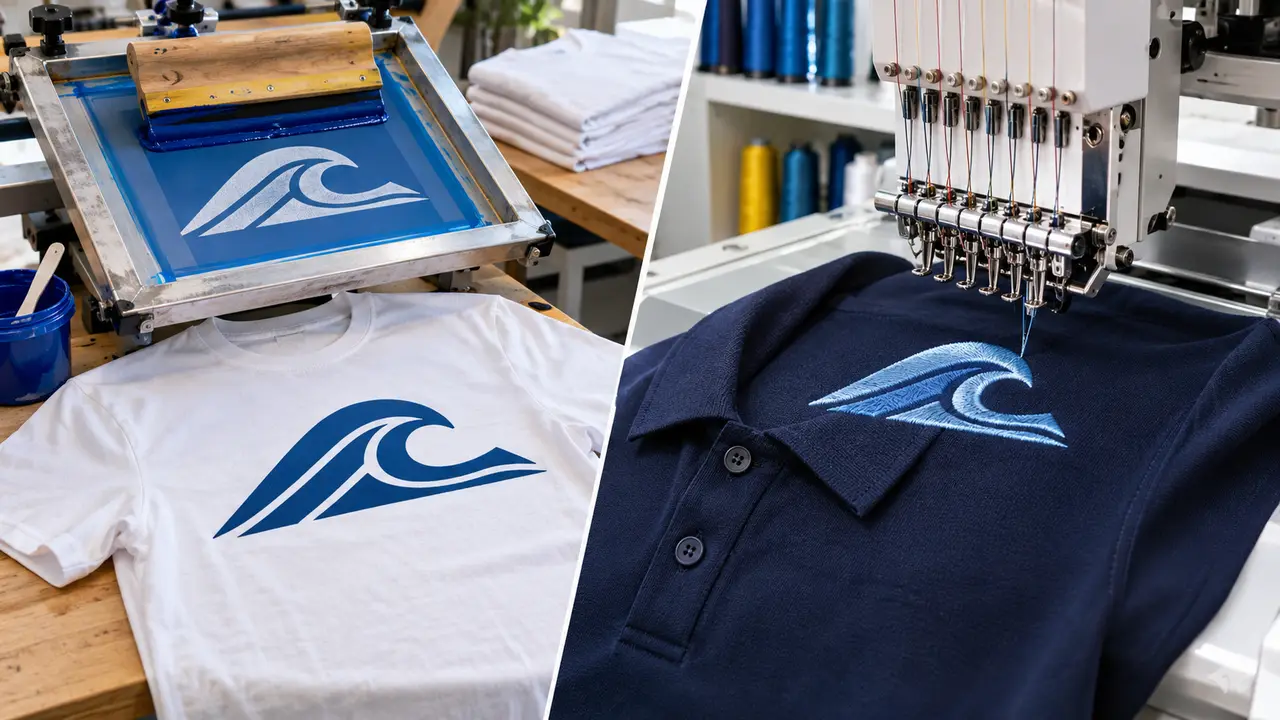
Embroidery builds the design out of thread, stitch by stitch, directly into the fabric of the garment. Applique places a cut piece of fabric on the garment, holds it down with a tackdown stitch and seals the edge with a satin or decorative border. That one difference decides almost everything that follows: a 6-inch applique letter can need 60-80% fewer stitches than the same letter filled with thread, so it runs faster and costs less per garment, while a small logo with fine text is only possible as embroidery.
This guide compares the two on stitch count, machine time, cost, detail, durability and how the digitizing file is built, with a worked example and a 30-second checklist at the end. If you already know you need an applique file, the applique digitizing guide covers the layer-by-layer settings and the applique digitizing service covers ordering.
| Factor | Embroidery | Applique |
|---|---|---|
| How it is built | Fill, satin and run stitches sewn directly into the garment | Fabric piece tacked to the garment, edge covered with a satin or decorative border |
| Best design size | Under about 4 inches, or any size when detail matters | Above about 3 inches; strongest at 5 inches and up |
| Detail level | Fine text, outlines, gradients, small mascots | Bold shapes, block letters, numbers, simple silhouettes |
| Look and feel | Flat, polished, unified with the garment | Raised, textured, layered; fabric colour and texture show |
| Stitch count, 6-inch block letter | Roughly 35,000-50,000 stitches of fill | Roughly 8,000-14,000 stitches (placement, tackdown, border) |
| Machine time per piece | Longer; every square inch is filled | Shorter sewing time, plus a pause to place and trim fabric |
| Machine stops | Colour changes only | Colour changes plus a stop to lay fabric and, for in-hoop trimming, a stop to trim |
| Digitizing file structure | Fill angles, satin columns, underlay, pull compensation, sequencing | Placement run, fabric stop, tackdown, trim stop, cover border; optional cut file |
| Durability and wash | Excellent on stable fabrics; dense fill can stiffen thin knits | Excellent with a satin edge on twill; raw-edge styles fray by design |
| Typical digitizing fee at Velora | From $6.99 (Basic, up to 5,000 stitches) or $12.99 (Standard, up to 15,000) | $12.99 Standard plan covers applique files |
| Choose it when | Logos, uniforms, left chest, caps, anything with small text | Varsity letters, big numbers, kids wear, blankets, towels, bold jacket backs |
How Embroidery and Applique Are Made
In direct embroidery the machine covers every part of the design with thread. Large areas use fill stitch (also called tatami), narrow shapes and lettering use satin stitch, and outlines or fine lines use run stitch. Under the visible stitches sits an underlay that stabilises the fabric, and the digitizer sets stitch angles, density and pull compensation so the design does not pucker or gap. The result is flat, durable and precise, and the cost scales with the area being filled.
In applique the machine first sews a placement line, a single run stitch that shows where the fabric goes. It stops, the operator lays a piece of fabric over the line, and the machine sews a tackdown (a zigzag, E-stitch or double run) to hold it. If the fabric was not pre-cut, the operator trims around the tackdown. Finally the machine sews a cover border, normally a satin column of about 3.5-5 mm, that hides the raw edge. The fabric does the job that thousands of fill stitches would otherwise do.
Stitch Count and Cost: A Worked Example
Dense fill embroidery runs at roughly 1,500-2,000 stitches per solid square inch at standard density. A 6-inch block letter such as a varsity M covers around 20-25 square inches of fabric once you subtract the open counters, which puts it at 35,000-50,000 stitches. On a single-head machine at 750 stitches per minute that is close to an hour of sewing per garment before colour changes and trims.
The same letter as applique needs a placement run of a few hundred stitches, a tackdown of 1,500-3,000 stitches and a 4 mm satin border that follows the outline for roughly 6,000-10,000 stitches. Call it 8,000-14,000 stitches, 60-80% fewer, and 10-15 minutes of sewing plus a minute to place and trim the fabric. Multiply that difference across a team order of 40 jackets and applique saves hours of machine time, which is the real reason varsity and spirit wear are almost always applique.
The digitizing fee does not follow the same curve. Flat-rate digitizers charge by stitch tier or placement rather than by technique: at Velora a flat logo starts at $6.99 on the Basic plan (up to 5,000 stitches) and an applique file is covered by the $12.99 Standard plan, which also includes a vector file for the cut shapes. See the pricing page for the full plan list. Use the stitch count calculator to estimate the filled version of any design before deciding.
- Small design (under 3 inches): embroidery and applique cost about the same to run; embroidery looks better. Choose embroidery.
- Medium design (3-6 inches): applique saves 30-60% of machine time if the shapes are simple. Decide on look.
- Large design (6 inches and up): applique saves 60-80% of machine time and avoids the stiffness of a huge fill. Choose applique unless detail demands thread.
When Embroidery Wins
- Small logos and left chest placements. A 3.5-inch corporate logo has text and outlines that no fabric piece can reproduce. Satin lettering down to about 4 mm high is routine in embroidery and impossible in applique.
- Fine text, thin lines and gradients. Blended fills, shading and 1 mm outlines are thread-only effects.
- Uniforms, workwear and caps. Customers expect a flat, professional finish that survives industrial washing. Cap frames also have little room for a fabric stop and trimming.
- Designs with many small separate parts. Each applique piece needs its own placement, stop and trim; past three or four pieces, embroidery is faster to sew and easier to run.
- Thin or stretchy garments. A fabric piece plus a tackdown adds bulk; a well-digitized light fill with proper underlay sits better on performance polos and tees.
When Applique Wins
- Varsity letters and large numbers. The classic use: tackle twill letters with a heavy satin border on letterman jackets, cheer uniforms and spirit wear.
- Kids and baby wear. Soft fabric shapes are lighter and more comfortable against skin than dense fill, and the raised look suits playful designs.
- Bold shapes and oversized graphics. Hoodies, jacket backs, tote bags and banners where a 10-inch solid shape would otherwise be 100,000 stitches.
- Towels, blankets and fleece. Applique fabric sits on top of the pile instead of sinking into it, so the design stays crisp where fill stitches would disappear.
- Texture and colour effects. Plaid, denim, sequin fabric, glitter vinyl or team-colour twill add a look thread cannot copy.
The Digitizing Difference
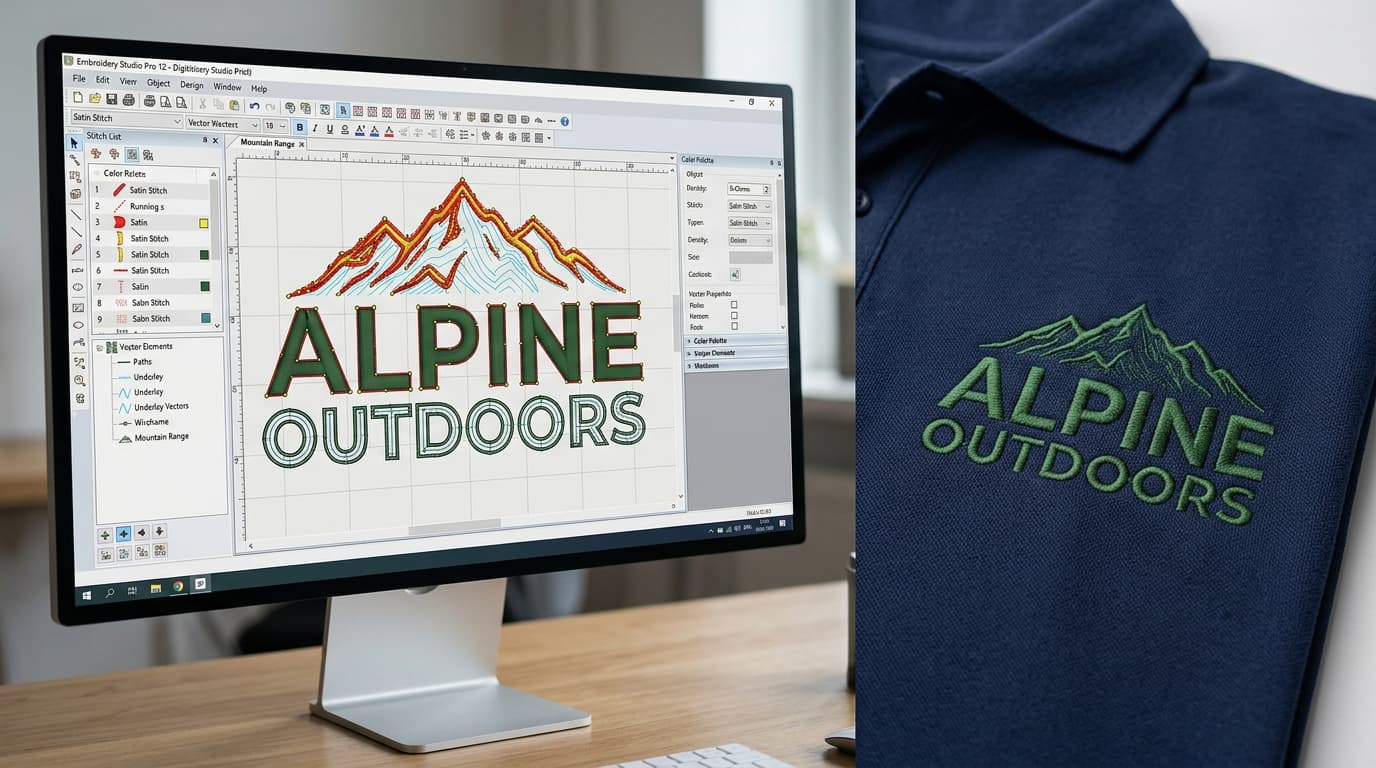
The two techniques are planned differently from the first click. An embroidery file is about stitch engineering: the digitizer chooses fill angles that follow the shape, splits wide areas so the fabric does not pull, sets satin widths within the 1-10 mm range the machine can sew cleanly, adds underlay that matches the garment and sequences the design to limit trims and jumps. The quality of the sew-out is decided almost entirely in the file.
An applique file is about sequence and stops: a placement run, a programmed stop, a tackdown stitch matched to the fabric, a trim stop if you cut in the hoop, then the border. The digitizer also decides whether you need a cut file (SVG, DXF or AI) so a laser or cutter can produce the fabric pieces in advance, and whether the border should be satin, a decorative stitch or a blanket stitch. The applique digitizing guide has the width tables; the step-by-step machine tutorial shows how the file runs on the machine.
| Decision | Embroidery file | Applique file |
|---|---|---|
| Main stitch work | Fill angles, satin columns, run outlines | Placement run, tackdown, cover border |
| Underlay | Edge run, zigzag or tatami under every fill | Only under the border and any detail embroidery |
| Pull compensation | Set per shape and fabric | Mostly on the border; fabric piece absorbs the rest |
| Stops in the file | Colour changes | Fabric placement stop, optional trim stop, colour changes |
| Extra deliverable | Colour sequence sheet | Colour sequence sheet plus optional cut file for pre-cut pieces |
| Typical revision | Density or small-text legibility | Border width or tackdown position relative to the cut edge |
Durability and Care
Both techniques survive normal home washing for the life of the garment when they are digitized and sewn properly. Embroidery's weak point is stiffness and puckering on thin fabrics when the fill is too dense or the underlay is wrong; the fix is in the file, not the care label. Applique's weak point is the edge: a border narrower than about 3 mm or a tackdown that strays outside the border lets the fabric fray, and fabrics such as felt, flannel or loose knits pill faster than the thread around them. Satin-edge applique on twill or tackle twill is as durable as embroidery; raw-edge applique is meant to fray and soften, which is a style choice rather than a flaw.
- Wash inside out in cold or warm water; avoid chlorine bleach on both techniques.
- Tumble dry low or hang dry; high heat shrinks applique fabric at a different rate than the garment and can ripple the piece.
- Iron from the back, never directly on satin borders or puff applique.
- For heavy-use uniforms choose a cutaway stabilizer under either technique; it keeps the design flat through repeated washing.
The Three Types of Applique
1. Raw-edge applique
The fabric is tacked down with a straight or narrow zigzag stitch and the edge is left exposed. It is fast, casual and common on kids wear, quilts and boutique tees. The edge frays a little with each wash, which is part of the look. Not recommended for uniforms or anything that must look the same after 50 washes.
2. Finished-edge or satin applique
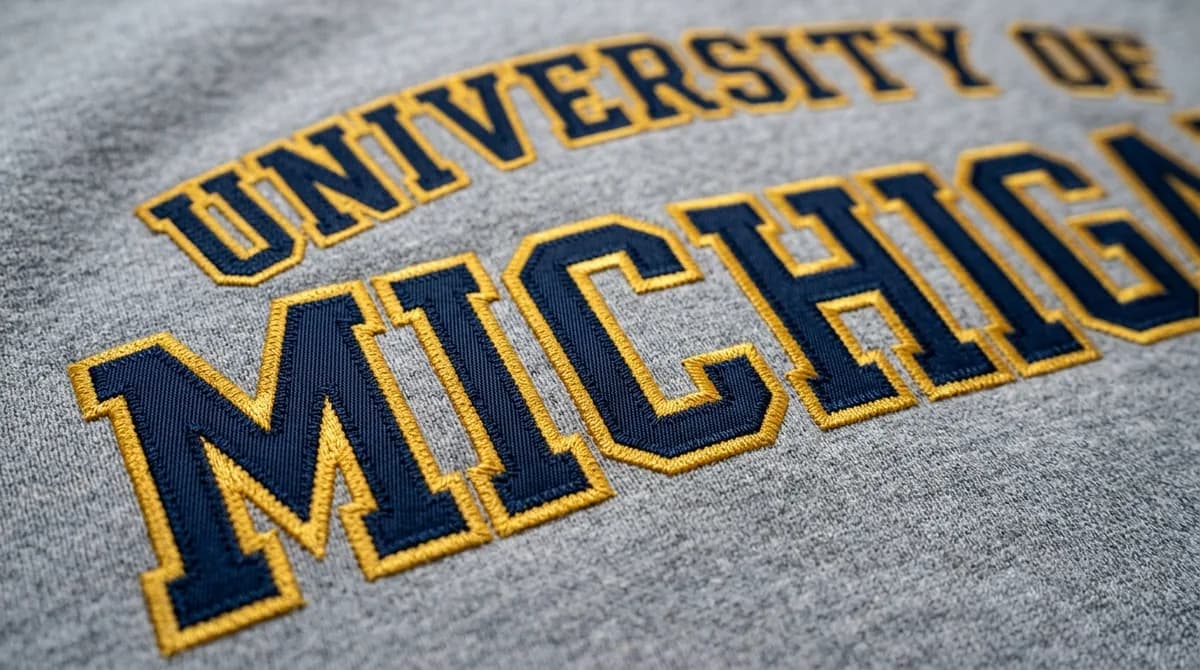
The standard for logos, lettering and team wear. After the tackdown, a satin border of about 3.5-5 mm covers the cut edge completely. Variants use a blanket stitch, a bean stitch or a decorative motif as the border. This is the type most digitizing orders mean when they say applique, and it is what the applique digitizing service produces by default.
3. Reverse applique
A second fabric is placed behind the garment, the shape is stitched through both layers, and the top layer is cut away inside the stitching to reveal the fabric beneath. It gives a recessed, layered look and works well on heavy knits and jackets. It needs careful trimming and is usually combined with a satin or decorative border on the cut edge.
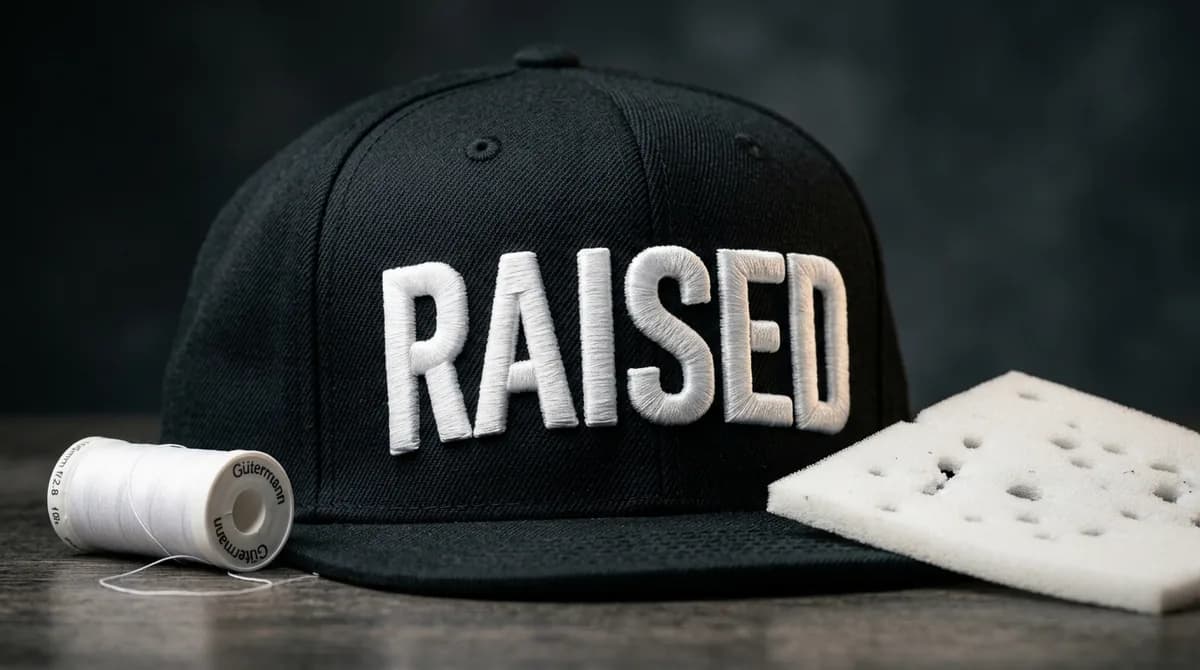
3D or puff applique is a variant of the satin type: foam or batting goes under the fabric piece before the tackdown, and a dense satin border seals the edge, giving a raised letter without the heavy fill of 3D puff embroidery. It is popular on caps and letterman jackets.
Embroidery vs Patches
People often mean a patch when they compare embroidery and applique, so it is worth separating the three. Direct embroidery and applique are both sewn into the garment. A patch is embroidered or woven onto its own base fabric, finished with a merrow or satin edge, and attached afterwards by sewing, heat-seal or hook-and-loop. Patches cost more per piece and sit higher on the fabric, but they can be made before the garments exist, moved between items and ordered in bulk, which is why uniforms, clubs and merch brands use them. Velora digitizes patch files separately from garment files, and the embroidered patches guide covers the border and backing choices.
How to Decide in 30 Seconds
- 1Is the design under 3 inches, or does it have text smaller than about 6 mm? Embroidery. Stop here.
- 2Is it a single bold shape, letter or number over 5 inches? Applique. The stitch saving is large and the look is right.
- 3Does it go on a towel, blanket, fleece or heavy pile? Applique, or embroidery with a knockdown stitch under it; fabric on top of pile stays crisp.
- 4Is it a cap or a thin performance garment? Embroidery; caps have no room for fabric stops and thin knits dislike the added bulk.
- 5Does it need gradients, shading or more than four separate pieces? Embroidery, or a combination with the big shape as applique and the detail as thread.
- 6Still unsure? Send the artwork and finished size; a digitizer can quote both versions and show the stitch count difference before you commit.
Whichever you choose, the file decides the result. Share the garment, the finished size and the fabric you plan to use, and ask for the stitch count with the quote. For applique, also ask for the border width and whether a cut file is included; for embroidery, ask how small text and thin outlines will be handled. Velora's applique digitizing service and standard logo digitizing both start with that brief.
Written by the Velora Digitizing Team
Digitizing StudioThis guide is written and reviewed by the digitizers at Velora Digitizing, who prepare embroidery files for caps, jackets, patches, and left chest logos every day. The advice here comes from the same stitch-path, underlay, and fabric choices we make on client orders.
Related service
Applique Digitizing Service