Flat Embroidery vs 3D Puff: Differences, Cost and Which to Choose
Flat embroidery sews thread straight onto the fabric; 3D puff sews dense satin over foam for a raised look. Here is how they differ in detail, garments, file setup and cost.

Embroidery Digitizing Studio
Commercial Digitizing Service
Need production-ready machine files? Explore our 3D Puff Digitizing Services
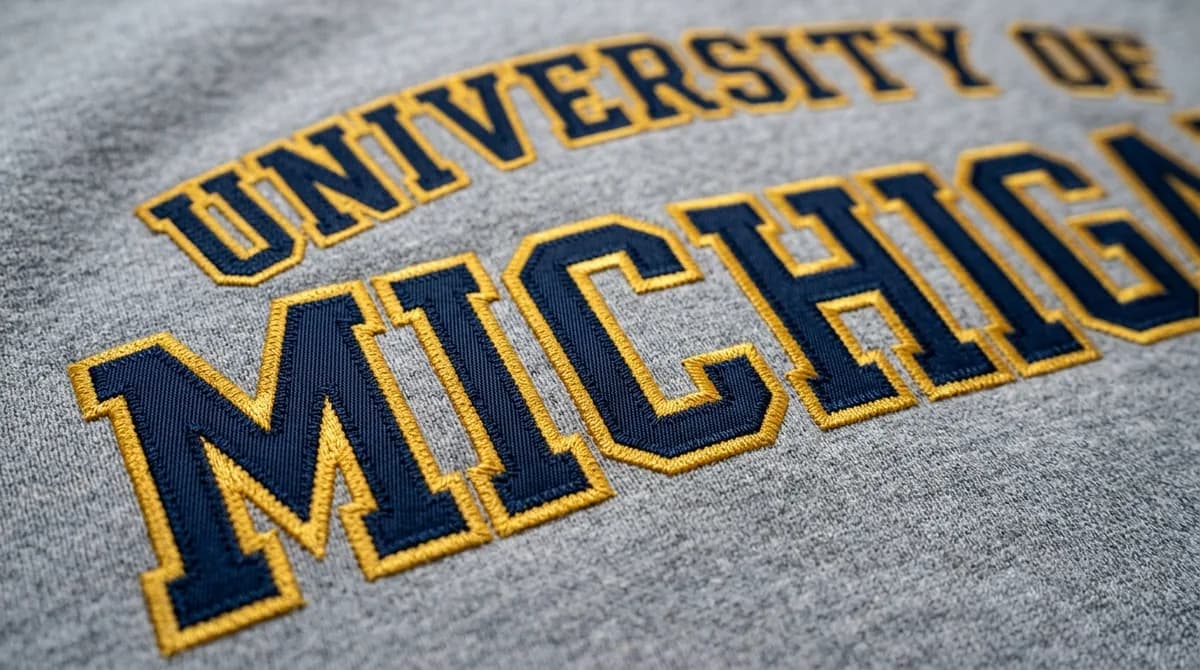
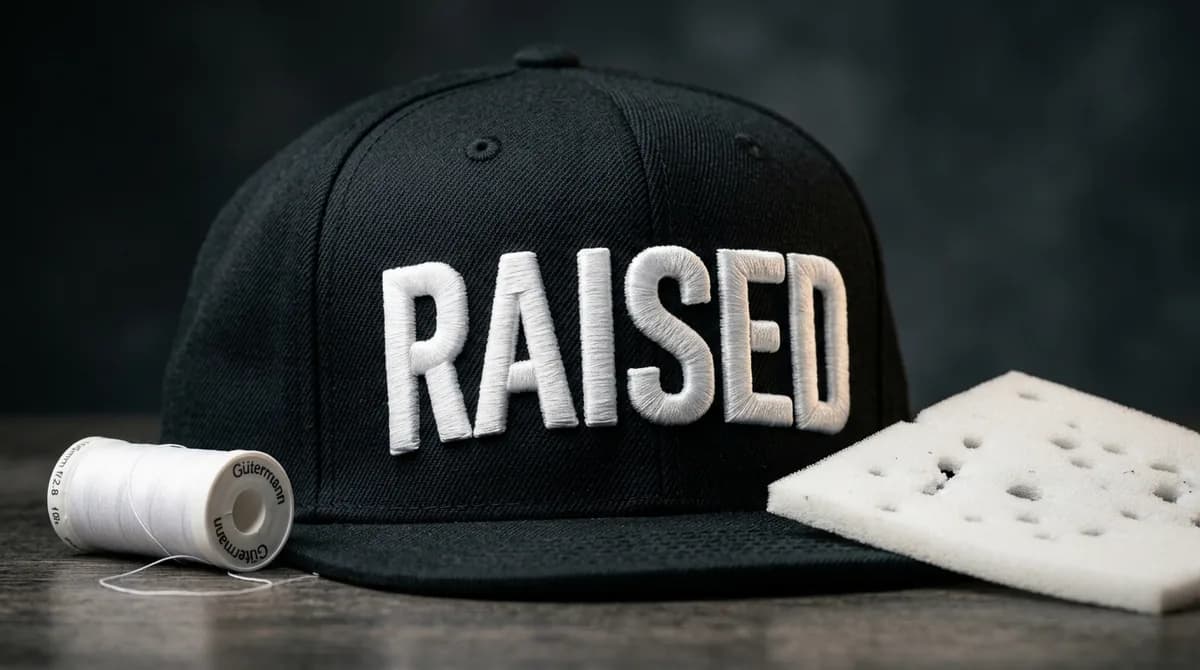
The difference between flat embroidery and 3D puff is what sits under the thread. Flat embroidery sews thread straight onto the fabric, so the design is level with the surface and can carry small text and fine detail. 3D puff embroidery sews dense satin stitches over a sheet of foam, which lifts the design about 2 to 3 mm for a bold, raised look. Flat works on almost any garment and any logo; puff works best for thick, simple lettering on structured caps, hoodies and jackets.
The two are not interchangeable at the machine: each needs its own digitized file. This guide compares them point by point and shows how to decide. For the full puff settings, see our 3D puff embroidery digitizing guide.
Flat Embroidery vs 3D Puff at a Glance
| Flat embroidery | 3D puff embroidery | |
|---|---|---|
| Look | Level with the fabric, clean and classic | Raised about 2 to 3 mm, bold and sculpted |
| Stitch types | Satin, fill and running stitches | Satin columns only on the raised parts |
| Detail | Fine lines, small text and outlines are possible | Thick, simple shapes only |
| Minimum stroke width | About 1 mm for a satin line | About 3 mm for every raised stroke |
| Satin stitch spacing | About 0.38 to 0.42 mm | About 0.16 to 0.20 mm, roughly twice as dense |
| Underlay | Yes, under most objects | None under the foam, only a light centre run |
| Best garments | Polos, T-shirts, caps, jackets, bags, towels | Structured caps, hoodies, heavy jackets |
| Machine time | Normal speed, no extra stops | Slower speed plus a stop to place the foam |
| Cost | Lower | Higher for both the file and the sewing |
How Each One Is Made
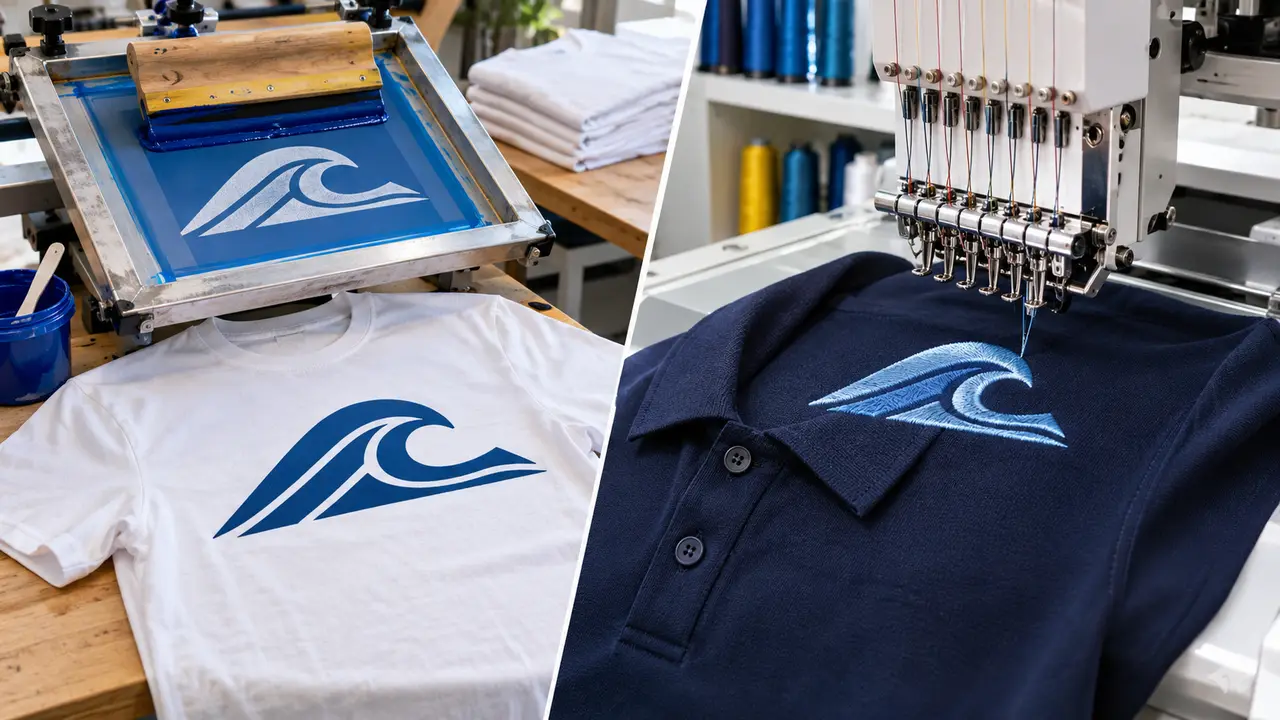
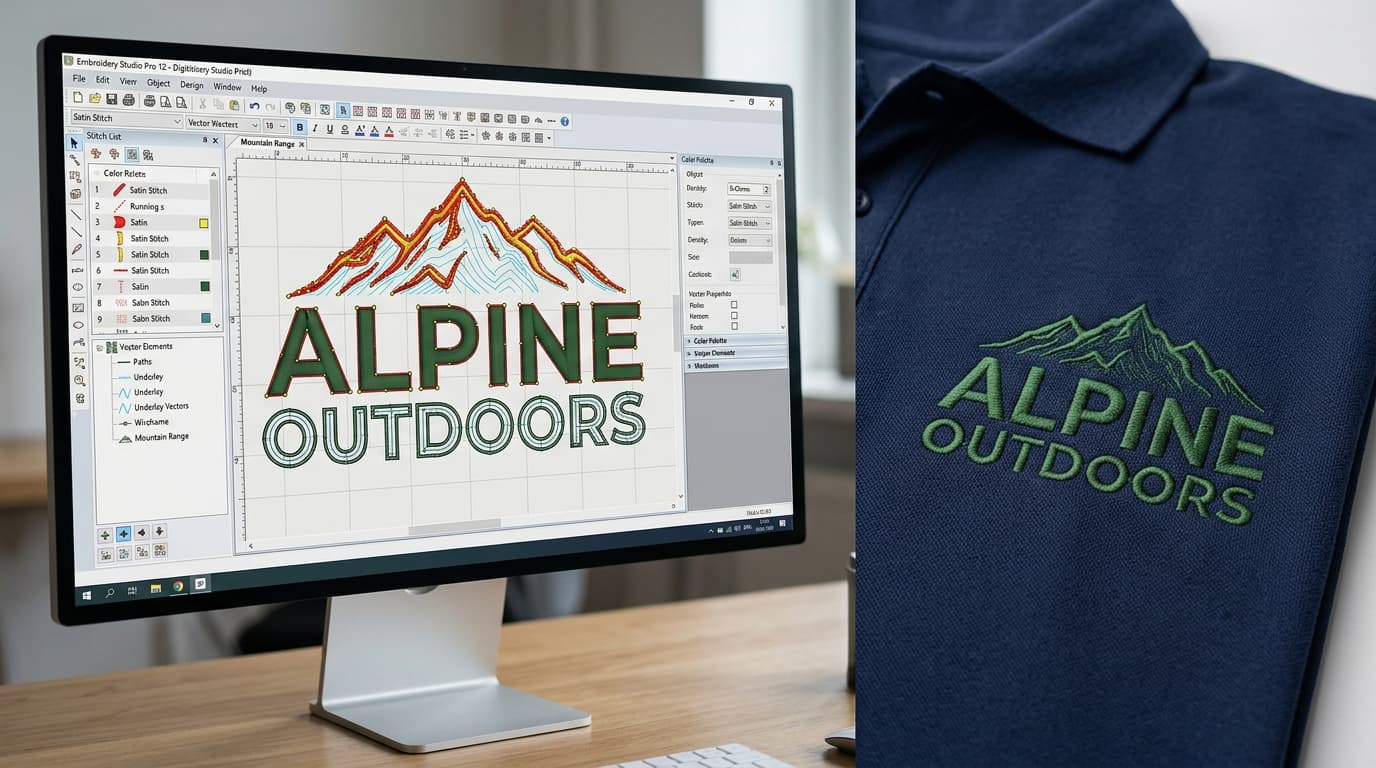
Flat embroidery is the standard method. The machine sews underlay stitches to stabilize the fabric, then the visible satin, fill and running stitches on top. Because the thread lies directly on the fabric, the digitizer can use every stitch type and work down to small sizes.
3D puff embroidery adds one step. The flat parts of the design sew first, the machine stops, and a piece of embroidery foam is laid over the area to be raised. Dense satin columns then sew across the foam. The needle perforates the foam along the edges of each column, so the excess tears away cleanly and the foam stays trapped under the thread. Fill stitches cannot be used on the raised parts because they would flatten the foam instead of wrapping it.
Detail and Minimum Sizes
This is usually the deciding factor. Foam needs a column wide enough to wrap it, so every raised stroke should be about 3 mm wide or more, and columns wider than roughly 10 to 12 mm have to be split or left flat. Thin script, serifs, taglines and small registered-mark symbols will not hold foam. Flat embroidery has no such limit beyond the normal rules for thread, so lettering down to about 4 to 5 mm tall is workable; our guide to embroidering small letters covers those limits.
Which Garments Suit Each Method
- Structured caps and snapbacks: the classic place for 3D puff. The stiff front panel supports the foam. Flat embroidery works equally well when the logo has fine detail; see the cap and hat digitizing guide.
- Unstructured caps and beanies: flat is safer. Puff is possible on some, but soft fabric gives the foam less support; see beanie embroidery.
- Hoodies and heavy jackets: both work. Puff suits large block lettering on thick fleece; see the hoodie embroidery guide.
- Polos, T-shirts and thin knits: flat only. The dense satin and foam are too heavy for light fabric and cause puckering.
- Towels, bags and patches: flat, with the right underlay for the surface.
Cost: Why 3D Puff Is Priced Higher
Puff costs more at two points. At the machine, it uses foam, runs slower, needs an operator to place the foam mid-run and puts about twice as many stitches into each raised column because the satin is sewn at roughly double the density. Embroiderers therefore usually add a per-piece charge for puff. Our embroidery cost guide explains how per-piece pricing is built.
At the digitizing stage, a puff file takes more manual work: no automatic underlay, hand-placed end caps on every open column, a perforation run and a programmed stop for the foam. Across the market a 3D puff cap file typically costs $15 to $30 as a one-time fee, against roughly $10 to $30 for a flat left chest or cap logo. At Velora Digitizing, a flat logo up to 5,000 stitches is $6.99 on the Basic plan and 3D puff designs fall under the Rush plan at $19.99; the pricing page lists what each plan includes.
How to Choose
- 1Check the thinnest stroke. If any part you want raised is under about 3 mm wide at the sewn size, that part has to be flat.
- 2Check the garment. Structured caps, hoodies and heavy jackets can take puff. Thin fabric cannot.
- 3Check the detail. Small text, fine outlines, gradients and many colors point to flat embroidery.
- 4Check the budget and quantity. For large runs, the slower machine time of puff adds up.
- 5Consider a mix. Raised main lettering with flat details often gives the bold look without losing the small elements.
Ordering the Right File
Because flat and puff files are built differently, say which one you want before the logo is digitized, and say so again if you want both versions. Send the artwork, the sewn size, the cap or garment type, the foam thickness you plan to use and which elements should be raised. Our 3D puff digitizing service builds raised cap and hoodie files, and flat cap logos are covered by our cap logo digitizing service. You can send your artwork for a free quote.
Written by the Velora Digitizing Team
Digitizing StudioThis guide is written and reviewed by the digitizers at Velora Digitizing, who prepare embroidery files for caps, jackets, patches, and left chest logos every day. The advice here comes from the same stitch-path, underlay, and fabric choices we make on client orders.
Related service
3D Puff Digitizing Services