How to Make Embroidered Patches (Machine and By Hand)
Making your own embroidered patches is easier than it looks. Here is the full process, from fabric and stabilizer to satin borders, hot-knife cutting and heat-seal backing.

Embroidery Digitizing Studio
Commercial Digitizing Service
Need production-ready machine files? Explore our Custom Patch Digitizing
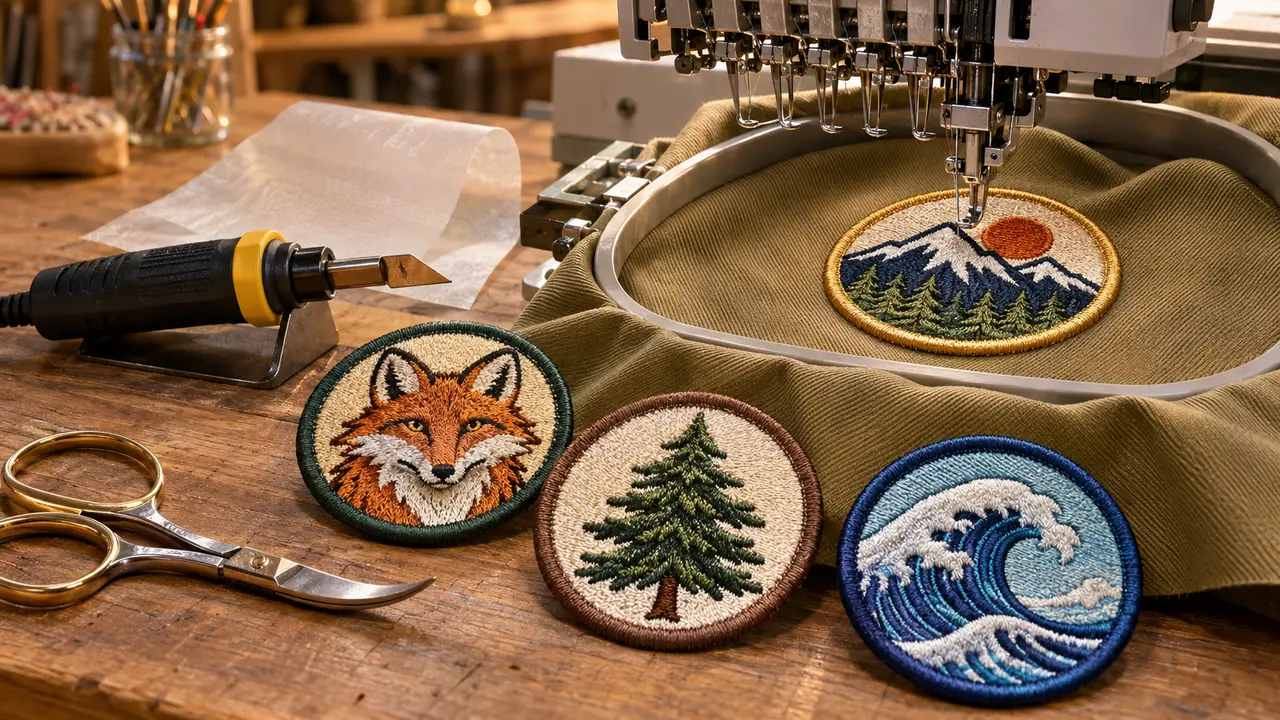
To make embroidered patches with an embroidery machine, hoop twill or felt with a firm stabilizer, stitch a patch file that includes underlay, the design and a wide satin border, then cut the patch out close to the border and seal the edge. Add heat-seal or hook-and-loop backing if you want it. By hand, embroider the design on felt, cut it out with a small margin and finish the edge with a dense blanket stitch.
This guide walks through both methods step by step. The most important part is the file: a patch needs a border built to cover a cut edge. Our custom patch digitizing service creates patch files ready for production.
Materials for Machine-Made Patches
- Fabric: polyester twill (classic), felt (easy, no fraying) or canvas.
- Stabilizer: heavy tearaway or cutaway; water-soluble for free-standing patches. See the stabilizer guide.
- Thread: 40 weight polyester; see the thread weight guide.
- Cutting tools: sharp curved scissors or a hot knife for polyester twill.
- Backing (optional): heat-seal film, fusible web or hook-and-loop.
- A patch file: with placement, tack-down, design and satin border.
How to Make Embroidered Patches With an Embroidery Machine
- 1Prepare the file: the design plus a satin border about 3 to 4 mm wide around the shape.
- 2Hoop: hoop the stabilizer and twill tightly together. For felt, float it on adhesive stabilizer.
- 3Stitch the underlay and design: fills first, then details; see fill stitches.
- 4Stitch the border: the satin border runs last, covering the edge of the patch area.
- 5Unhoop and trim: cut close to the outside of the border without cutting stitches.
- 6Seal the edge: run a hot knife around polyester twill, or apply fray stop on cotton.
- 7Add backing: press heat-seal film or fusible web to the back if you want iron-on patches.
How to Digitize a Patch: Placement, Tackdown, Fill and Border
A patch file is sequenced differently from a garment logo. The garment file assumes the fabric already exists under the stitches; the patch file has to build the base, hold any fabric layer, and finish an edge that will be cut. Whether you digitize it yourself in free software like Ink/Stitch or order it from our patch digitizing service, the order of operations is the same.
- 1Base fill or partial fill: on twill or felt, fill only the areas the design needs; on a free-standing patch, a dense full base becomes the patch fabric. Keep fill density moderate on twill so the blank does not curl.
- 2Placement line and tackdown (applique-style patches only): a running stitch marks where the fabric piece goes, the machine stops, the fabric is laid down, then a running or zig-zag tackdown locks it before trimming.
- 3Design and lettering: fills first, satin details and text last, with underlay set for a stable blank rather than a stretchy garment.
- 4Border: a satin border about 2.5 to 4 mm wide for small patches and wider on large emblems, with a running-stitch underlay so it sits on the cut edge. For a merrow finish, the file ends with a clean outline instead, and the merrow edge is applied after stitching.
- 5Formats and sheet: export DST for commercial machines plus your home format (PES, JEF, EXP), and keep a color-sequence sheet with the stop for fabric placement if there is one.
| Border type | Typical width | Best for | Notes |
|---|---|---|---|
| Satin border (in file) | 2.5 to 4 mm small patches; 4 to 6 mm large emblems | Any shape, any embroidery machine | Add running underlay under the satin; trim close to the outside edge after stitching. |
| Merrow (overlock) border | About 3 mm rope edge | Circles, ovals, squares, shields | Applied on a merrow machine after embroidery; file carries a clean outline, not a satin border. |
| Satin border + laser-cut edge | 2.5 to 4 mm satin, cut path 0.5 to 1 mm outside | Intricate outlines, tight corners, die-cut shapes | Needs a matching vector cut path; polyester twill seals cleanly under heat. |
| Blanket or E-stitch edge | 3 to 5 mm | Felt patches, handmade look | Less edge coverage than satin; better on felt, which does not fray. |
How to Make a Free-Standing Patch
A free-standing patch is stitched entirely on water-soluble stabilizer, with a fill base that becomes the patch fabric. After stitching, the stabilizer is rinsed away. This needs a file with a dense base layer and a strong border, and works best for small patches.
How to Make an Embroidered Patch by Hand
- 1Draw the design on felt or twill and place it in a hand embroidery hoop.
- 2Embroider the design using satin stitch, fill stitches or chain stitch.
- 3Remove from the hoop and cut out the patch, leaving about 3 to 5 mm of fabric around the design.
- 4Finish the edge with a dense blanket stitch or whip stitch.
- 5Fuse a piece of felt or fusible web to the back to hide the stitches.
- 6Sew or iron it onto your garment.
Patch Borders and Backings
- Satin border: made on any embroidery machine; clean and durable.
- Merrowed border: thick overlocked edge made on a merrow machine.
- Heat-seal backing: iron-on; see iron-on vs sew-on patches.
- Hook-and-loop: removable patches for uniforms and bags.
- Other styles: see custom patch types: embroidered, woven, PVC, leather and chenille.
Design Tips for Better Patches
- Keep shapes simple; round, oval, square and shield shapes are easiest to cut and border.
- Keep text bold and above about 5 mm tall; see best fonts for embroidery.
- Use a contrasting border color to frame the design.
- For name patches, see embroidered name patches.
- For photo patches, see convert a photo to embroidery.
Want production-ready patch files? Send your artwork, size and border style through our contact page, or see digitizing prices. For hats, also see custom leather patches for hats.
Written by the Velora Digitizing Team
Digitizing StudioThis guide is written and reviewed by the digitizers at Velora Digitizing, who prepare embroidery files for caps, jackets, patches, and left chest logos every day. The advice here comes from the same stitch-path, underlay, and fabric choices we make on client orders.
Related service
Custom Patch Digitizing