How to Embroider a Hoodie With an Embroidery Machine: Hooping, Stabilizer, Placement and Settings
Step-by-step hoodie embroidery on a single- or multi-needle machine, plus the fleece digitizing settings, stabilizer and placement that keep chest logos flat and crisp.

Embroidery Digitizing Studio
Commercial Digitizing Service
Need production-ready machine files? Explore our Custom Embroidery Digitizing Services
To embroider a hoodie with an embroidery machine, hoop the front panel with a medium cutaway stabilizer (or float the hoodie on hooped stabilizer), lay water-soluble topping over the design area, keep the hood, sleeves and back out of the sewing field, and run a file digitized for fleece with extra pull compensation and lighter fill density. A center chest design usually sits about 7 to 9 inches below the shoulder seam and at least 2 inches above the kangaroo pocket.
Hoodies are harder than tees: stitches sink into the fleece pile, dense chest designs turn stiff, and the stretchy knit puckers around detailed logos. Below are the machine steps first, then the digitizing settings, stabilizer and placement behind them.
How to Embroider a Hoodie With an Embroidery Machine: Step by Step
- 1Mark the placement. Lay the hoodie flat, find the center line and mark the top of the design about 7 to 9 inches below the shoulder seam for a center chest logo, or 7 to 8 inches down and 3.5 to 4 inches from center for a left chest logo.
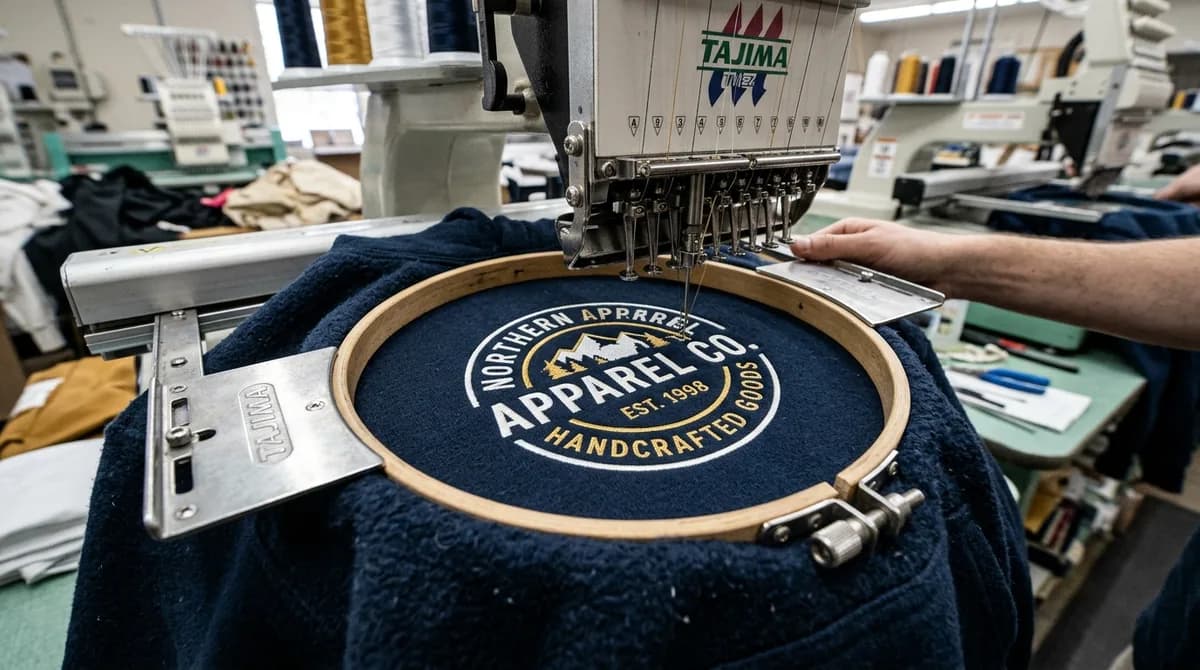
- 2Clear the sewing field. On a single-needle flatbed machine, work from the inside through the bottom hem so only the front panel goes in the hoop. On a multi-needle machine, slide the hoodie over the tubular arm. Clip the hood and sleeves away from the needle.
- 3Hoop with cutaway. Hoop the front panel together with a 2.5 to 3 oz cutaway. If the fleece is too thick to hoop without crushing it, hoop the cutaway alone, spray it lightly with temporary adhesive, float the hoodie on top and baste around the design area.
- 4Add topping. Lay water-soluble topping over the design so the stitches sit on top of the pile instead of sinking into it.
- 5Load a fleece-ready file and trace it. Use a design digitized for fleece and a 75/11 or 80/12 ballpoint needle, then trace the outline on the machine to confirm it clears the pocket seam and the hoop.
- 6Support the weight and watch the first colors. A heavy hoodie hanging off the table drags on the hoop, so support it and run at a moderate speed while the first colors sew.
- 7Finish. Trim the cutaway about 1/4 inch from the design, tear away the topping and remove what is left with a damp cloth or steam.
Why Fleece Hoodies Behave Differently Than Standard Tees & Caps
To digitize a flawless hoodie file, you must first understand the physics of sweatshirt fabric. Unlike woven twill or structured cap buckram, hoodie fleece has three unique traits:
- High Pile & Loft: The brushed fleece interior and plush exterior absorb stitches. Without calculated underlay and water-soluble topping, thread sinks into the valleys between yarns, causing ragged borders.
- Multi-Directional Stretch: Most hoodies (such as the Gildan 18500, Independent Trading Co IND4000, or Champion S700) are knit blends of 80% cotton and 20% polyester with elasticity in the horizontal weft.
- Garment Bulk & Weight: The sheer mass of a 10oz–14oz fleece hoodie pulls downward against the embroidery hoop, creating tension drag during rapid pantograph movements.
Key Digitizing Settings for Sweatshirts & Hoodies
Applying a standard left-chest flat digitizing profile to a heavy fleece garment is a recipe for puckered disasters. Adjust these core digitizing parameters in your software (Wilcom, Hatch, or Tajima DG):
1. Pull Compensation (0.35mm to 0.45mm)
Because knit fleece pulls significantly along the thread angle and pushes outward across stitch ends, you must increase pull compensation. Standard woven embroidery typically uses 0.20mm–0.25mm. For hoodies, elevate compensation to 0.35mm–0.45mm. On satin borders framing fill areas, ensure an overlap of at least 1.0mm to eliminate fabric peek-through.
2. Stitch Density: Avoiding the 'Cardboard Plate'
One of the most common customer complaints with large hoodie embroidery is that the design feels stiff and heavy against the chest. Counter this by relaxing your density:
- Tatami / Fill Stitch Spacing: Set stitch spacing to 0.42mm–0.45mm rather than the standard 0.38mm. The natural loft of fleece fills the microscopic space between stitches without requiring excessive thread mass.
- Satin Stitch Density: Keep satin column spacing around 0.40mm. Over-densifying satins cuts fleece fibers and creates ridge puckering.
3. The Underlay Foundation
On fleece, underlay is not just for stabilization—it creates a structural trampoline that prevents top stitches from sinking. For comprehensive details, see our guide on embroidery underlay types.
- For Fill Areas: Use a Double Tatami Underlay (stitched at 90-degree opposing angles) with open 2.0mm–2.5mm spacing. This locks the fleece pile down flat before the primary fill runs.
- For Satin Lettering: Use a Center Walk + Edge Run underlay. For wide lettering (above 5mm), use a Zigzag underlay with edge run to support column apexes.
Stabilizer & Hooping Strategy: Cutaway vs Tearaway
Stabilizer selection makes or breaks a hoodie project. Follow this golden rule:
Here is the recommended production stack for fleece garments:
- 1Backing (Stabilizer): 1 layer of 2.5oz to 3.0oz Heavyweight Cutaway stabilizer. Cutaway remains permanently bonded to the fleece fibers, retaining the crisp shape through dozens of wash and dry cycles. For lightweight 7oz hoodies, a layer of mesh no-show polymesh backed with 2.0oz cutaway delivers soft hand-feel.
- 2Topping: 1 layer of Water-Soluble Topping (Solvy) on top of the garment. Solvy keeps every single stitch perched atop the fleece nap. Once embroidery finishes, simply tear away excess film and mist with water or steam to dissolve residue.
- 3Hooping Technique: Use Magnetic Hoops (e.g., Mighty Hoops). Traditional plastic screw hoops can leave permanent hoop burn (crushed fleece nap) and struggle to clamp thick seams. Magnetic hoops clamp uniformly without stretching or warping the fabric.
Hoodie Placement & Sizing Dimensions
Hoodies present unique obstacles such as drawstrings, hood gravity, and front kangaroo pockets. Reference this placement cheat sheet for standard adult sizing (S–2XL):
- Full Center Chest: 9" to 11" wide, positioned 7" to 9" down from the center shoulder point (or 2.5" below neckline). Ensure at least 2" of clearance above the kangaroo pocket top seam.
- Left Chest Logo: 3.5" to 4.0" wide, positioned 7" to 8" down from shoulder seam and 3.5" to 4" over from center fold. Remember that fleece hoodies drape looser than polos—check visually on a mannequin.
- Sleeve / Wrist Embroidery: 2.5" to 3.5" wide, centered 2" to 3" above the ribbed wrist cuff. Ideal for minimalist brand marks and athletic icons.
- Hood Edge / Hood Side: 3.0" to 5.0" curved arch, placed 1.5" inside the hood hem.
3D Puff Embroidery on Hoodies: Yes or No?
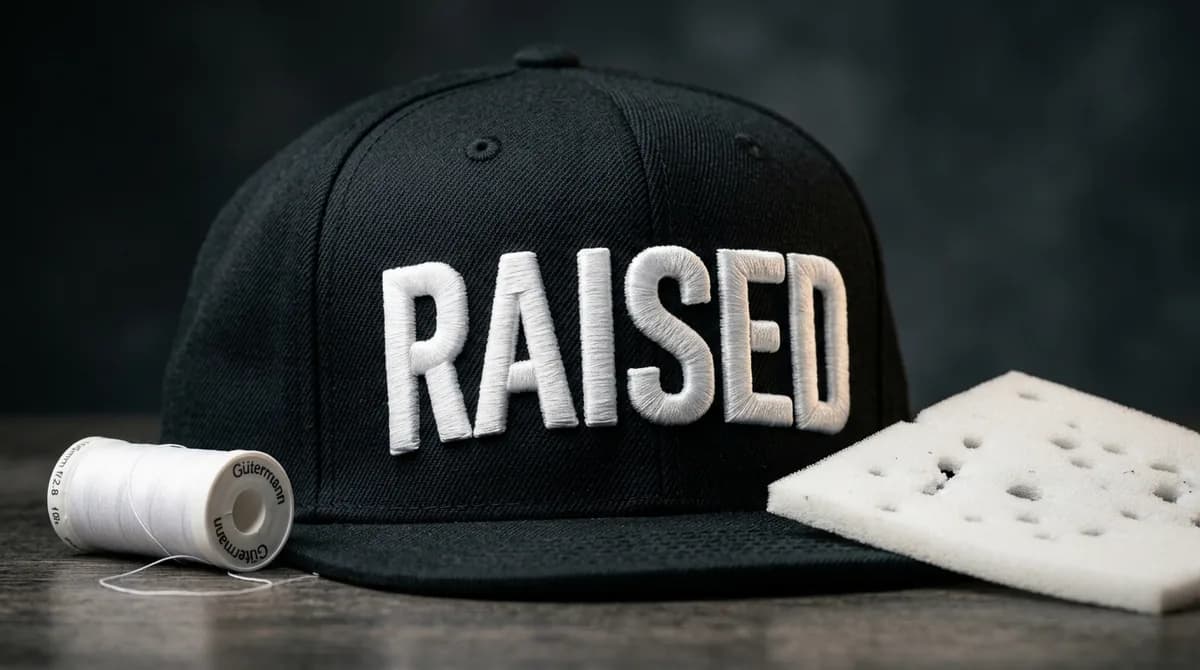
Can you do 3D puff embroidery on hoodies? Yes! In fact, 3D foam lettering on heavyweight streetwear hoodies is one of the highest-trending aesthetics on TikTok and Instagram.
However, puff on fleece requires strict discipline: use 2mm or 3mm high-density EVA foam, ensure all open column ends have capping stitches to seal the foam completely, and boost satin density to 0.18mm–0.20mm over the foam. Always test sew on scrap fleece to calibrate your machine's thread tension.
Summary: Checklist for Flawless Hoodie Embroidery
- Increase pull compensation to 0.35mm–0.45mm.
- Relax fill density to 0.42mm–0.45mm to prevent stiffness.
- Use Double Tatami Underlay to secure the fleece loft.
- Always hoop with 2.5oz–3.0oz Cutaway stabilizer; avoid tearaway.
- Place Water-Soluble Topping over the design area before stitching.
- Select a 75/11 or 80/12 Ballpoint needle to protect fabric yarns.
- Maintain at least 2" distance above the front kangaroo pocket.
Need production-tested embroidery files for fleece hoodies, puff lettering or jackets? Send your artwork to our embroidery digitizing team. Standard files ($12.99, up to 15,000 stitches) are delivered in 12-24 hours, and 3D puff is on the Rush plan ($19.99, 2-4 hours).
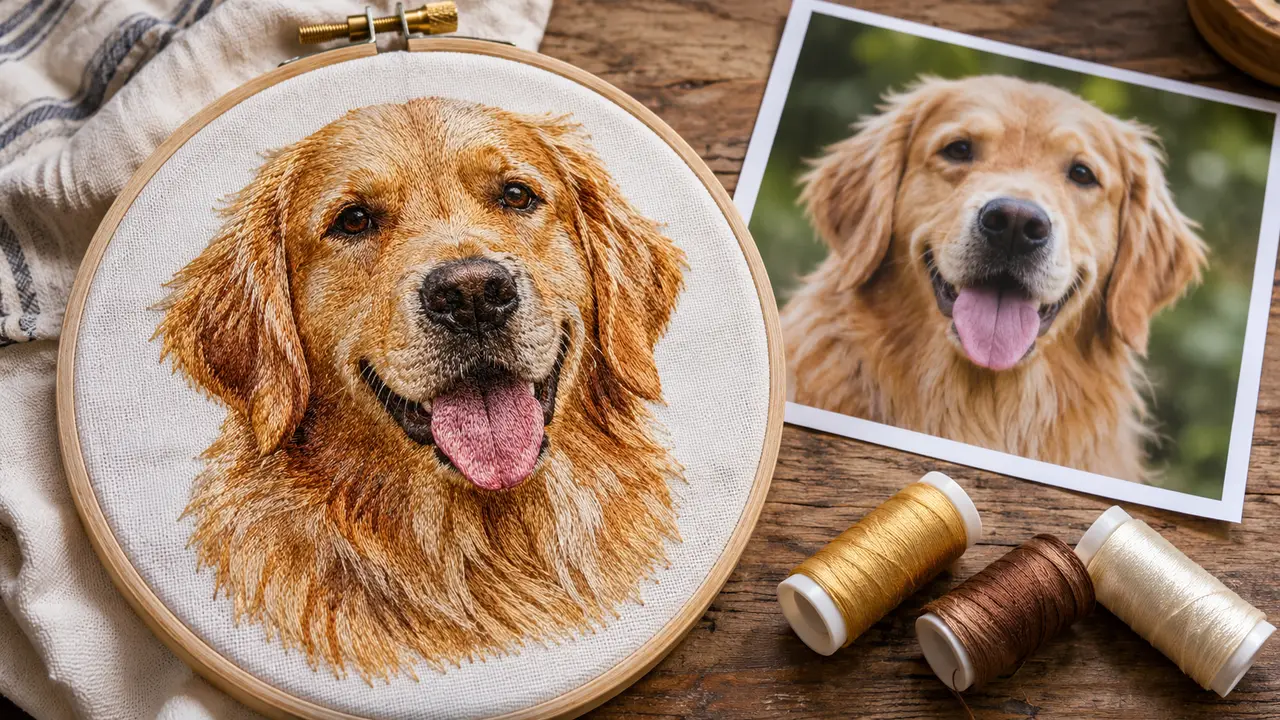
Pick the right frame for chest designs with our embroidery hoop sizes chart, and see how to convert a photo to embroidery for pet and portrait hoodies.
Written by the Velora Digitizing Team
Digitizing StudioThis guide is written and reviewed by the digitizers at Velora Digitizing, who prepare embroidery files for caps, jackets, patches, and left chest logos every day. The advice here comes from the same stitch-path, underlay, and fabric choices we make on client orders.
Related service
Custom Embroidery Digitizing Services