How to Digitize Handwriting or a Signature for Embroidery
Turn a handwritten note, recipe or signature into a clean embroidery file: how to capture the writing, which stitch to use for each stroke width, minimum sizes, and why auto-digitizing struggles with handwriting.

Embroidery Digitizing Studio
Commercial Digitizing Service
Need production-ready machine files? Explore our Custom Embroidery Digitizing
To digitize handwriting or a signature for embroidery, capture the writing as a clean, high-resolution image, trace each stroke in digitizing software as a continuous path, and choose the stitch by stroke width: a bean (triple run) stitch for thin pen writing and a narrow satin column for thick marker strokes. Then test-sew at the final size, because small loops and dots are where handwriting fails.
Handwriting is one of the jobs where manual digitizing makes the biggest difference. A font cannot reproduce the way a person joins letters, and auto-digitizing turns each stroke into a blob. This guide covers how to capture the writing, which stitch to use, the minimum sizes, and the mistakes that make embroidered handwriting look messy.
Step 1: Capture the handwriting cleanly
- Scan if you can. A flatbed scan at 300-600 dpi gives sharp edges without perspective distortion.
- If you photograph it, shoot straight down in daylight with no shadows across the paper, and fill the frame with the writing.
- Use the original. A photo of a printed copy loses detail. For an old card or letter, scan the original card.
- Separate the writing you want. If a signature crosses a printed line or other text, note which strokes belong to the signature.
Step 2: Clean up the image
Increase the contrast so the writing is dark on a white background, remove stains and paper texture, and crop to the area you need. Do not redraw the letters or straighten the slant: the small irregularities are what make it look like the person's handwriting. If parts of the writing are faded, mark them so the digitizer knows to fill the gap following the pen direction.
Step 3: Choose the stitch by stroke width
| Stroke width at final size | Stitch type | Look |
|---|---|---|
| Under 1 mm (ballpoint, fine pen) | Bean stitch (triple run) | Bold pen line, slightly hand-stitched |
| Under 1 mm, very small text | Double run | Lighter, finer line |
| About 1-1.5 mm | Bean stitch or narrow satin | Satin starts to show thick and thin strokes |
| 1.5-4 mm (marker, brush pen) | Satin column with varying width | Copies pressure changes in the stroke |
| Over 4-5 mm | Satin; very wide parts as fill | Bold, graphic lettering |
The thresholds follow common lettering practice: elements under about 1 mm wide are sewn as run stitches, and wider elements as satin. A single run stitch alone is usually too thin to read on textured fabrics such as knit or terry, which is why most handwriting projects use a bean stitch. For more on how small lettering behaves, see how to digitize small text for embroidery.
Step 4: Trace each stroke as the pen moved
- 1Follow the writing direction. Trace each stroke in the order and direction it was written, so curves stay smooth and the line connects naturally to the next letter.
- 2Keep connected letters connected. A cursive word should sew as one continuous path wherever the pen stayed on the paper. This avoids jump stitches between letters; see jump stitches explained.
- 3Plan where the needle doubles back. Where a stroke loops or retraces, place the return path so it lies on top of the original line rather than beside it.
- 4Add the dots and crosses last. I-dots, t-crosses and underlines are separate strokes; sew them after the word with short trims.
- 5Match satin width to pressure. If the writing gets thicker on downstrokes, vary the satin column width in the same places.
Step 5: Size it for the item
| Item and placement | Typical width | Notes |
|---|---|---|
| Signature on shirt left chest | 2.5-3.5 in | Bean stitch; keep main letters at least about 0.5 in tall |
| Signature on cap side or back | 2-2.5 in | Keep it short; small loops close up on caps |
| Note or recipe on a tea towel or apron | 5-8 in | Bean stitch; split long text into lines |
| Memorial message on a quilt or pillow | 6-10 in | Satin works well for thick writing at this size |
| Inside of a jacket or collar label | 2-3 in | Light double run on lining fabric |
Placement for each garment is covered in the embroidery logo size chart. Shrinking a finished handwriting file later is risky because loops fill in, so decide the size before digitizing; see how to resize embroidery designs.
Step 6: Stabilize and test
Handwriting has little stitch coverage, so it is less likely to pucker than a filled logo, but thin lines show every wobble in the fabric. Use a cutaway on knits, a tearaway on woven cotton, and a water-soluble topping on towels and fleece so the line stays on top of the pile. Sew one test at the final size and check the smallest loop: if it has closed into a dot, the design needs to be bigger or the stitch lighter.
Projects where embroidered handwriting works well
- Memorial quilts and pillows: a line from a letter or card in a loved one's writing, usually 6-10 inches wide.
- Recipe tea towels and aprons: a family recipe card copied in bean stitch. Keep it to the title and key lines; a full recipe card can be 15,000 stitches or more.
- Wedding items: vows, a signature or a date stitched inside a jacket, on a veil edge or on a handkerchief.
- Children's drawings and writing: a first written name or a drawing outline, stitched in run or bean stitch to keep the childlike line.
- Brand signatures: a founder's signature as a logo on shirts and caps, usually 2.5-3.5 inches wide on the chest.
Common mistakes with handwriting embroidery
- 1Making it too small. Loops close and short strokes turn into dots. Size up, or simplify the line.
- 2Single run on textured fabric. It sinks into terry, fleece and knits; use bean stitch and a topping.
- 3Converting the writing to a font. It may be neater, but it no longer looks like the person's handwriting.
- 4Too many separate strokes. Each pen lift becomes a trim or a jump, which slows sewing and leaves threads to cut.
- 5Dense satin on thin fabric. Wide satin strokes on a handkerchief or lining pucker; keep the line light.
Why auto-digitizing struggles with handwriting
Automatic tools look at the image as shapes, not as pen strokes. A thin line becomes a narrow filled shape with an outline, each separate stroke becomes its own object with a jump in between, and overlapping loops turn into solid blobs. The result reads like a stamp rather than writing. Tracing by hand keeps the flow of the original. The manual vs AI digitizing comparison shows the same problem on logos.
Get a handwriting or signature file made
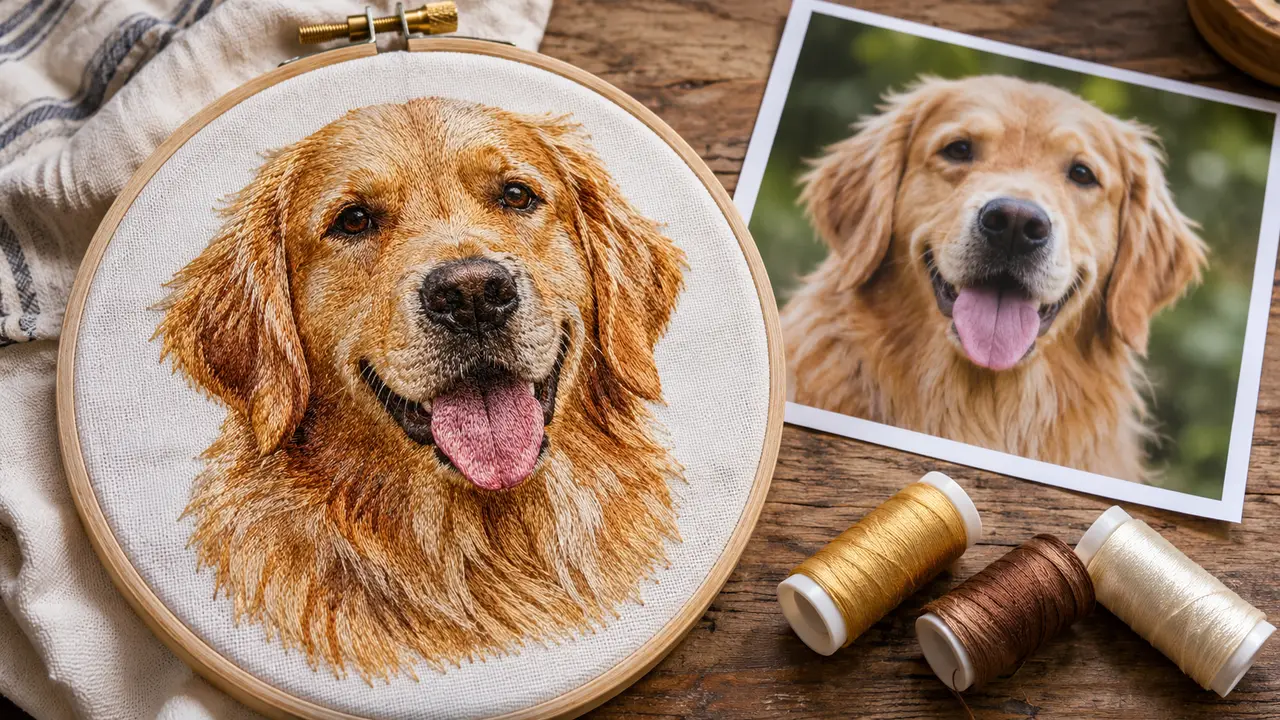
Send Velora a clear scan or photo of the writing, the final width and the item you are stitching on. We trace it by hand and deliver the file in your machine's format. A signature or short line is usually within the $6.99 Basic plan (up to 5,000 stitches); longer notes and recipes fit the $12.99 Standard plan (up to 15,000 stitches). If you are starting from a photo of a person or pet instead, see how to digitize a photo for embroidery. Order through embroidery digitizing services or contact us.
Written by the Velora Digitizing Team
Digitizing StudioThis guide is written and reviewed by the digitizers at Velora Digitizing, who prepare embroidery files for caps, jackets, patches, and left chest logos every day. The advice here comes from the same stitch-path, underlay, and fabric choices we make on client orders.
Related service
Custom Embroidery Digitizing