How to Resize Embroidery Designs Without Losing Quality
The 10-20% rule, why DST and PES files distort when scaled, how object files recalculate stitches, and a resize-or-re-digitize table for common size changes like left chest to cap or jacket back.

Embroidery Digitizing Studio
Commercial Digitizing Service
Need production-ready machine files? Explore our Custom Embroidery Digitizing
Short answer: you can resize a finished embroidery file (DST, PES, JEF, EXP) by about 10% safely, and up to about 20% on simple designs if you test-stitch first. An editable object file can go much further, roughly 50-150%, because the software recalculates the stitches. Anything beyond that, such as turning a left chest logo into a jacket back, needs the design re-digitized at the new size.
The reason is how embroidery files store information. This guide explains the difference between stitch files and object files, shows what breaks when you scale, gives a resize-or-re-digitize table for common size changes, and walks through a safe resizing workflow you can follow on any machine or software.
Why embroidery designs do not scale like images
A JPG or PNG logo is a picture. An embroidery design is a list of needle movements: go here, go there, trim, change color. A DST file, for example, records each stitch as a short jump in X and Y, with no idea that a group of stitches is supposed to be a letter or a satin border. When you drag the corner handle on the machine screen, the machine stretches those coordinates but keeps exactly the same number of stitches.
- Scale down 30%: the same stitches are packed into a smaller area, so density rises sharply. Fills become stiff and thread breaks increase. On thin fabric the design can cut the material.
- Scale up 30%: the stitches spread apart, so fabric shows through fills and satin stitches get longer. Satin columns over about 7-8 mm wide start to snag and loop.
- Underlay and pull compensation stay fixed: these settings were calculated for the original size, so outlines drift away from fills and small gaps appear between colors.
If you want to understand what a DST file holds and why it has no colors or objects, see what a DST embroidery file is and how to open it.
Stitch files vs object files
| Stitch file (DST, PES, JEF, EXP, VP3) | Object file (EMB, native software file) | |
|---|---|---|
| What it stores | Individual needle positions | Shapes plus stitch type, density, underlay and compensation |
| When you resize | Stitches stretch or squeeze; count stays the same | Software rebuilds the stitches for the new size |
| Safe resize range | About ±10% (±20% for simple designs with a test) | About 50-150% depending on detail |
| Who has it | You, the machine operator | The digitizer who created the design |
| Best use | Sewing as delivered | Editing, resizing, changing text |
The practical point: if you know you will need the design at more than one size, ask your digitizer for each size up front, or ask whether they keep the object file so they can output a new size later. A properly rebuilt file costs far less than a ruined run of shirts.
Resize or re-digitize? Common size changes
| Change | Typical sizes | Verdict |
|---|---|---|
| Left chest, small adjustment | 3.5 in to 3.25 in or 3.75 in wide | Resize the stitch file (within 10%) |
| Left chest to cap front | 3.5 in wide to about 2.25 in high | Re-digitize: new size, cap sewing order, stronger underlay |
| Left chest to full front | 3.5 in to 10-11 in wide | Re-digitize: about 3x larger, satins become fills |
| Left chest to jacket back | 3.5 in to 10-12 in wide | Re-digitize; see the jacket back size guide |
| Left chest to sleeve | 3.5 in to 2.5-3 in wide | Usually re-digitize; small text often fails |
| Cap front to cap side or back | 2.25 in high to about 1 in high | Re-digitize and simplify |
| Object file, 80% to 120% | Any | Resize in the digitizing software, then test |
For sizing details by garment, the hat logo size and cap digitizing guide covers caps and the jacket back embroidery size guide covers large back designs. The embroidery logo size chart puts every placement in one table.
What breaks first when you shrink a design
- 1Small text. Capital letters under about 0.25 inch (6 mm) high close up, and lowercase letters with counters (a, e, o) fill in. See the small lettering guide for the limits.
- 2Thin satin columns. Below about 1 mm wide, a satin column cannot form; it needs to become a run or bean stitch.
- 3Tiny details. Dots, thin outlines and gaps under about 1 mm disappear or merge with the shapes next to them.
- 4Density. The fill becomes stiff and heavy. You may also see needle breaks and thread shredding.
What breaks first when you enlarge a design
- 1Satin columns get too wide. Satins wider than about 7-8 mm become long, loose stitches that snag in the wash. A digitizer converts them to fill when the design grows.
- 2Fill coverage thins out. Fabric shows through, especially on dark garments with light thread.
- 3Underlay no longer supports the top stitches. Puckering appears around large filled areas.
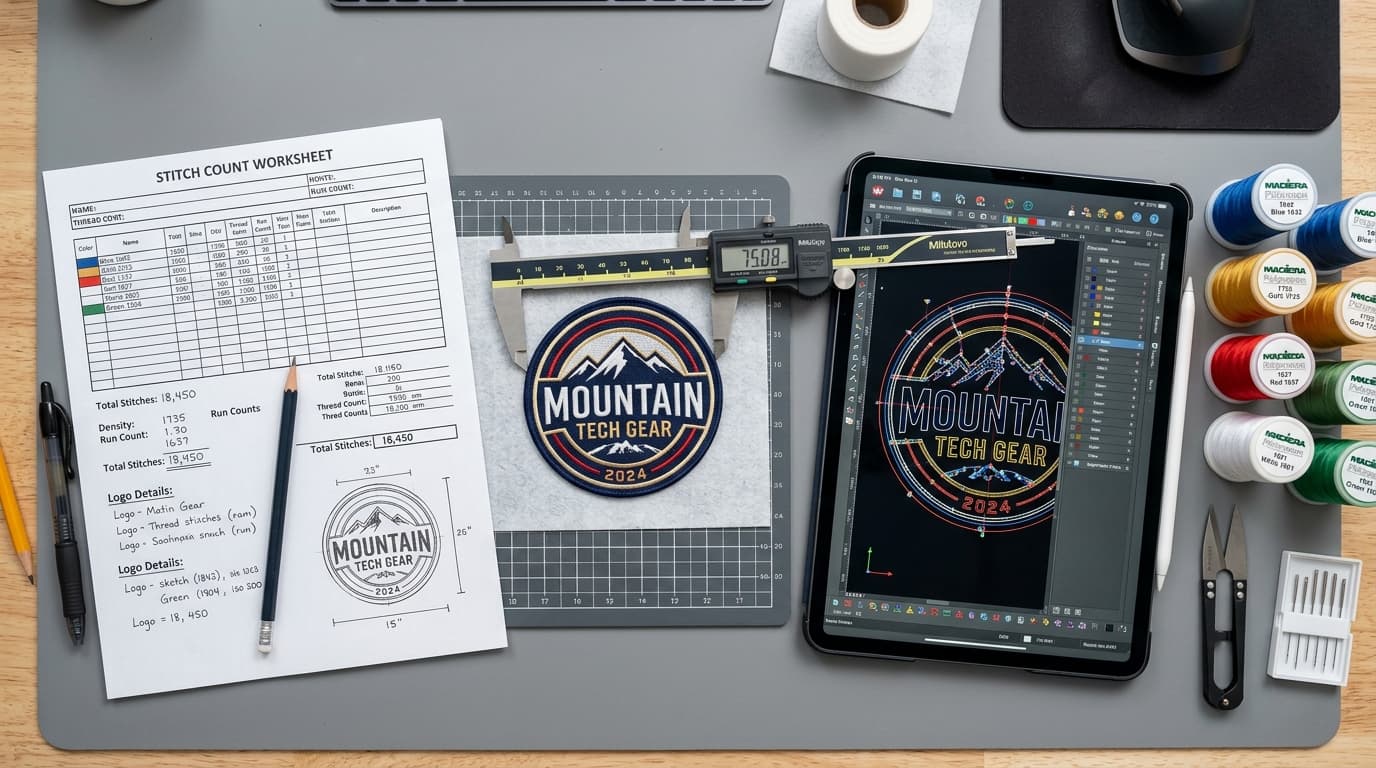
- 4Stitch count does not match the job. A larger design should have more stitches. If the count is unchanged after scaling, the file has only been stretched. The stitch count calculator shows roughly what the new size should carry.
How to resize an embroidery design safely: step by step
- 1Check what file you have. If it is DST, PES, JEF or EXP, you are working with stitches, so stay within 10% unless you are prepared to test more.
- 2Resize in software, not on the machine screen, when you can. Programs such as Hatch, Embrilliance, PE-Design and Wilcom recalculate density on import. Look for a setting that keeps stitch count fixed or recalculates it, and choose recalculate.
- 3Lock the aspect ratio. Stretching only width or height distorts lettering and circles.
- 4Check the smallest element first. Measure the smallest letter and the thinnest column at the new size against the 6 mm and 1 mm limits above.
- 5Look at the new stitch count. A design reduced 20% should have noticeably fewer stitches if the software recalculated it.
- 6Test-stitch on the real fabric. Use the same stabilizer and garment type. A test on stiff twill does not tell you how a performance polo will behave.
- 7If the test fails, stop resizing and ask for a new file. Further edits to a stitch file rarely fix density and compensation problems.
When to send it to a digitizer
Send the design back for re-digitizing when the size change is more than about 20%, when the design moves from a flat garment to a cap, when small text has to stay readable, or when you only have a stitch file and the test sew-out shows gaps or stiffness. At Velora a new version of a logo is priced by stitch count like any other file: the Basic plan is $6.99 for up to 5,000 stitches and the Standard plan is $12.99 for up to 15,000 stitches. Send the logo and the size you need through the contact page or see all embroidery digitizing services.
Written by the Velora Digitizing Team
Digitizing StudioThis guide is written and reviewed by the digitizers at Velora Digitizing, who prepare embroidery files for caps, jackets, patches, and left chest logos every day. The advice here comes from the same stitch-path, underlay, and fabric choices we make on client orders.
Related service
Custom Embroidery Digitizing