How to Embroider a Beanie with an Embroidery Machine (Cuff Size Guide)
Ribbed knit swallows thin stitches and stretches in the hoop. Here is how to size, hoop and digitize logos so embroidered beanies come out crisp.

Embroidery Digitizing Studio
Commercial Digitizing Service
Need production-ready machine files? Explore our Cap & Hat Logo Digitizing
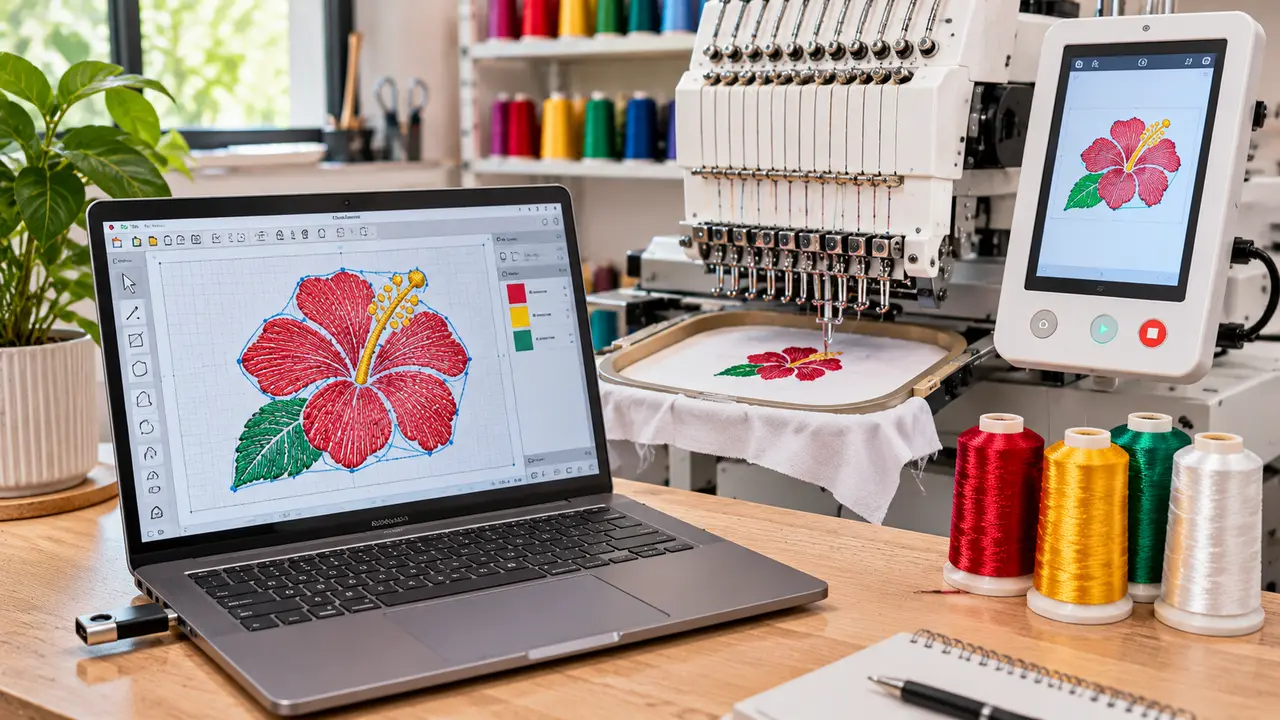
To embroider a beanie with an embroidery machine, unfold the cuff, rotate the design 180 degrees, back the knit with cutaway, add a water-soluble topping, and stitch a file built for ribbed knit. On a standard 3-inch cuff, keep the design about 2 to 2.25 inches tall. The knit is the challenge: it stretches in the hoop and its ribs swallow thin stitches. Get the size, hooping and digitizing right and embroidered beanies look as crisp as caps.
This guide covers design size, hooping, stabilizer and the digitizing changes that knit hats need. If you already have a logo, our cap and hat logo digitizing service can prepare a version made for beanies.
Cuffed vs Uncuffed Beanies
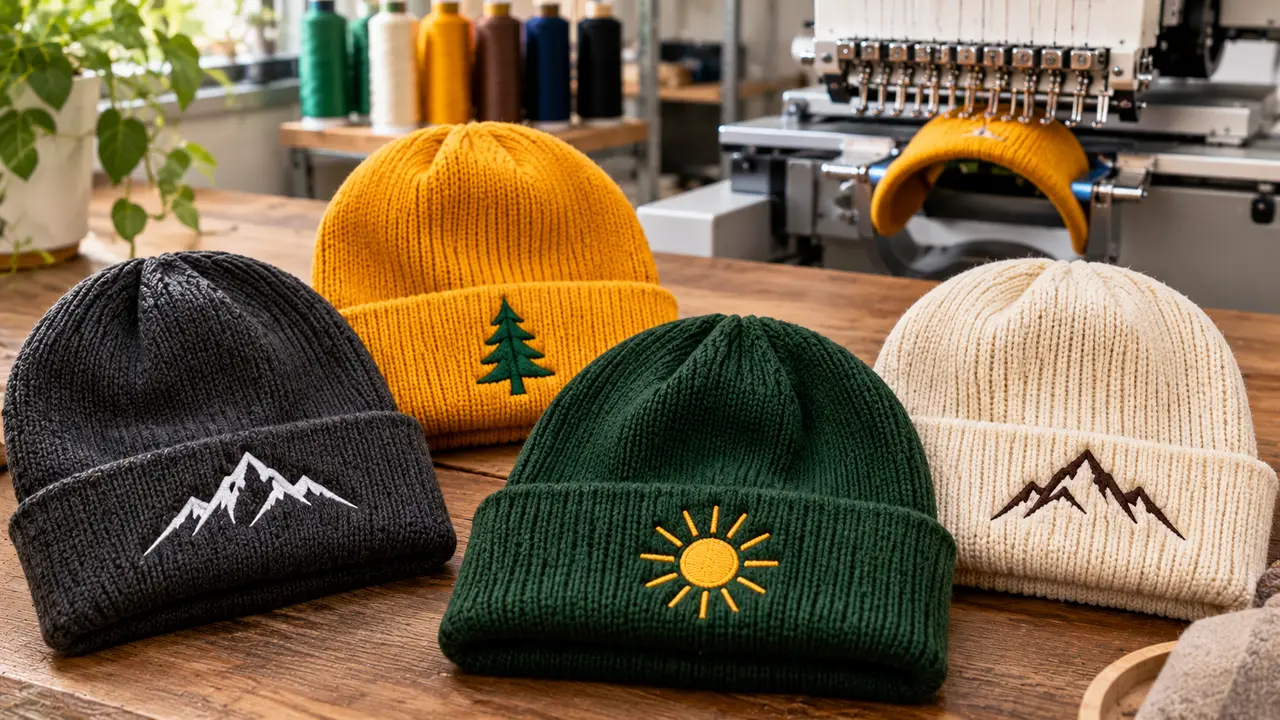
- Cuffed beanies: the most popular choice for custom beanie embroidery. The design goes on the cuff, and the back of the stitching hides inside the fold.
- Uncuffed beanies: the design goes directly on the front of the hat. The inside of the stitching touches the head, so use a soft backing and consider a cover backing.
- Pom and slouch beanies: keep the design near the lower front where the knit stays flat.
Beanie Embroidery Size Guide
| Placement | Design height | Design width | Notes |
|---|---|---|---|
| Folded cuff | About 2 to 2.25 in | About 3 to 5 in | The most common placement; stay inside the cuff with a small margin |
| Uncuffed front | About 2 to 2.5 in | About 3 to 4 in | Place above the bottom edge; the back of the stitching touches the head |
| Text on any beanie | Letters at least about 6 mm tall | Keep it short | Bold block letters; ribbed knit swallows thin strokes |
- Cuff design height: about 2 to 2.25 inches, or the cuff height minus a small margin.
- Cuff design width: usually 3 to 5 inches so it stays on the front of the head.
- Uncuffed front: about 2 to 2.5 inches tall, placed above the bottom edge.
- Text: keep letters bold and at least about 6 mm tall, because ribbed knit hides fine strokes.
Beanie Cuff Embroidery Size by Cuff Height
Cuff height varies by brand, so size the design from the cuff you have, not from a template. Leave roughly 3/8 inch above and below the design so it clears the fold and the top edge of the cuff.
| Folded cuff height | Maximum design height | Typical design width | Good for |
|---|---|---|---|
| 2.5 in (64 mm) | About 1.75 in (44 mm) | 2.5 to 4 in | One line of bold text or a compact icon |
| 3 in (76 mm), the most common | About 2 to 2.25 in (51 to 57 mm) | 3 to 5 in | Most logos; icon plus one line of text |
| 3.5 in (89 mm) | About 2.75 in (70 mm) | 3 to 5 in | Stacked logos, two lines of text |
| Uncuffed / slouch beanie | About 2 to 2.5 in | 3 to 4 in | Front logo placed above the bottom edge |
How to Hoop a Beanie for Embroidery
- 1Unfold the cuff so you can stitch through a single layer of knit.
- 2Mark the center of the area that will face out once the cuff is folded up.
- 3Rotate the design 180 degrees so it reads correctly after folding.
- 4Place a cutaway or firm tearaway behind the knit and a water-soluble topping on top.
- 5Hoop with a small hoop, beanie hoop or cap-style clamp. Hold the knit smooth but do not stretch it.
- 6Check that the rest of the hat is pulled clear of the stitching area before you start.
| Item | What to use |
|---|---|
| Backing | Medium cutaway, or a firm tearaway |
| Topping | Water-soluble film on top of the knit |
| Needle | 75/11 ballpoint |
| Hoop | A small hoop or a beanie clamp, on the unfolded cuff |
| Design orientation | Rotated 180 degrees on a cuffed beanie so it reads correctly once folded |
| File | A beanie version with a knockdown base and stronger underlay, not the cap file |
Single-Needle vs Multi-Needle Machines
On a single-needle flatbed machine (Brother, Janome, Bernina and similar), turn the beanie inside out and hoop just the unfolded cuff, or hoop the stabilizer on its own and baste the cuff onto it. Clip the rest of the hat away from the needle, because the body of a beanie slides under the presser foot easily. On a multi-needle machine, a cap driver or clamp-style beanie frame holds the cuff, and the tubular arm lets the hat hang freely, which makes repeat orders much faster. On either machine, run a little slower than normal on knit and check the first few stitches before leaving it. For structured caps on the same machine, see how to embroider a hat with an embroidery machine.
How to Digitize Logos for Beanies
A logo built for a polo or cap usually needs changes before it stitches well on knit:
- Knockdown base: a light fill or mesh under the design flattens the ribs so the top stitches sit on a smooth surface. The same idea is used on towels; see our towel and fleece knockdown guide.
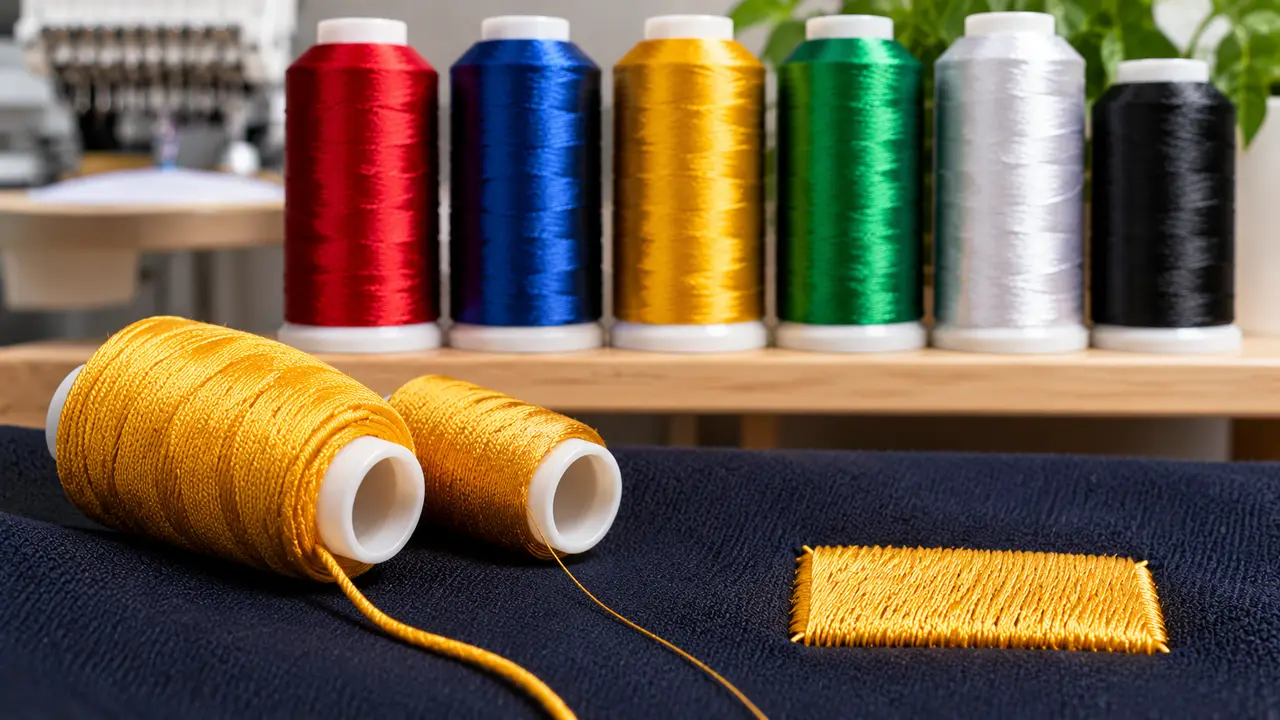
- Strong underlay: an edge run plus zigzag underlay supports satin columns on stretchy knit.
- Wider columns: very thin satin strokes disappear between ribs, so the design is simplified and strokes are widened.
- Moderate density: too many stitches stiffen the cuff and distort the knit.
- Pull compensation: knit pulls in more than woven fabric, so shapes are compensated to stay true.
- Center-out sequencing: stitching from the center outward pushes slack toward the edges instead of trapping it.
Small lettering is the most common problem on beanies. Our small text embroidery guide explains the limits, and the cap and hat embroidery guide covers the differences between caps and other headwear.
Patches as an Alternative
For very detailed logos, an embroidered or leather patch sewn to the cuff often looks cleaner than stitching directly on the knit. See our custom patch digitizing service and the leather patches for hats guide.
Ordering a Beanie Embroidery File
Send your logo, the cuff height and finished design width, the beanie style (cuffed or uncuffed) and your machine format such as DST or PES. Most beanie logos are small enough for our Basic or Standard plan; see current digitizing prices. Contact us and we will confirm the size before we digitize.
Use a ballpoint needle on knit beanies; our machine embroidery needle size guide explains why. For hoop options and cap frames, see the embroidery hoop sizes chart and the multi-needle embroidery machine guide.
Written by the Velora Digitizing Team
Digitizing StudioThis guide is written and reviewed by the digitizers at Velora Digitizing, who prepare embroidery files for caps, jackets, patches, and left chest logos every day. The advice here comes from the same stitch-path, underlay, and fabric choices we make on client orders.
Related service
Cap & Hat Logo Digitizing