Satin Stitch Width in Machine Embroidery: Settings, Limits and Hand Satin Stitch
How wide can a satin stitch be? The machine column widths that stay crisp, the settings for each width, when to split or switch to fill, and how to sew satin stitch by hand.

Embroidery Digitizing Studio
Commercial Digitizing Service
Need production-ready machine files? Explore our Custom Embroidery Digitizing
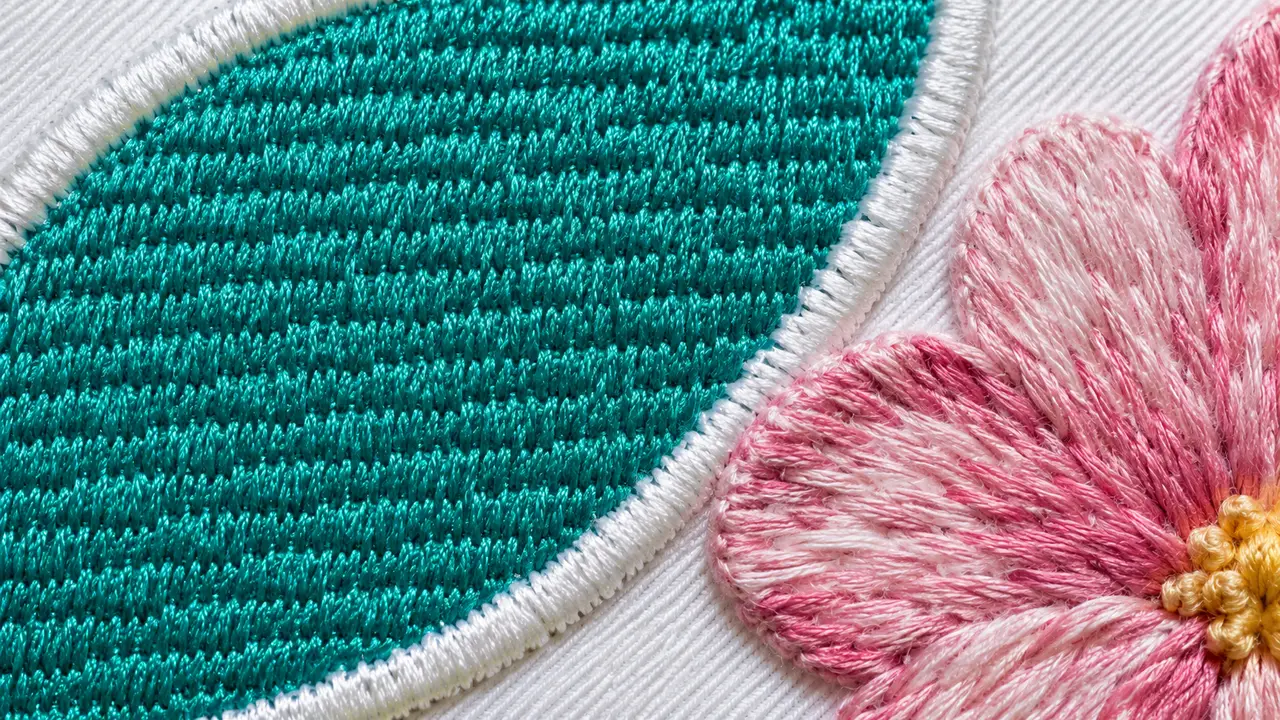
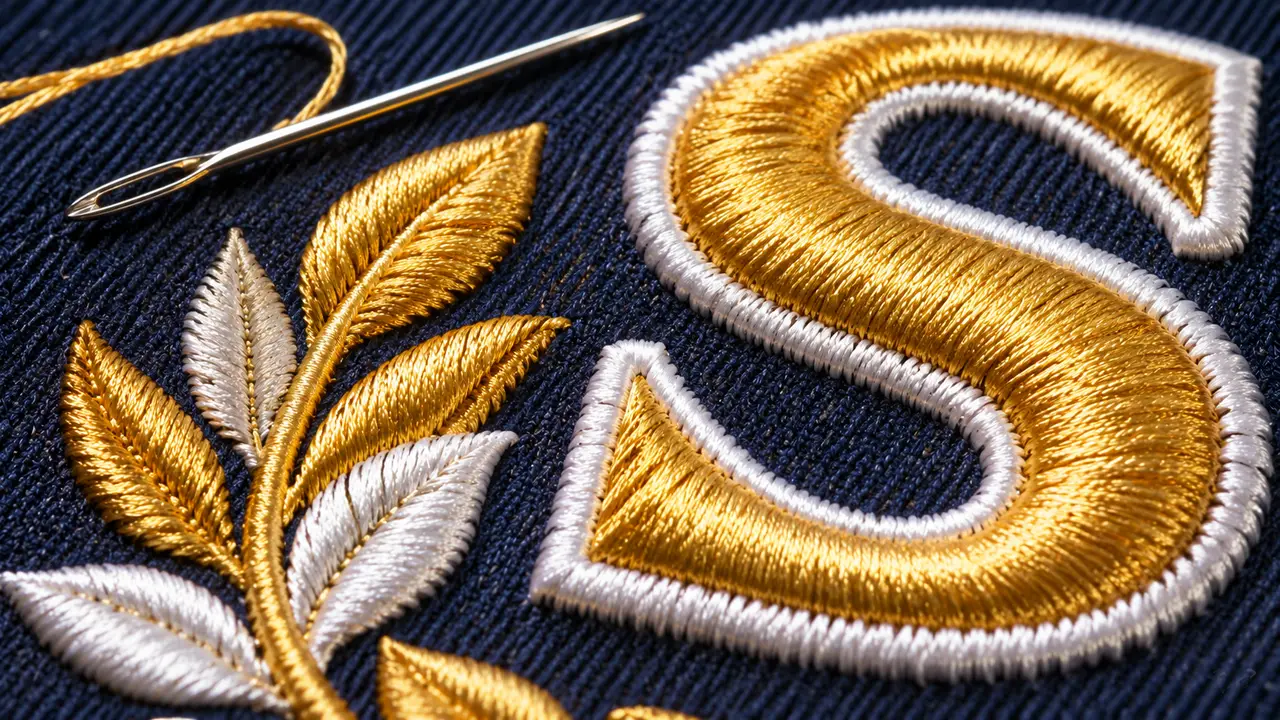
In machine embroidery, satin stitch width works best between about 1 and 7 mm. Below about 1 mm a satin column sinks into the fabric, so use a run or bean stitch instead; above about 7 to 8 mm the long stitches snag and loosen, so split the satin or switch to a fill stitch. Satin stitch embroidery covers a shape with straight, closely spaced stitches laid side by side, so the thread forms a smooth, glossy surface, whether it is sewn by machine or by hand.
This guide covers hand satin stitch for crafters and machine satin stitch for embroidery shops, including the settings our digitizing team uses for clean, shiny columns.
How to Do a Satin Stitch by Hand
Hand satin stitch needs very little equipment, but each choice affects how smooth the surface looks:
| Item | What to use | Why |
|---|---|---|
| Thread | Stranded cotton floss, 1 to 3 strands | Fewer strands lie flatter and give a smoother, shinier surface; more strands cover faster but look ropey |
| Needle | Embroidery (crewel) needle, around size 7 to 9 | A sharp point and a long eye; pick the smallest that threads comfortably |
| Fabric | A firm, closely woven cotton or linen | Loose weaves let stitches sink and wander |
| Hoop | A hoop that holds the fabric drum-tight | Slack fabric is the most common cause of puckered satin stitch |
| Outline | Split stitch or back stitch around the shape | Gives a slightly raised, even edge to stitch over |
- 1Transfer the design and outline the shape with a split stitch or back stitch.
- 2Choose a stitch direction; angled stitches often look better on curves.
- 3Bring the needle up just outside the outline on one side.
- 4Take it down just outside the outline on the opposite side.
- 5Lay the next stitch right beside the first, with no fabric showing between them.
- 6Keep tension even so stitches lie flat and do not pucker the fabric.
- 7For a raised look, pad the shape first with a layer of stitches in the opposite direction (padded satin stitch).
Three Habits That Make Hand Satin Stitch Smooth
- Start in the middle of the shape. Lay the first stitch across the widest point, work out to one end, then return to the middle and work to the other end. The angle stays consistent that way.
- Stitch over the outline, not up to it. Bringing the needle up and down just outside the split-stitch outline hides it and gives a crisp, slightly raised edge.
- Keep every stitch parallel. On a curve, fan the stitches gradually; add a shorter wedge stitch on the outside of the curve when the angle starts to drift.
Satin Stitch Variations
| Variation | How it is made | Use it for |
|---|---|---|
| Basic satin stitch | Parallel straight stitches from edge to edge | Small leaves, petals, dots and letters under about 1 cm wide |
| Padded satin stitch | The shape is first filled with small straight, seed or chain stitches, then covered with satin stitches at a different angle | Monograms and any shape that should stand up from the fabric |
| Slanted satin stitch | Stitches laid at an angle across the shape instead of straight across | Stems, ribbons and letter strokes; the slant follows the direction of the shape |
| Long-and-short stitch | Rows of staggered long and short stitches that interlock | Shapes too large for satin stitch, and shading between colors |
| Machine satin column | A zigzag of stitches between two digitized edges, over underlay | Lettering, borders and outlines roughly 1 to 7 mm wide |
| Machine split satin | A wide column whose stitches are broken into shorter lengths | Columns wider than about 7 to 8 mm that would otherwise snag |
Satin Stitch Width in Machine Embroidery
In machine embroidery, a satin column is a zigzag of stitches across a shape between two edges. The digitizer sets the angle, density and underlay. Because each stitch spans the whole width, column width matters more than anything else:
| Column width | Stitch choice | Underlay |
|---|---|---|
| Under about 1 mm | Too narrow for satin; use a running or bean stitch | None |
| About 1 to 1.5 mm | Narrow satin | Centre run |
| About 1.5 to 4 mm | Satin | Edge run |
| About 4 to 7 mm | Satin | Edge run plus zigzag |
| Above about 7 to 8 mm | Split satin or a fill stitch | As for the fill |
Typical satin spacing for 40 wt thread is about 0.38 to 0.42 mm, with pull compensation of roughly 0.2 mm on stable woven fabric and about 0.4 mm on knits. Treat these as starting points and test on the real fabric.
Underlay, Density and Pull Compensation
- Underlay: a center run for narrow columns, edge run or zigzag for wider ones. It stabilizes the fabric and lifts the satin. See embroidery underlay types explained.
- Density: spacing tight enough for coverage but not so tight that stitches pile up. Finer thread needs tighter spacing; see the thread weight guide.
- Pull compensation: satin pulls fabric inward, so columns are widened slightly to stay true to the artwork.
- Short stitches: on curves, inner points get shortened so they do not bunch up.
Where Satin Stitch Is Used
- Lettering: most embroidered text; see best fonts for embroidery and small text embroidery.
- Borders and outlines: clean edges around logos and applique pieces.
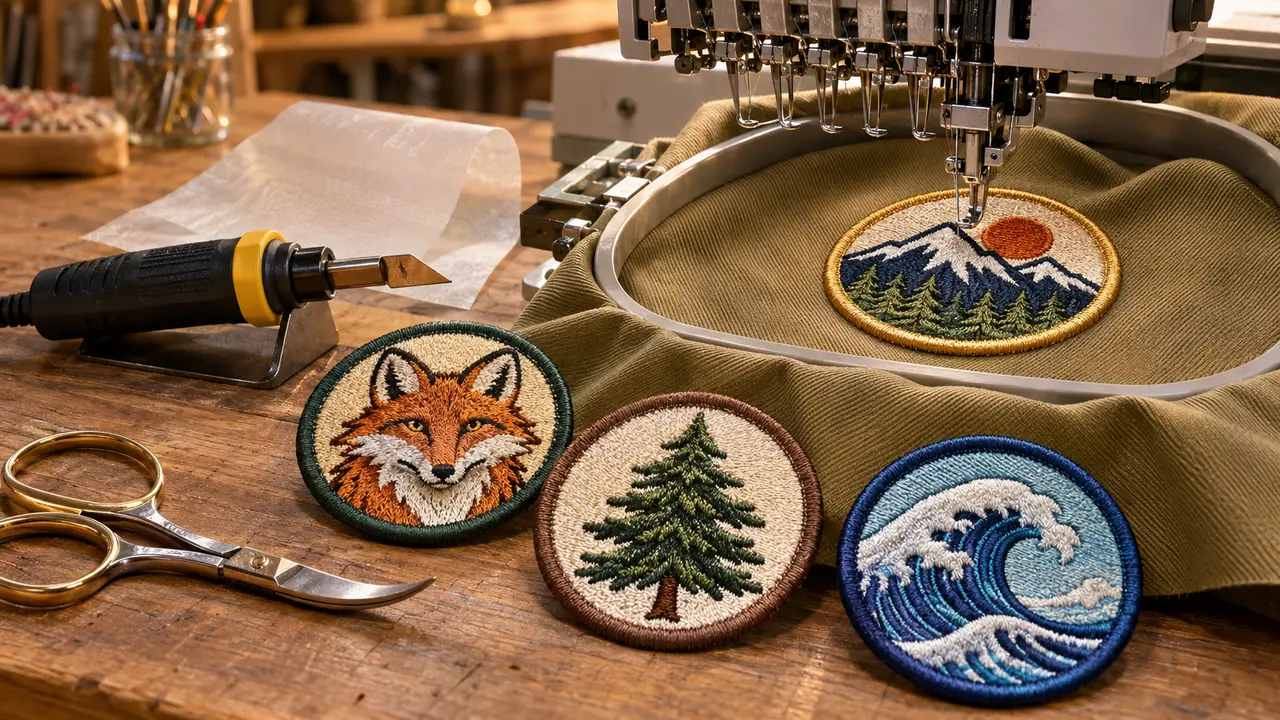
- Patch edges: the satin border on embroidered patches.
- 3D puff: puff foam is covered with dense satin columns; see 3D puff digitizing.
- Tackle twill borders: see what is tackle twill.
Fixing Common Satin Stitch Problems
- Gaps or fabric showing: add underlay, tighten density slightly, add pull compensation.
- Loose, loopy stitches: column too wide; split it or switch to fill.
- Bobbin thread showing on top: check tension; see embroidery machine thread tension.
- Puckering around columns: use firmer stabilizer and check density; see how to fix puckering.
- Thread breaks on satin: change the needle and slow down; see the needle size guide.
Need logos with smooth, professional satin lettering and borders? Send your artwork through our contact page or see digitizing prices. For caps, ask about cap logo digitizing.
Written by the Velora Digitizing Team
Digitizing StudioThis guide is written and reviewed by the digitizers at Velora Digitizing, who prepare embroidery files for caps, jackets, patches, and left chest logos every day. The advice here comes from the same stitch-path, underlay, and fabric choices we make on client orders.
Related service
Custom Embroidery Digitizing