Embroidery Fill Stitches: Best Filling Stitches by Hand and Machine
Fill stitches cover large areas smoothly. Here are the best filling stitches for hand embroidery and how machine fills are set up with density, angles and underlay.

Embroidery Digitizing Studio
Commercial Digitizing Service
Need production-ready machine files? Explore our Custom Embroidery Digitizing
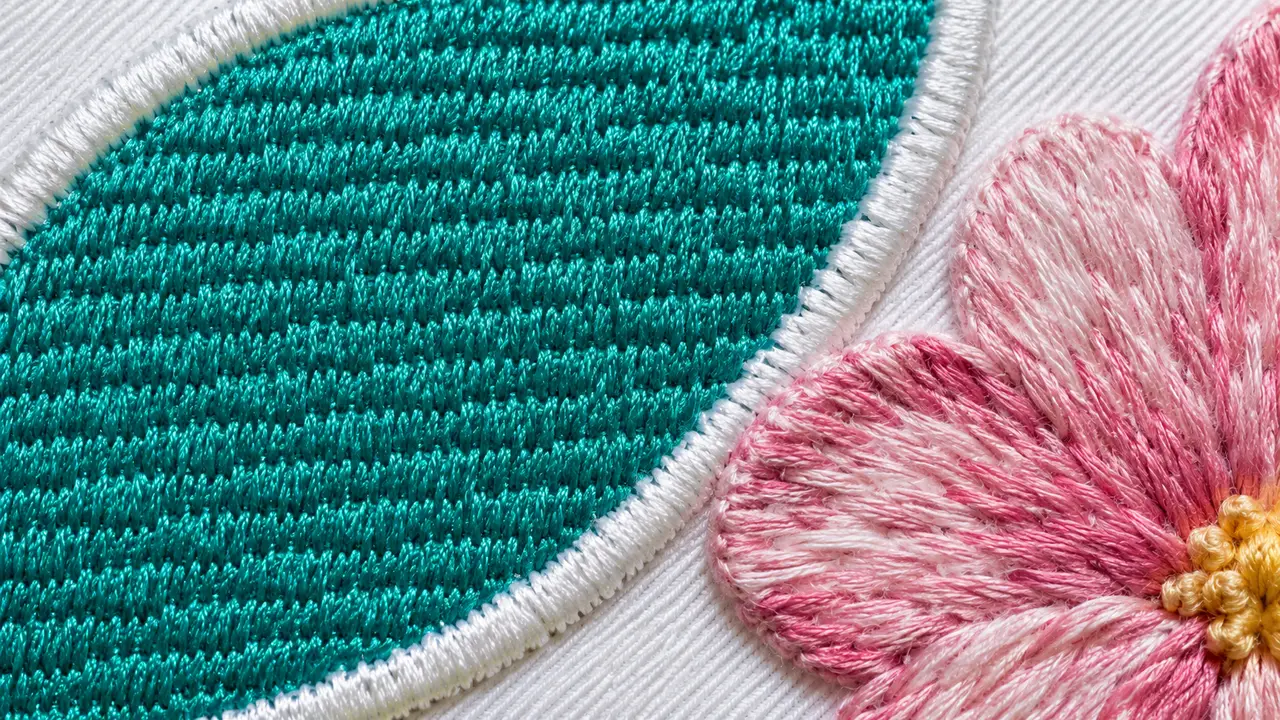
Embroidery fill stitches cover large areas with rows of short stitches so the surface stays smooth and secure. In hand embroidery the best filling stitches are long-and-short (for shading), brick stitch (for flat color) and seed stitch or French knots (for texture). In machine embroidery, a tatami fill lays rows of stitches at a set angle and density over underlay, which is how most logos cover large shapes.
This guide covers both hand filling stitches and machine fills, including the density and angle settings our digitizing team uses.
Best Hand Embroidery Filling Stitches
| Stitch | Look | Best for | Difficulty |
|---|---|---|---|
| Long-and-short stitch | Smooth, blended, painterly | Petals, animals, shading and any large shape | Moderate |
| Satin stitch | Smooth and glossy | Small shapes under about 1 cm wide | Moderate |
| Brick stitch | Flat, even, slightly textured | Solid areas of one color | Easy |
| Seed stitch | Light, speckled | Backgrounds and airy fills that let fabric show | Easy |
| French knots | Dense, raised, bobbly | Flower centres, wool, textured areas | Moderate |
| Chain stitch fill | Rows or spirals of linked loops | Bold, graphic shapes and lettering | Easy |
- Long-and-short stitch: staggered stitches of different lengths that blend colors; ideal for petals, animals and shading.
- Satin stitch: smooth and shiny but only for small shapes; see the satin stitch guide.
- Brick stitch: rows of equal stitches offset like bricks for a flat, even fill.
- Seed stitch: tiny scattered stitches for a light, speckled texture.
- French knots: clustered knots for a raised, bumpy texture.
- Chain stitch rows: lines of chain stitch packed together for a woven look.
How Machine Fill Stitches Work
A machine fill (tatami or step fill) stitches back and forth across a shape in rows, with each stitch limited to a set length so nothing is long enough to snag. The needle points in each row are offset to avoid visible lines. The digitizer controls four main settings:
| Setting | Typical value | What it changes |
|---|---|---|
| Density (row spacing) | About 0.4 mm | Coverage. Tighter hides the fabric but stiffens the design; looser is softer and lighter |
| Stitch length | About 3 to 4 mm | Shorter stitches follow curves and look matte; longer stitches look shinier but can snag |
| Angle | 45 degrees as a default | How the fill catches light and how it pulls the fabric |
| Underlay | A light tatami or grid underlay | Stabilizes the fabric and stops the top layer sinking |
| Pull compensation | About 0.2 mm on wovens, 0.4 mm on knits | Stops gaps opening between the fill and its outline |
- Density (row spacing): how close the rows are; a common starting point is around 0.4 mm for 40 wt thread.
- Stitch length: typically around 3 to 4 mm in fills.
- Angle: the direction of the rows, chosen to suit the shape and fabric stretch.
- Underlay: a lighter fill or grid underneath that stabilizes fabric; see embroidery underlay types.
Fill Stitch, Satin Stitch or Applique: Which to Use
| Width of the shape | Use | Why |
|---|---|---|
| Under about 1 mm | Running stitch | Too narrow for anything else |
| About 1 to 7 mm | Satin stitch | Shiny and crisp; each stitch spans the shape |
| Wider than about 7 mm | Fill stitch | Short stitches stay secure and do not snag |
| Very large solid areas | Applique or tackle twill | Fabric covers the area with far fewer stitches |
Types of Machine Fill
- Tatami fill: the standard flat fill for logos.
- Patterned fills: fills with built-in textures such as waves or diamonds.
- Gradient fills: density changes across the shape to fade color.
- Contour fills: rows follow the shape's outline for a flowing look.
- Open or light fills: wider spacing to reduce stitches on delicate fabrics or leather.
Choosing Fill Angles
- Avoid running fill rows along the main stretch of knit fabric; it causes distortion.
- Change angles between neighboring shapes so they read as separate areas.
- Use 45 degree angles as a safe default on many shapes.
- Follow the natural direction of the subject, such as fur or petals, for realistic designs; see convert a photo to embroidery.
Common Fill Stitch Problems
- Puckering: lower density, add underlay, use firmer stabilizer. See how to fix puckering.
- Gaps between fill and outline: add pull compensation or overlap.
- Stiff, bulletproof designs: density too high or layers stacked.
- Fabric showing through: density too open for the thread; see the thread weight guide.
Fill Stitch vs Applique for Big Areas
Very large filled areas, like jacket backs, add tens of thousands of stitches. Applique or tackle twill covers the same space with fabric and a border, which is faster, lighter and cheaper. See applique digitizing, what is tackle twill and the stitch count calculator.
Need clean fills on a logo? Send your artwork or check digitizing prices. For caps, see cap logo digitizing.
Written by the Velora Digitizing Team
Digitizing StudioThis guide is written and reviewed by the digitizers at Velora Digitizing, who prepare embroidery files for caps, jackets, patches, and left chest logos every day. The advice here comes from the same stitch-path, underlay, and fabric choices we make on client orders.
Related service
Custom Embroidery Digitizing