Sleeve Embroidery Placement and Size Chart: How to Embroider a Sleeve
Sleeve logos add a premium touch to uniforms and merch. Here is where to place them, how big to make them and how to hoop narrow sleeves without stitching them shut.

Embroidery Digitizing Studio
Commercial Digitizing Service
Need production-ready machine files? Explore our Custom Embroidery Digitizing
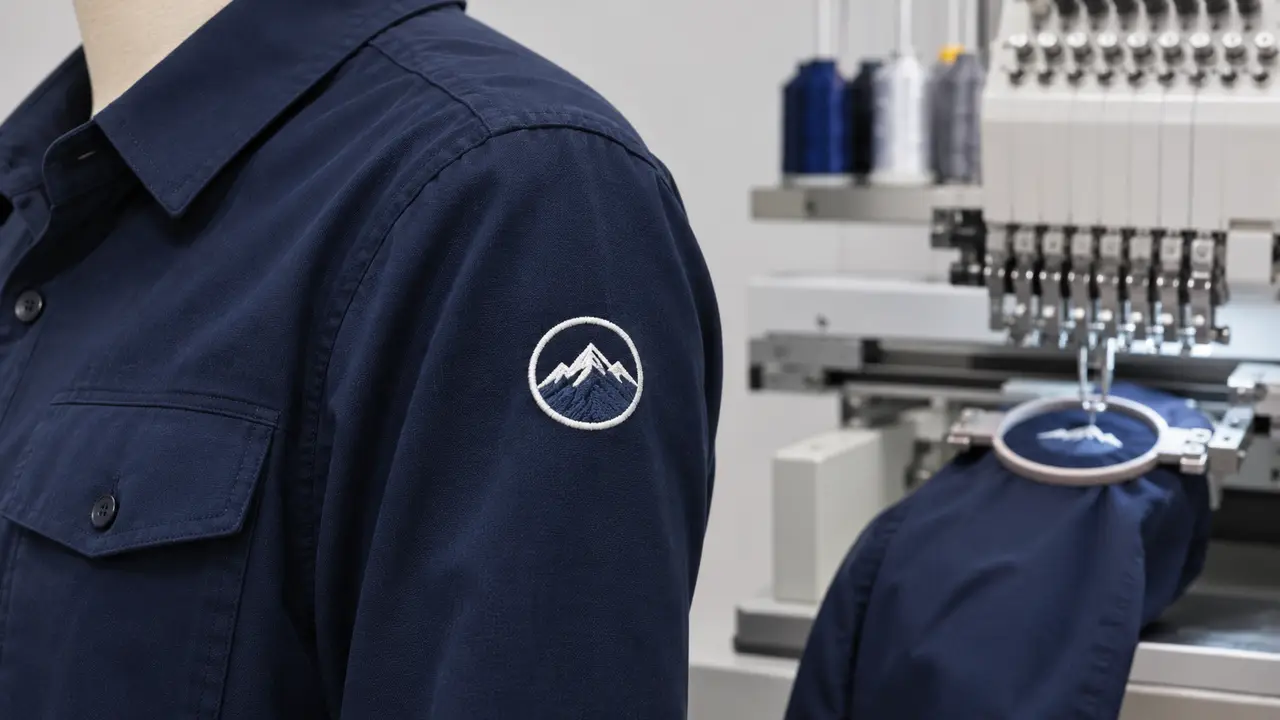
Sleeve embroidery usually goes on the outer upper arm, centered on the sleeve crease about 3 to 4 inches below the shoulder seam on short sleeves (4 to 5 inches on long sleeves), at about 2.5 to 3.5 inches wide. Long sleeves add options such as cuff logos and vertical text down the arm. The challenge is hooping a narrow tube, which is easiest on a multi-needle machine with a small tubular or sleeve hoop.
This guide covers placement, a size chart, hooping methods and digitizing tips. Our digitizing team sizes sleeve designs to your hoop and garment.
Sleeve Embroidery Placement Chart
| Location | Where to place it | Typical size |
|---|---|---|
| Upper sleeve, short sleeve | Centered on the crease, top 3 to 4 in below shoulder seam | 2.5 to 3.5 in wide (65 to 90 mm) |
| Upper sleeve, long sleeve | Centered on the crease, top 4 to 5 in below shoulder seam | 2.5 to 3.5 in wide, up to 3.5 in tall |
| Shoulder flag or badge | Just below the shoulder seam | About 2 x 3 in (50 x 75 mm) |
| Forearm | Between elbow and cuff, on the outer arm | 2 to 3 in wide |
| Cuff | 1.5 to 2 in above the cuff seam | 1.5 to 2.5 in wide, max 2 in tall |
| Down the sleeve | Along the outer crease, reading shoulder to cuff | Letters 1 to 1.5 in tall |
Sleeve Logo Size by Garment
| Garment | Upper sleeve logo | Notes |
|---|---|---|
| Adult T-shirt | 2.5 to 3 in wide | Light cutaway; keep density moderate |
| Polo shirt | 2.5 to 3 in wide | Short sleeve opening limits hoop size |
| Hoodie / sweatshirt | 3 to 3.5 in wide | Fleece needs topping for small text |
| Work or uniform jacket | 3 to 3.5 in, flags 2 x 3 in | Lined jackets are often done with patches |
| Youth and narrow ladies sleeves | 2 to 2.5 in wide | Measure the flat sleeve width first |
How to Hoop a Sleeve for Embroidery
- 1Mark the center of the design on the outer sleeve crease.
- 2On a multi-needle machine, slide the sleeve onto the free arm, cuff first or shoulder first, depending on placement.
- 3Use a small round tubular hoop, a dedicated sleeve hoop or a magnetic sleeve fixture with stabilizer behind the fabric.
- 4Do not stretch knit sleeves; they spring back after unhooping and the design puckers.
- 5On a flatbed machine, turn the garment inside out or open the sleeve seam, and hoop a single layer. Re-sew the seam afterward.
- 6Pull the rest of the garment back and clip it out of the needle path.
- 7Trace the design area before stitching to confirm clearance.
How to Embroider a Sleeve Without a Sleeve Hoop
Three common workarounds: hoop sticky-back stabilizer in your smallest hoop and float the sleeve on top; open the underarm seam so the sleeve lies flat in a standard hoop; or, for cuffs, hoop the cuff area with the sleeve turned inside out. Floating works well on stable fabrics but can shift on stretchy knits, so add a basting box around the design. Our hoop size chart lists the small hoops that fit most sleeves.
Stabilizer and Fabric Tips
- Knit sleeves on T-shirts and hoodies need cutaway; see the stabilizer guide.
- Use a ballpoint needle on knits; see the needle size guide.
- Add a water-soluble topping on fleece so small letters do not sink.
- Jacket sleeves with lining or padding are harder; consider a sew-on patch.
Digitizing Sleeve Designs
Sleeve designs should stitch from the center out so the fabric does not shift on the narrow tube. Keep text bold and readable at small sizes: around 0.25 inch (6 mm) is the practical minimum for capital letters on knits. See best fonts for embroidery and small text embroidery. For athletic sleeves, tackle twill letters and numbers are a durable option.
Long down-the-sleeve text often exceeds the hoop. A digitizer can split it into two or three sections with alignment marks so each part is hooped and stitched in sequence without a visible join.
Common Sleeve Embroidery Mistakes
- Centering on the side seam: the logo ends up facing backward when the shirt is worn. Center on the outer crease instead.
- Logo too big for the sleeve: a 3.5 inch logo on a narrow sleeve wraps around the arm and looks distorted. Measure the flat width first.
- Stretched knit: hooping a T-shirt sleeve tight stretches the knit, and the design puckers when it relaxes.
- Catching the back of the sleeve: the needle stitches through both layers. Check under the hoop before starting.
- Text reading the wrong way: down-the-sleeve text usually reads from shoulder to cuff; confirm the direction with the customer before digitizing.
Sleeve Embroidery on Different Garments
- T-shirts and polos: small upper sleeve logos; see how to embroider a shirt and best polo shirts.
- Hoodies: upper sleeve or forearm; see the hoodie embroidery guide.
- Work jackets: shoulder flags and name patches.
- Denim jackets: see denim jacket embroidery.
Adding a sleeve logo to an order? Send your artwork with the garment type and sleeve size. Most sleeve logos fit the $6.99 Basic plan (up to 5,000 stitches); see digitizing prices.
Written by the Velora Digitizing Team
Digitizing StudioThis guide is written and reviewed by the digitizers at Velora Digitizing, who prepare embroidery files for caps, jackets, patches, and left chest logos every day. The advice here comes from the same stitch-path, underlay, and fabric choices we make on client orders.
Related service
Custom Embroidery Digitizing