How to Embroider a Shirt: T-Shirt Embroidery by Machine and by Hand
T-shirts stretch, so embroidery on them needs the right backing and design. Here is how to embroider a shirt cleanly, whether you use a machine or a needle and floss.

Embroidery Digitizing Studio
Commercial Digitizing Service
Need production-ready machine files? Explore our Custom Embroidery Digitizing
To embroider a shirt, choose a mid-weight cotton or blend tee, mark the placement (usually left chest), back it with a cutaway or no-show mesh stabilizer, hoop it smooth without stretching, and stitch with a ballpoint needle and a design that is not too dense. By hand, the same rules apply: stabilize the knit, keep the design small and use simple stitches.
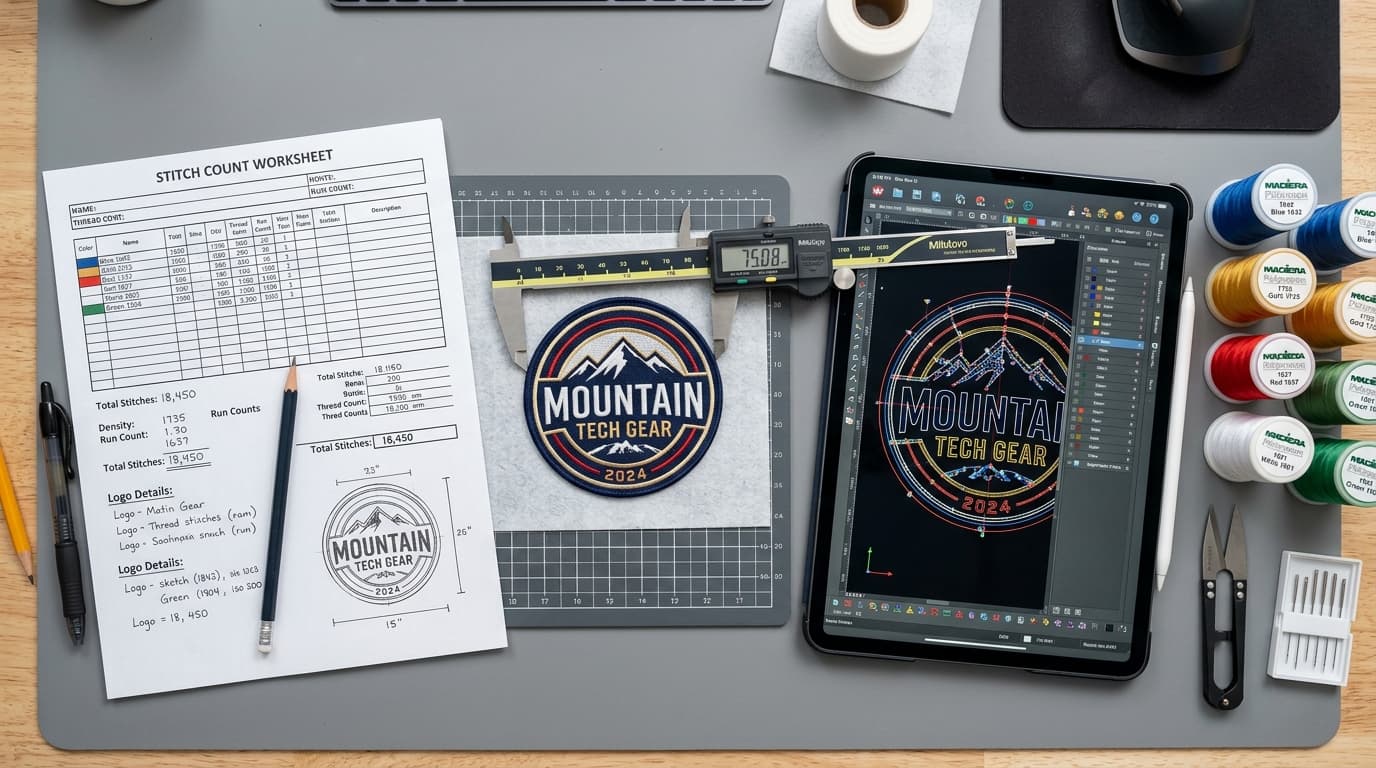
This guide covers machine and hand methods for T-shirts and shirts, plus costs. Knits need lighter designs than caps or jackets, so ask our digitizing team for a T-shirt version of your logo.
Choose the Right Shirt
| Shirt | Stabilizer | Needle | Design |
|---|---|---|---|
| Cotton or blend T-shirt (about 5 to 6 oz) | No-show mesh or medium cutaway | 75/11 ballpoint | Light to medium density |
| Thin or very stretchy T-shirt | Fusible no-show mesh | 70/10 ballpoint | Light and open; avoid solid fills |
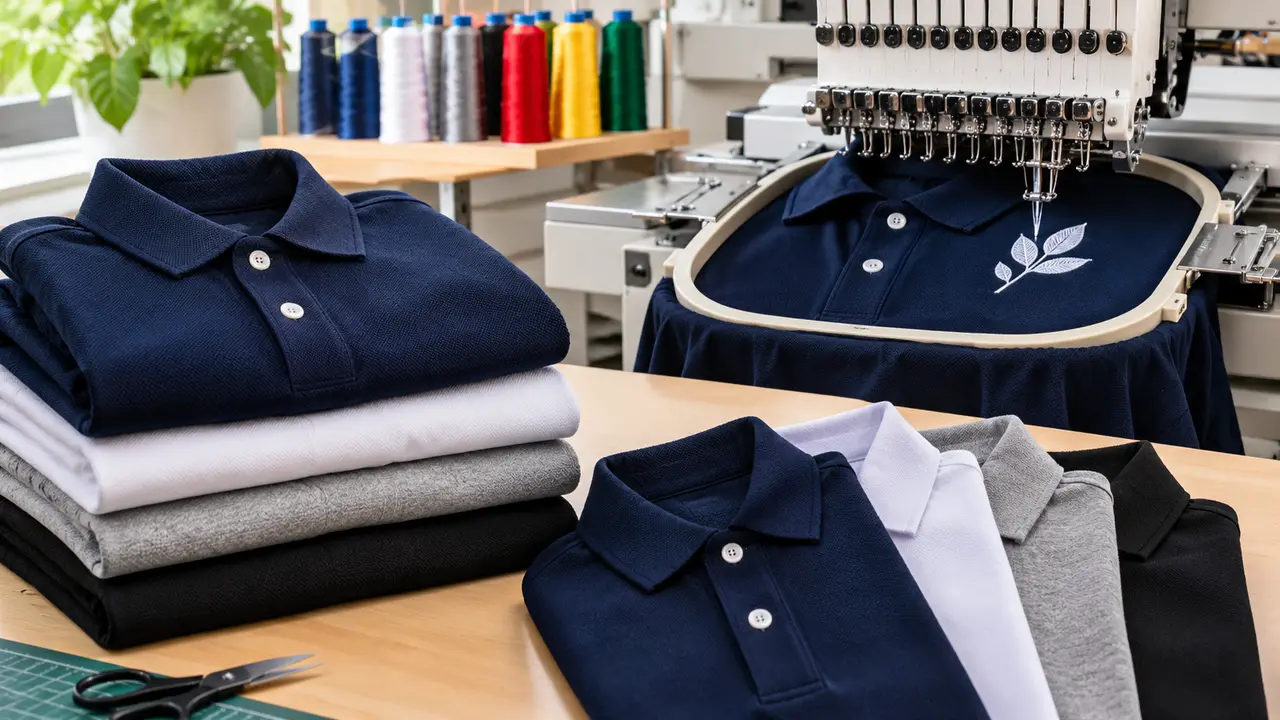
| Pique polo | Medium cutaway | 75/11 ballpoint | Standard density |
| Woven button-up shirt | Medium tearaway or cutaway | 75/11 sharp | Standard density |
- Mid to heavy cotton or blends (around 5 to 6 oz): easiest for embroidery.
- Thin, very stretchy tees: possible, but use lighter designs and a fusible backing.
- Polos and woven shirts: more stable; see best polo shirts for embroidery.
- Pre-wash: wash shirts first if they may shrink.
Where to Place Embroidery on a Shirt
| Placement | Typical size | Position |
|---|---|---|
| Left chest | 3 to 4 inches wide | Centre about 7 to 9 inches below the shoulder seam. See the left chest placement guide |
| Centre chest | 2 to 3 inches wide (small), up to about 10 inches (large) | Small designs 2 to 3 inches below the collar |
| Sleeve | 2.5 to 3.5 inches wide | Upper sleeve. See sleeve embroidery |
| Back yoke | About 1 to 2 inches tall | Just below the collar on the back |
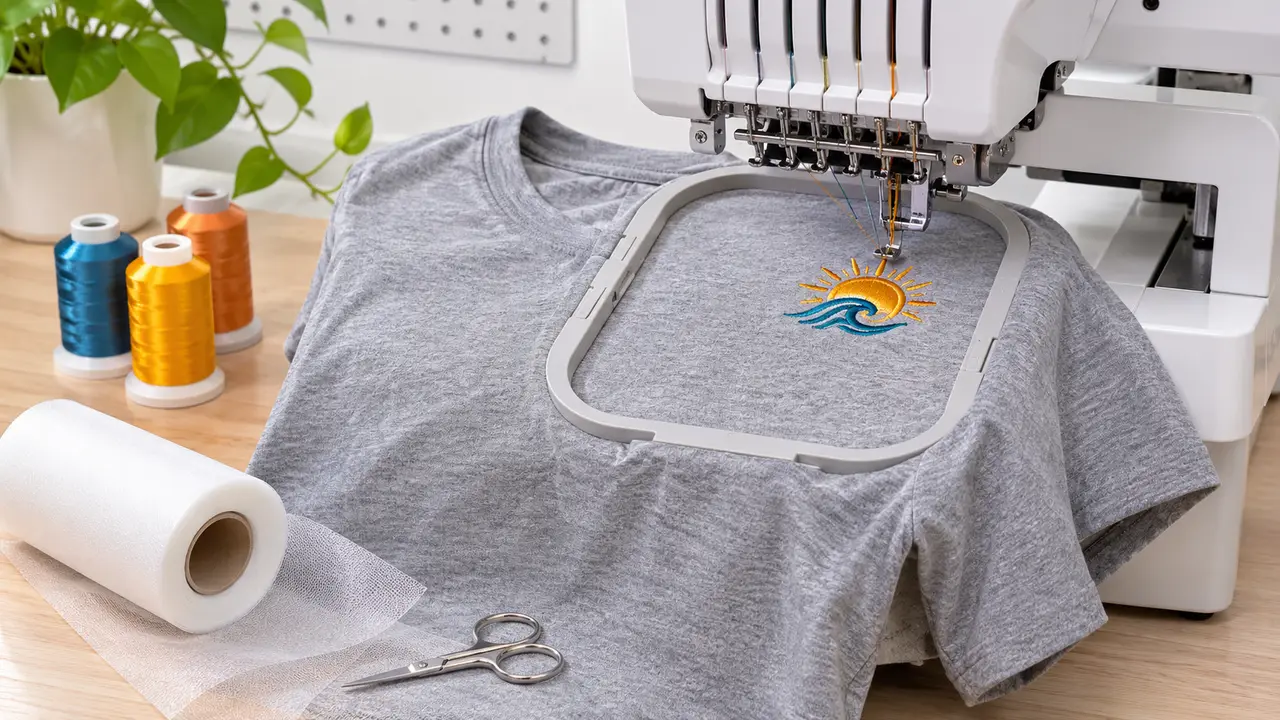
How to Embroider a T-Shirt by Machine
- 1Mark the design center with a removable marker or tape.
- 2Fuse or spray a no-show mesh cutaway to the inside of the shirt.
- 3Hoop the shirt smooth and relaxed, or float it on sticky stabilizer.
- 4Install a 75/11 ballpoint needle; see the needle size guide.
- 5Make sure only the front layer is in the hoop and the back is clear.
- 6Stitch at a moderate speed and check tension; see the tension guide.
- 7Trim the stabilizer about 1/4 inch around the design and remove marks.
How to Embroider a Shirt by Hand
- 1Print or draw the design on a stick-and-stitch (wash-away) stabilizer and stick it on the shirt.
- 2Place a lightweight stabilizer inside the shirt behind the design.
- 3Hoop gently with a hand embroidery hoop.
- 4Use 2 to 3 strands of floss and simple stitches: backstitch for lines, satin stitch for small shapes, chain stitch for bold lines.
- 5Rinse away the stabilizer and let the shirt dry flat.
Common Problems on Shirts
- Puckering: stabilizer too light or hooped too tight; see how to fix puckering.
- Holes around the design: wrong needle or too dense a design.
- Design out of place: shirt shifted while hooping; use adhesive stabilizer.
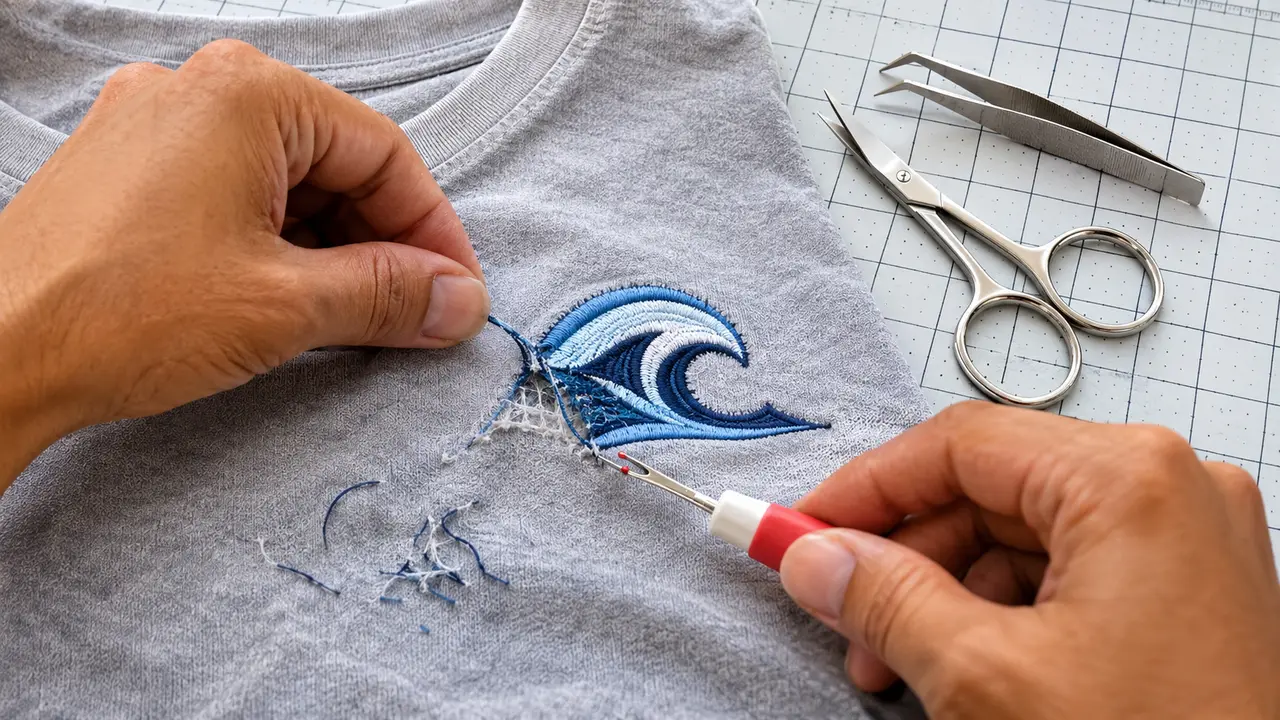
- Wrong position: remove carefully; see how to remove embroidery from a shirt.
How Much Does It Cost to Embroider a Shirt?
For a small left chest logo, shops often charge roughly $5 to $15 per shirt for embroidery, plus the shirt and a one-time digitizing fee for the logo. See how much embroidery costs. For large color graphics on many T-shirts, screen printing can be cheaper; see embroidery vs screen printing.
Need a T-shirt-friendly file? Send your logo or see digitizing prices. Choose lettering that stays readable on knits with best fonts for embroidery.
Written by the Velora Digitizing Team
Digitizing StudioThis guide is written and reviewed by the digitizers at Velora Digitizing, who prepare embroidery files for caps, jackets, patches, and left chest logos every day. The advice here comes from the same stitch-path, underlay, and fabric choices we make on client orders.
Related service
Custom Embroidery Digitizing