Tote Bag Embroidery: Design Size, Placement and How to Hoop a Tote
Embroidered tote bags are easy to sell and fun to make. Here is how to choose the bag, size the design, hoop a single layer and stitch canvas cleanly.

Embroidery Digitizing Studio
Commercial Digitizing Service
Need production-ready machine files? Explore our Custom Embroidery Digitizing
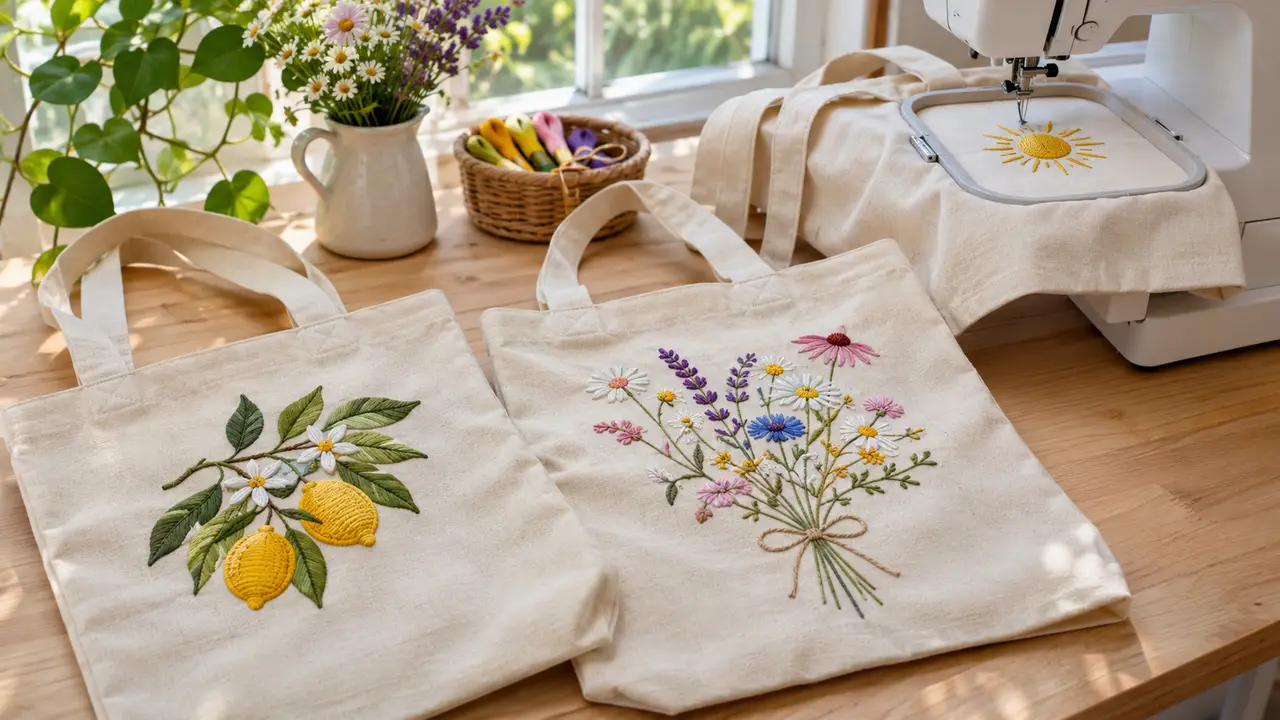
Embroidery on tote bags works best on medium to heavy cotton canvas (about 10 to 12 oz), with a design around 6 to 8 inches wide on a standard tote, placed 3 to 4 inches below the top edge. The key is to hoop only the front layer so you do not stitch the bag shut. Use an 80/12 or 90/14 sharp needle, tearaway on firm canvas or cutaway on thin totes, and a design with moderate density.
This guide covers choosing totes, sizing, placement, hooping and stitching. Our digitizing team prepares tote designs sized for your hoop.
Choosing the Right Tote Bag
| Tote fabric | Weight | Stabilizer | Design advice |
|---|---|---|---|
| Heavy cotton canvas | 10 to 12 oz | Medium tearaway | Holds fills, satins and small text well |
| Light cotton (promo totes) | 4 to 6 oz | Cutaway | Lighter density, avoid big solid fills |
| Jute and burlap | Open weave | Cutaway plus topping | Bold shapes, wide satins, no fine text |
| Polyester / non-woven | Thin and slippery | Cutaway with spray adhesive | Low density; needle holes show |
| Lined or zippered | Two layers | Depends on outer fabric | Open the lining or use a sew-on patch |
Tote Bag Embroidery Size Guide
| Tote size | Centered design width | Corner or small logo | Common hoop |
|---|---|---|---|
| Small / mini (about 10 x 12 in) | 3 to 5 in (75 to 125 mm) | 2 to 3 in | 5 x 7 in (130 x 180 mm) |
| Standard (about 15 x 16 in) | 6 to 8 in (150 to 200 mm) | 2.5 to 3.5 in | 8 x 8 in or 6 x 10 in |
| Large / beach (about 18 x 20 in) | 8 to 11 in (200 to 280 mm) | 3 to 4 in | 8 x 12 in or larger |
Measure the flat front panel between the side seams and leave at least 1.5 inches of space on each side so the hoop and presser foot clear the seams. Check the sewing field of your machine in our embroidery hoop size chart before you order the design, and use the stitch count calculator to estimate run time for larger designs.
Where to Place Embroidery on a Tote Bag
- Center front: centered horizontally, top of the design about 3 to 4 inches below the top edge.
- Below the handles: keep the whole hoop below the handle stitching so the straps do not catch.
- Lower corner: a small logo about 2 to 3 inches up from the bottom and in from the side seam.
- Names and monograms: centered, often slightly above the middle so they stay visible when the bag is carried. See best fonts for embroidery.
How to Hoop a Tote Bag for Embroidery
- 1Print the design at full size and pin it to the bag to check size and position.
- 2Mark the center point and a vertical line through it with chalk or a water-soluble pen.
- 3Turn the bag inside out, or slide the hoop inside the bag from the top opening.
- 4Hoop the front layer with the stabilizer behind it; keep the back panel and handles out of the way.
- 5On a multi-needle machine, slide the bag onto the free arm, use the straps as straight guides, and clip the extra fabric back.
- 6Check underneath that only one layer is in the hoop, then run a trace of the design area.
Needles, Thread and Machine Settings
| Setting | Canvas tote | Thin promo tote |
|---|---|---|
| Needle | 80/12 or 90/14 sharp | 75/11 sharp |
| Thread | 40 wt polyester | 40 wt polyester |
| Stabilizer | Medium tearaway | Cutaway, 2.5 oz |
| Speed | Moderate, about 600 to 750 spm | Normal |
| Density | Standard | About 10 to 15 percent lighter |
See the needle size guide and the thread weight guide for more detail. If the canvas puckers or thread breaks, our puckering and thread break fixes cover the usual causes.
Design Tips for Canvas Totes
- Canvas holds detail well, so fill stitches and satin borders both look crisp.
- Large designs can use applique to cut stitch count; see applique digitizing.
- Metallic accents work well on canvas; see the metallic thread guide.
- Jute and burlap need wide, bold shapes; thin lines sink into the weave.
Common Tote Bag Embroidery Mistakes
- Stitching through both layers: always check underneath before pressing start; it is the most common way to ruin a tote.
- Design too close to the handles: the presser foot hits the strap stitching and the design shifts. Keep the hoop fully below the handles.
- Hoop burn on canvas: over-tightening leaves a ring that does not wash out of heavy canvas. Use a magnetic hoop or float the bag.
- Too much density on thin totes: promo totes pucker and tunnel under heavy fills. Ask for a lighter file or switch to cutaway.
- Crooked placement: canvas weave is easy to misalign. Use the straps or the side seams as vertical guides and mark a center line.
Can You Embroider a Tote by Hand?
Yes. Canvas is a good surface for hand embroidery: use a 6 or 8 inch hoop on the front panel only, 3 to 6 strands of cotton floss and a sharp crewel needle. Back stitch, satin stitch and chain stitch all hold up well on a bag that gets handled every day. See chain stitch embroidery for an outline stitch that looks good on canvas.
Selling Embroidered Tote Bags
Totes are a popular product for small businesses, markets and corporate gifts. Compare costs in how much embroidery costs, and for large color graphics see embroidery vs screen printing. For bulk orders, a patch can be faster than direct embroidery; see how to make embroidered patches.
Need a tote design digitized? Send your artwork with the finished size. A design up to 5,000 stitches is $6.99 and up to 15,000 stitches is $12.99; see digitizing prices.
Written by the Velora Digitizing Team
Digitizing StudioThis guide is written and reviewed by the digitizers at Velora Digitizing, who prepare embroidery files for caps, jackets, patches, and left chest logos every day. The advice here comes from the same stitch-path, underlay, and fabric choices we make on client orders.
Related service
Custom Embroidery Digitizing